English
Set Up
Set the TV connection | Set the audio connection | |
|
|
|
Important Note:
After you have connected the BDP7100 to your TV and turn on for the first time, follow the instructions on the TV to complete the initial setup for this player. You will not be able to open the disc tray unless the initial setup is completed.
A Connect the BDP7100 to your TV.
B Press 2
C Turn on your TV and set it to the correct viewing channel. You should see the { MENU LANGUAGE SELECTION } appearing on the TV.
MENU LANGUAGE SELECTION
Press 1 for English Pulsar 2 para Español Touche 3 pour Français Drücken Sie 4 für Deutsch Premere 5 per Italiano Druk op 6 voor Nederlands Prima 7 para Português
Note:
To search for the correct viewing channel, press the Channel Down button on the TVs remote control repeatedly (or AV, SELECT, ° button) until you see the signal from the player appears on your TV.
D Use the number keys on the remote control to select the preferred player OSD (On Screen Display) language.
E Wait a few seconds for the player to finish initialising the system.
A Turn the audio system on.
B Set the audio system to the correct external input.
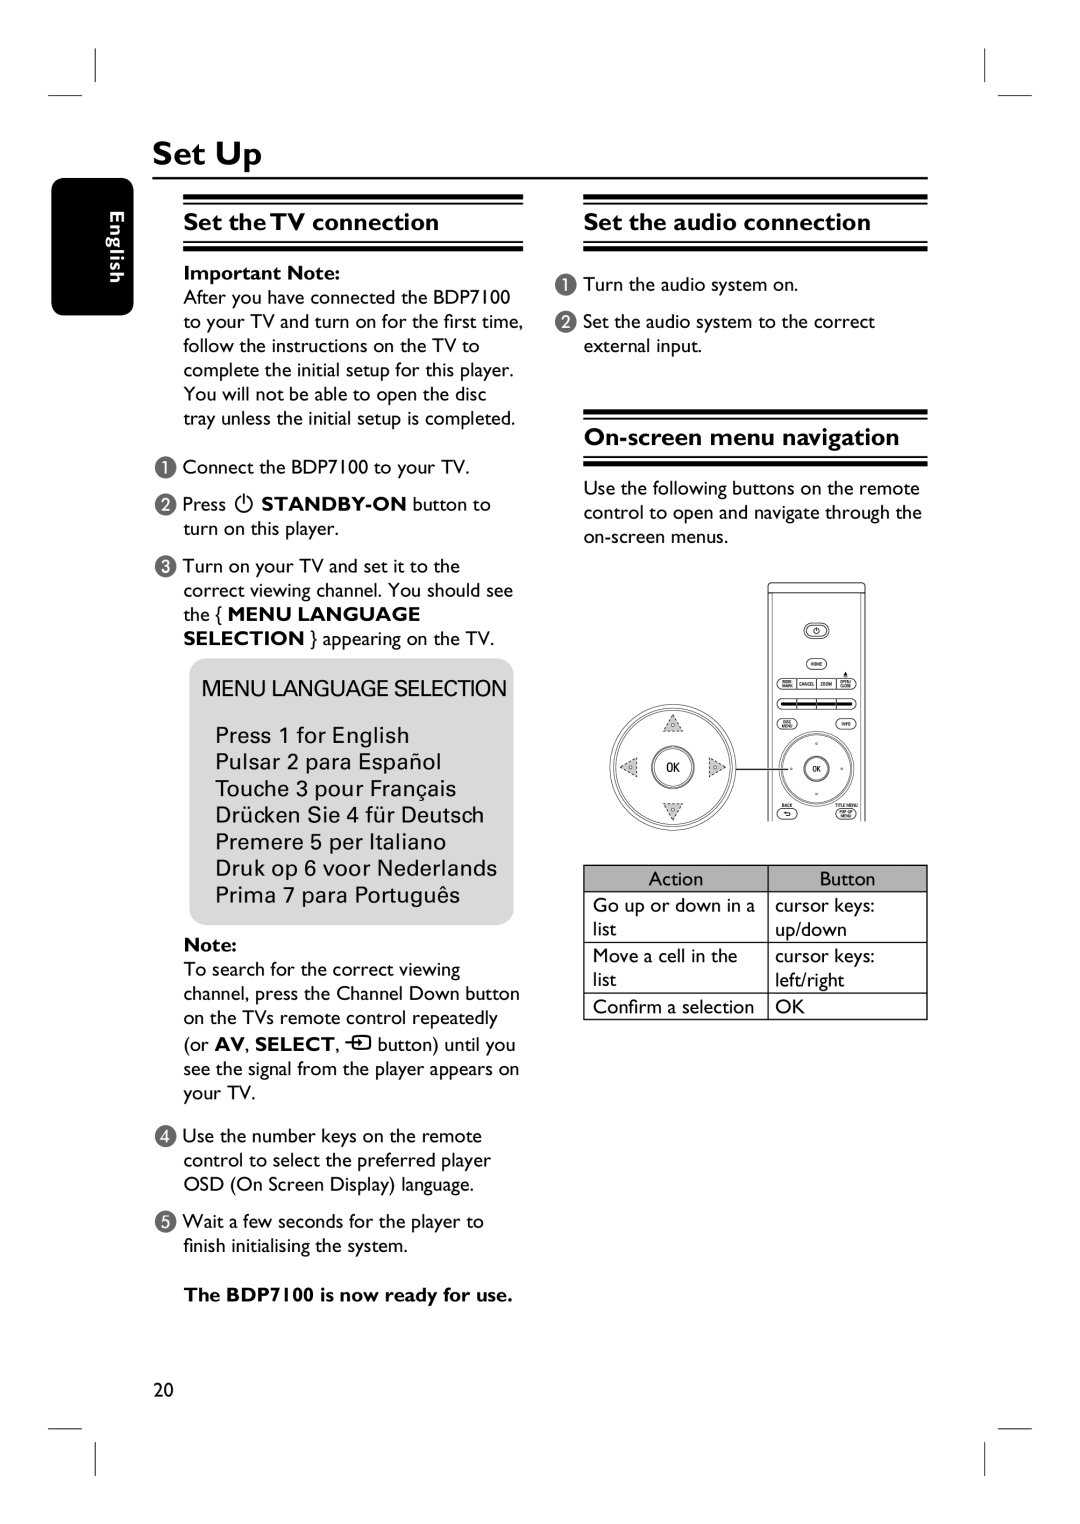
On-screen menu navigation
Use the following buttons on the remote control to open and navigate through the
|
|
|
|
|
|
|
|
|
|
|
|
|
|
|
Action |
| Button | ||
Go up or down in a |
| cursor keys: | ||
list |
| up/down | ||
Move a cell in the |
| cursor keys: | ||
list |
| left/right | ||
Confirm a selection |
| OK | ||
The BDP7100 is now ready for use.
20