3 Change settings
This section helps you change the settings of this player.
1
2
3
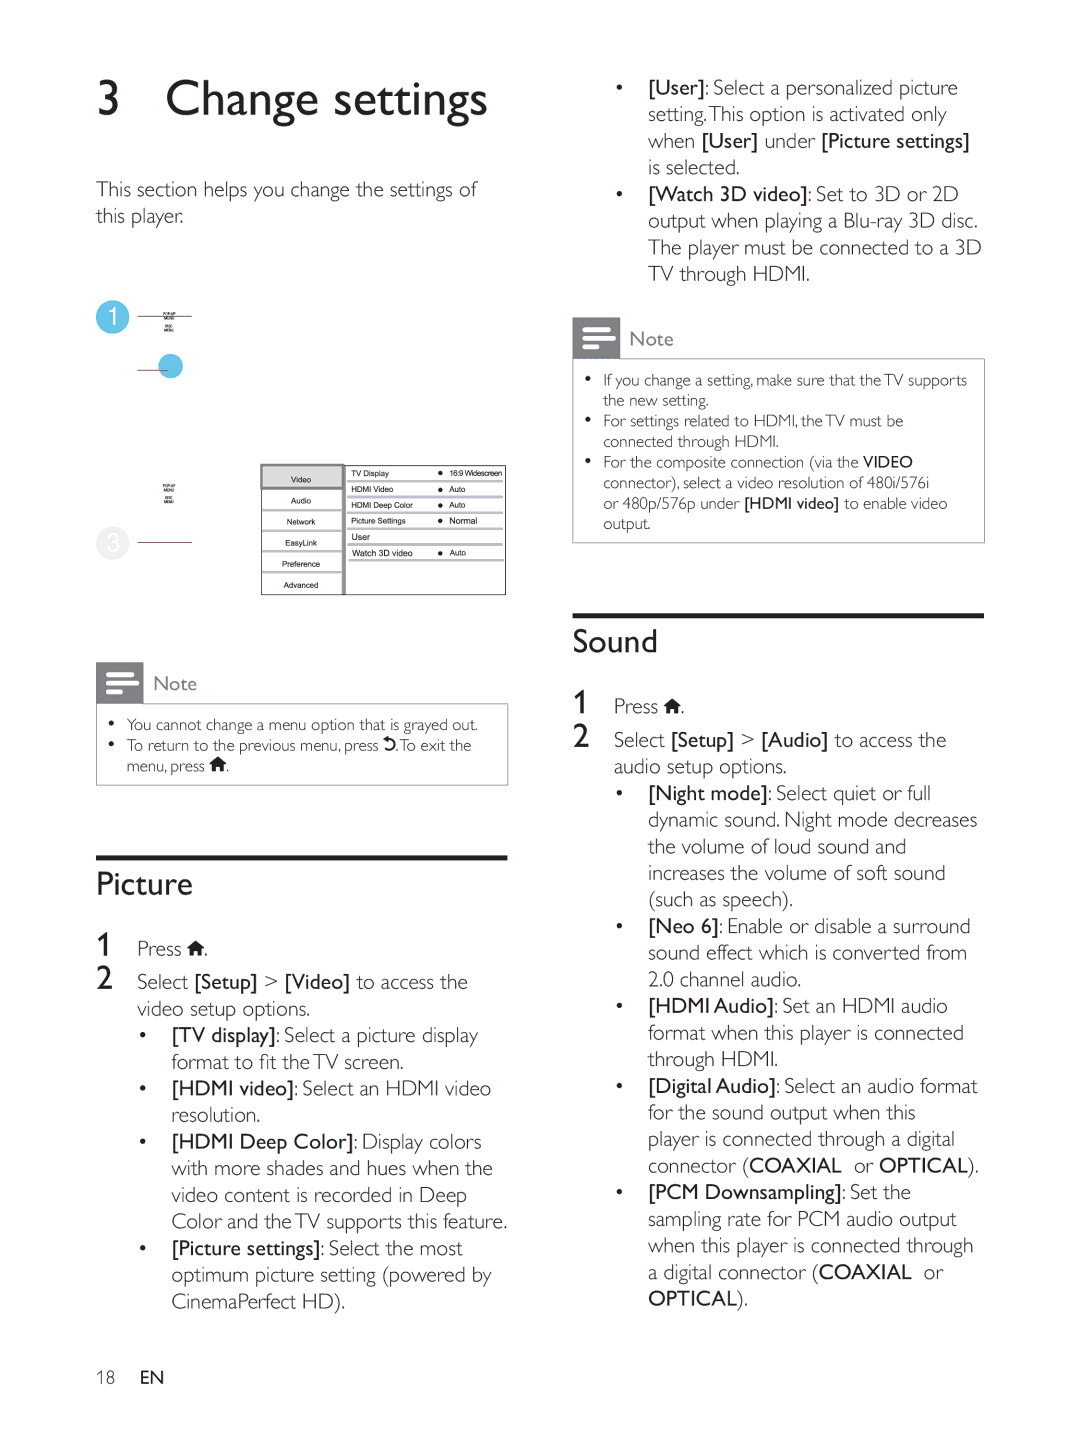
[User]: Select a personalized picture setting.This option is activated only when [User] under [Picture settings] is selected.
[Watch 3D video]: Set to 3D or 2D output when playing a
![]() Note
Note
If you change a setting, make sure that the TV supports the new setting.
For settings related to HDMI, the TV must be connected through HDMI.
For the composite connection (via the VIDEO connector), select a video resolution of 480i/576i or 480p/576p under [HDMI video] to enable video output.
![]() Note
Note
You cannot change a menu option that is grayed out. To return to the previous menu, press ![]() .To exit the menu, press
.To exit the menu, press ![]() .
.
Picture
1Press ![]() .
.
2Select [Setup] > [Video] to access the video setup options.
[TV display]: Select a picture display
[HDMI video]: Select an HDMI video resolution.
[HDMI Deep Color]: Display colors with more shades and hues when the video content is recorded in Deep Color and the TV supports this feature. [Picture settings]: Select the most optimum picture setting (powered by CinemaPerfect HD).
Sound
1Press  .
.
2Select [Setup] > [Audio] to access the audio setup options.
[Night mode]: Select quiet or full dynamic sound. Night mode decreases the volume of loud sound and increases the volume of soft sound
(such as speech).
[Neo 6]: Enable or disable a surround sound effect which is converted from 2.0 channel audio.
[HDMI Audio]: Set an HDMI audio format when this player is connected through HDMI.
[Digital Audio]: Select an audio format for the sound output when this player is connected through a digital connector (COAXIAL or OPTICAL). [PCM Downsampling]: Set the sampling rate for PCM audio output when this player is connected through a digital connector (COAXIAL or OPTICAL).
18EN