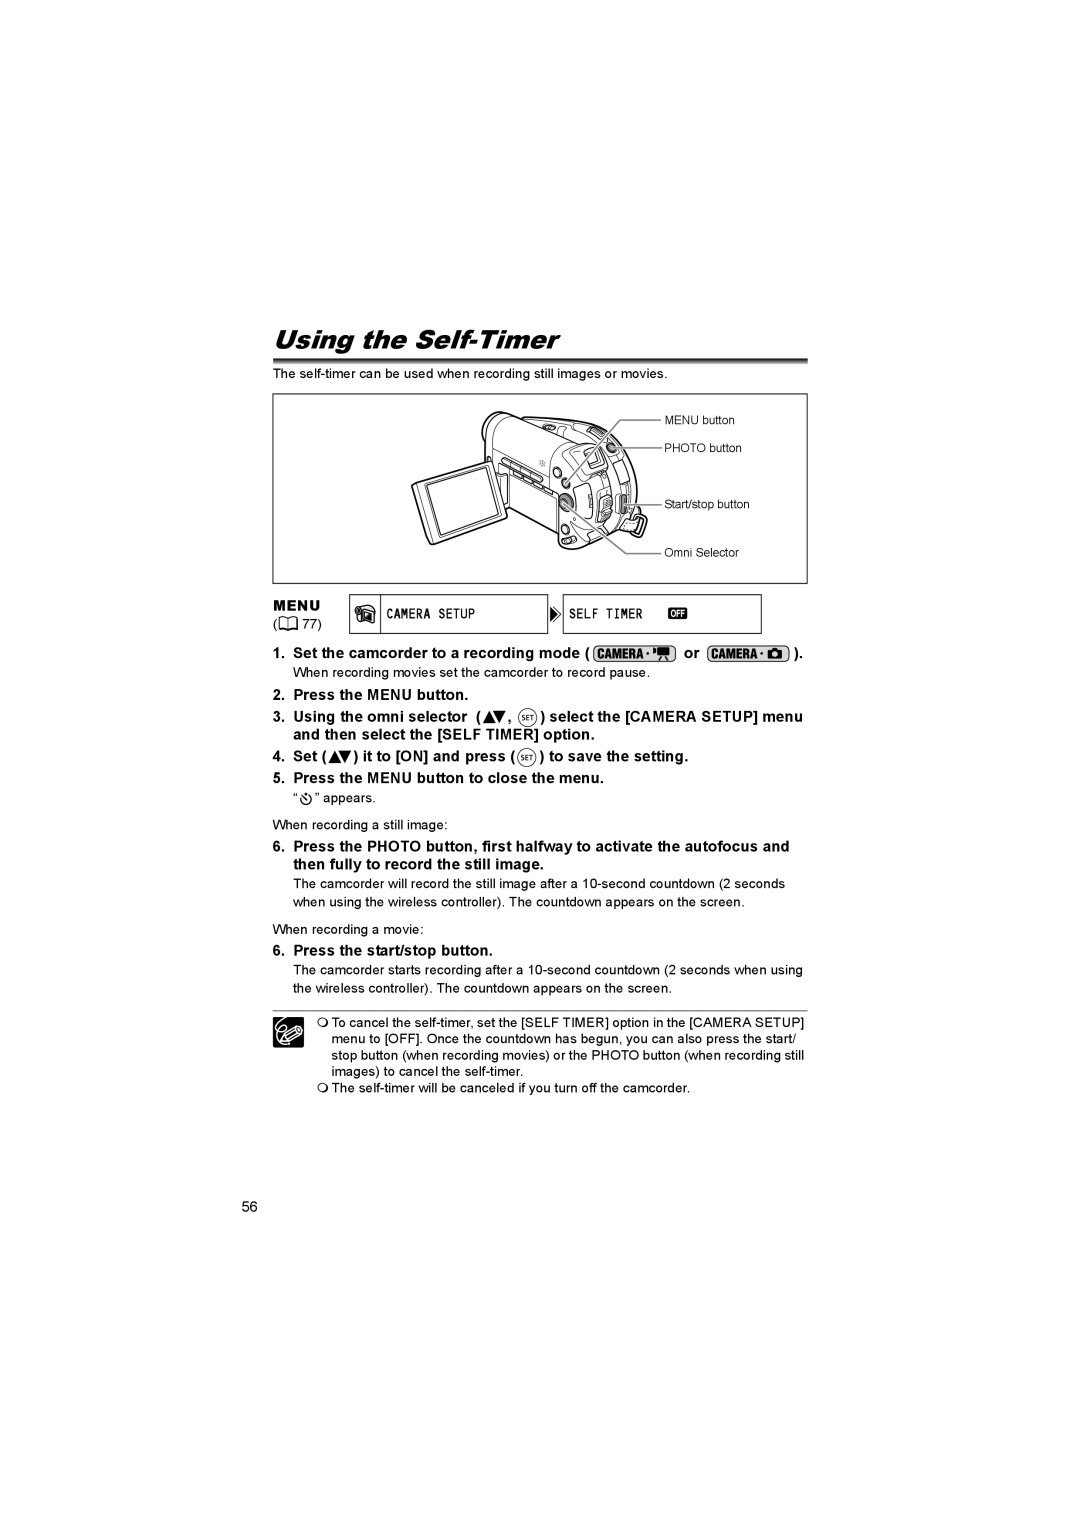
Using the Self-Timer
The
MENU button
![]()
![]()
![]() PHOTO button
PHOTO button
![]()
![]() Start/stop button
Start/stop button
Omni Selector
MENU
(![]() 77)
77)
CAMERA SETUP
 SELF TIMER
1.Set the camcorder to a recording mode (  or
or  ).
).
When recording movies set the camcorder to record pause.
2.Press the MENU button.
3.Using the omni selector (![]() ,
, ![]() ) select the [CAMERA SETUP] menu and then select the [SELF TIMER] option.
) select the [CAMERA SETUP] menu and then select the [SELF TIMER] option.
4.Set (![]() ) it to [ON] and press (
) it to [ON] and press (![]() ) to save the setting.
) to save the setting.
5.Press the MENU button to close the menu.
“ ![]() ” appears.
” appears.
When recording a still image:
6.Press the PHOTO button, first halfway to activate the autofocus and then fully to record the still image.
The camcorder will record the still image after a
When recording a movie:
6.Press the start/stop button.
The camcorder starts recording after a
To cancel the
The
56
