Step 6: Setting the Time Zone, Date and Time
Setting the Time Zone/Daylight Saving Time
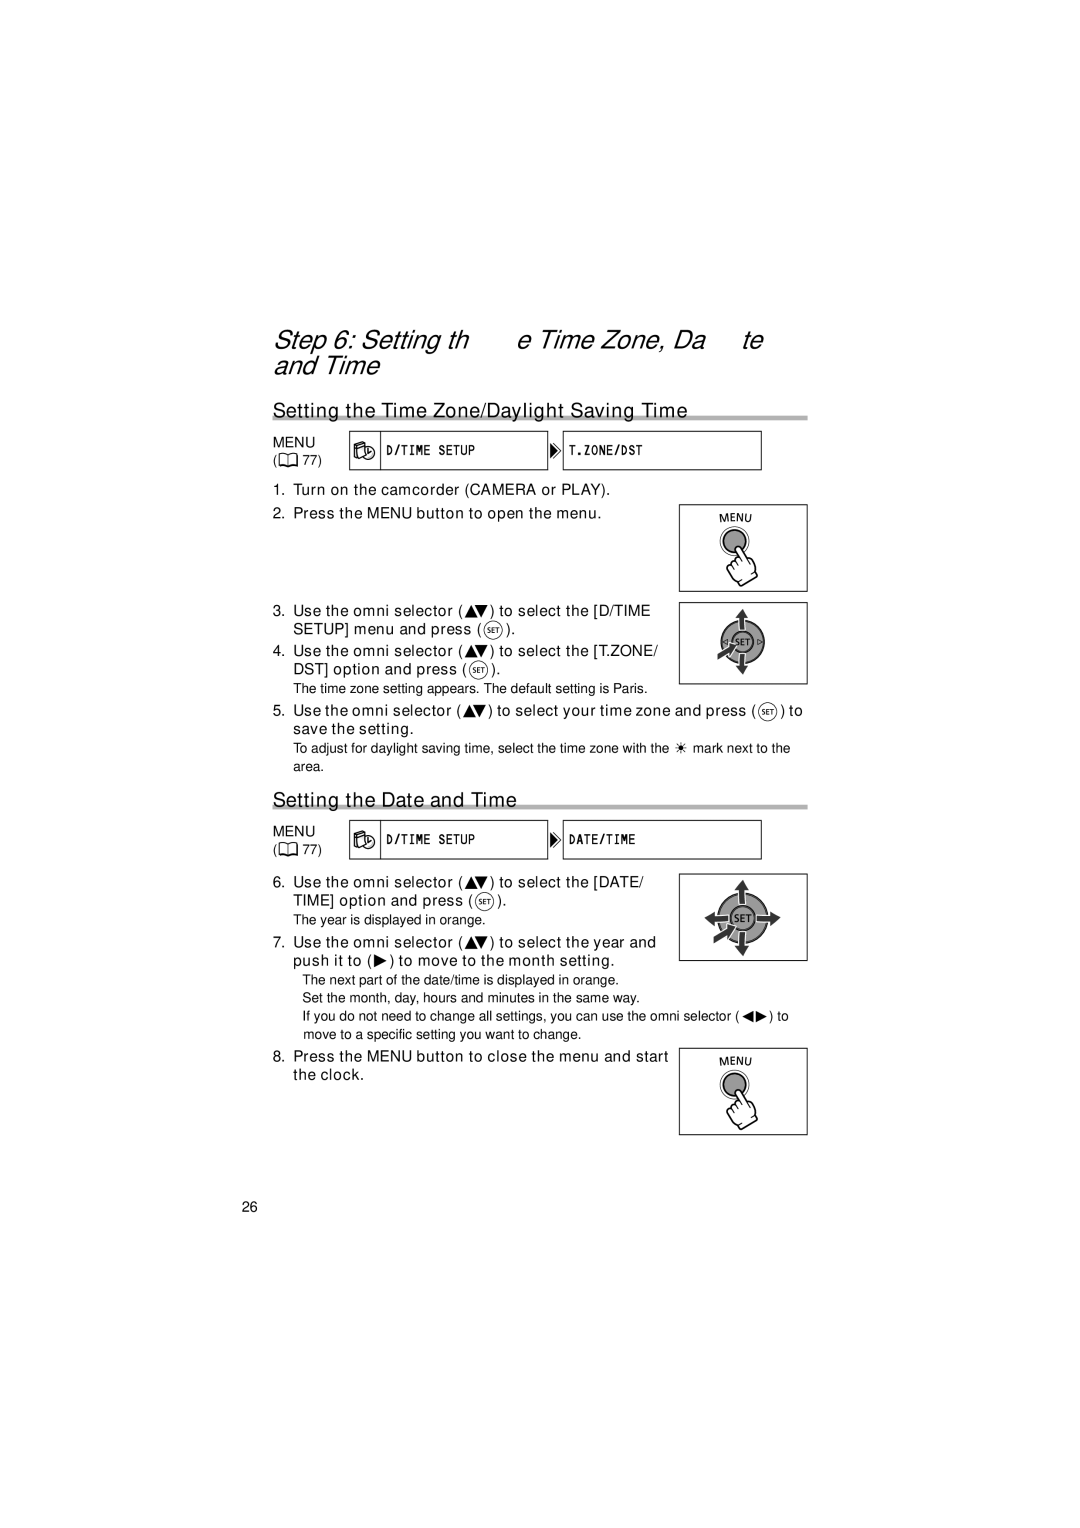
MENU
( ![]() 77)
77)
D/TIME SETUP

 T.ZONE/DST
1. Turn on the camcorder (CAMERA or PLAY).
2. Press the MENU button to open the menu.
3.Use the omni selector (![]() ) to select the [D/TIME SETUP] menu and press (
) to select the [D/TIME SETUP] menu and press ( ![]() ).
).
4. Use the omni selector (![]() ) to select the [T.ZONE/ DST] option and press (
) to select the [T.ZONE/ DST] option and press ( ![]() ).
).
The time zone setting appears. The default setting is Paris.
5.Use the omni selector (![]() ) to select your time zone and press (
) to select your time zone and press ( ![]() ) to save the setting.
) to save the setting.
To adjust for daylight saving time, select the time zone with the ![]() mark next to the area.
mark next to the area.
Setting the Date and Time
MENU
(![]() 77)
77)
D/TIME SETUP

 DATE/TIME
6. Use the omni selector (![]() ) to select the [DATE/ TIME] option and press (
) to select the [DATE/ TIME] option and press ( ![]() ).
).
The year is displayed in orange.
7. Use the omni selector (![]() ) to select the year and push it to (
) to select the year and push it to (![]() ) to move to the month setting.
) to move to the month setting.
•The next part of the date/time is displayed in orange.
•Set the month, day, hours and minutes in the same way.
•If you do not need to change all settings, you can use the omni selector (![]() ) to move to a specific setting you want to change.
) to move to a specific setting you want to change.
8.Press the MENU button to close the menu and start 
the clock.
26