40 Digital Output, LPCM Output
Digital Output
If you connected the Player to a Stereo using the COAXIAL jack as shown on page 15, adjust DIGITAL OUTPUT (audio) as described below. If you are not using the COAXIAL jack, no adjustment is necessary.
1 Press SYSTEM MENU. |
|
Press 2 to select the AUDIO SETUP PAGE icon at the top |
|
2 of the menu. Press OK or 4. | 1,6 |
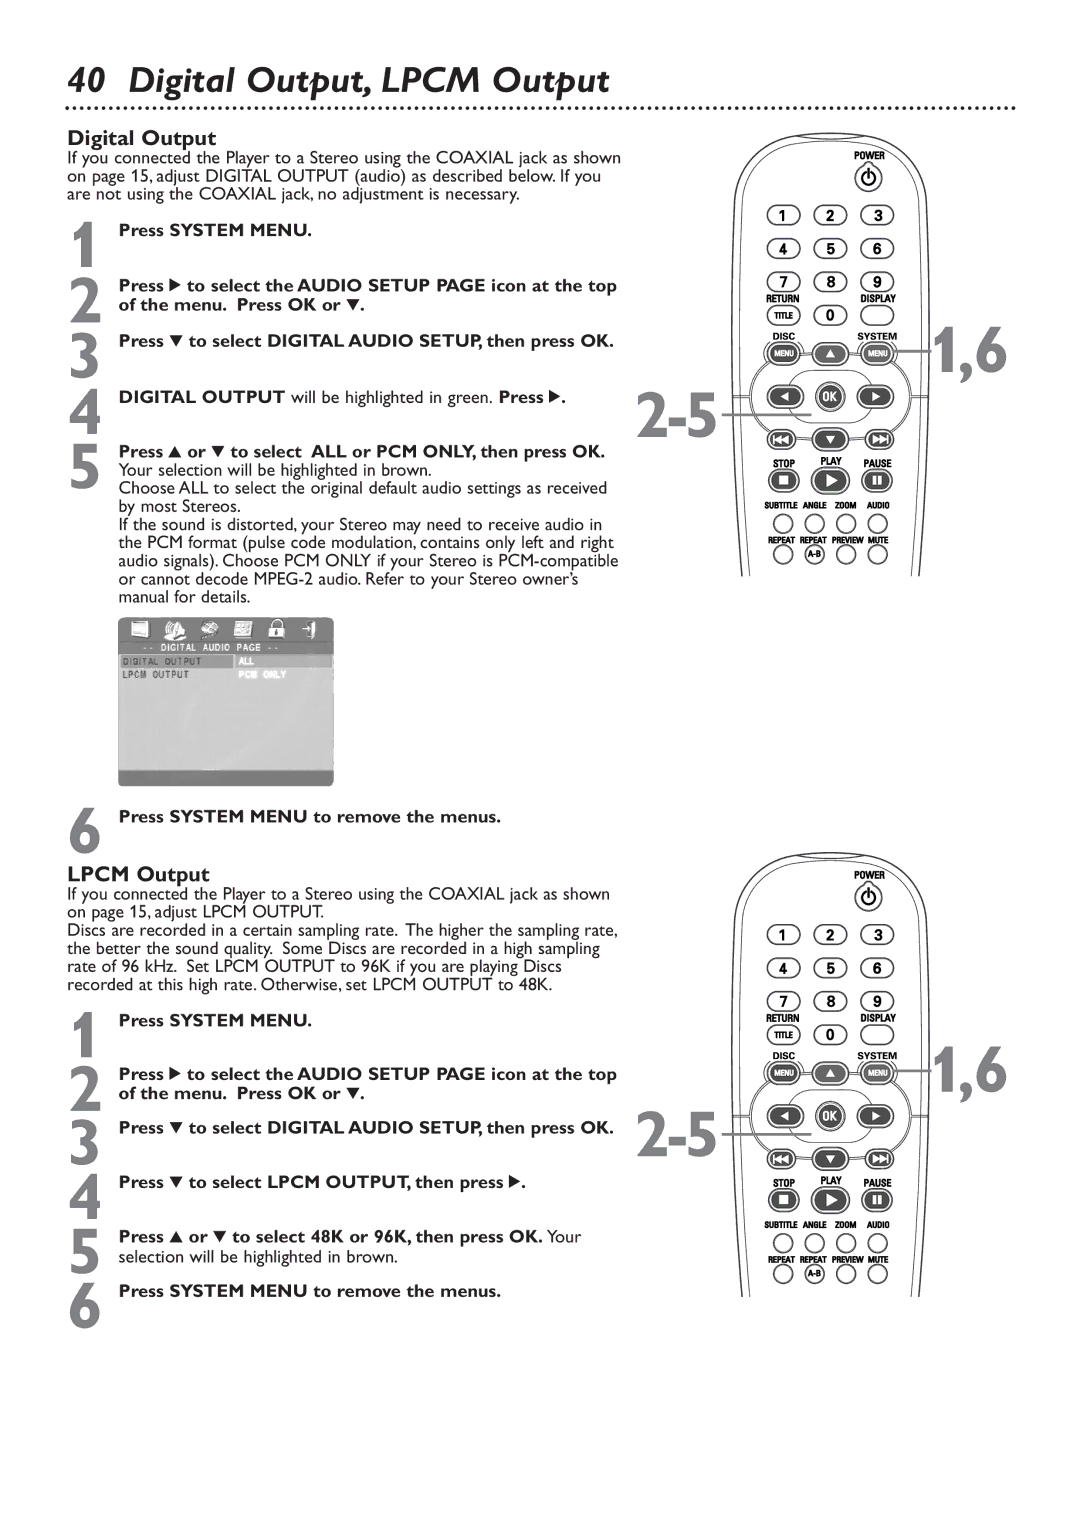
3 Press 4 to select DIGITAL AUDIO SETUP, then press OK. | |
4 DIGITAL OUTPUT will be highlighted in green. Press 2. | |
Press 3 or 4 to select ALL or PCM ONLY, then press OK. |
|
Your selection will be highlighted in brown. |
|
5 Choose ALL to select the original default audio settings as received |
|
by most Stereos. |
|
If the sound is distorted, your Stereo may need to receive audio in |
|
the PCM format (pulse code modulation, contains only left and right |
|
audio signals). Choose PCM ONLY if your Stereo is |
|
or cannot decode |
|
manual for details. |
|
6 Press SYSTEM MENU to remove the menus.
LPCM Output
If you connected the Player to a Stereo using the COAXIAL jack as shown on page 15, adjust LPCM OUTPUT.
Discs are recorded in a certain sampling rate. The higher the sampling rate, the better the sound quality. Some Discs are recorded in a high sampling rate of 96 kHz. Set LPCM OUTPUT to 96K if you are playing Discs recorded at this high rate. Otherwise, set LPCM OUTPUT to 48K.
1 Press SYSTEM MENU. | 1,6 |
Press 2 to select the AUDIO SETUP PAGE icon at the top | |
2 of the menu. Press OK or 4. | |
3 Press 4 to select DIGITAL AUDIO SETUP, then press OK. |
4 Press 4 to select LPCM OUTPUT, then press 2.
5 Press 3 or 4 to select 48K or 96K, then press OK. Your selection will be highlighted in brown.