
FW-C72 specifications
The Philips FW-C72 is a compact yet powerful mini hi-fi system designed to deliver an exceptional audio experience for home listening. With its combination of classic design and modern technology, this system caters to audiophiles and casual listeners alike, offering versatility in playback options.One of the standout features of the FW-C72 is its unique CD player, capable of playing not just standard audio CDs but also MP3-CDs. This allows users to enjoy hours of their favorite music without the need to change discs continually. The system’s MP3 playback capability is a game-changer for those who have a vast digital collection, as it enables multi-hour listening sessions without interruption.
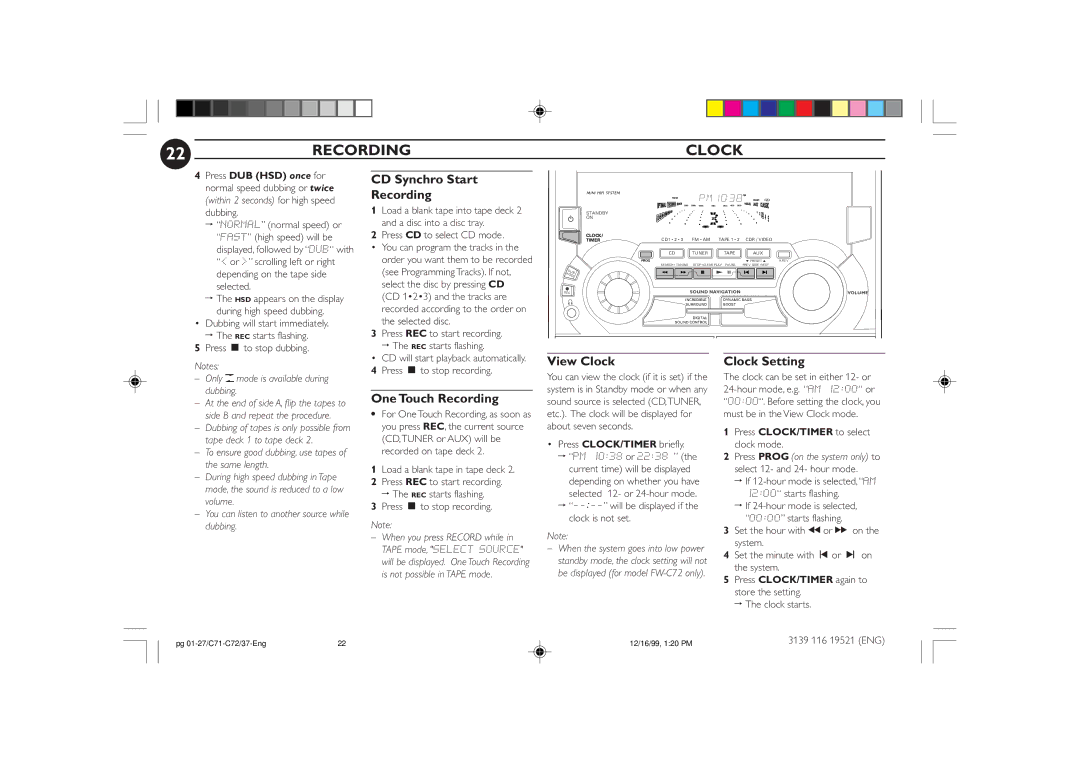
The FW-C72 is equipped with a built-in radio tuner that provides access to both AM and FM stations. This feature ensures that users can enjoy local radio broadcasts, making it easy to stay updated on news and music trends. The system also features a digital tuner, which enhances the clarity of the stations received, providing a crisp and clean listening experience.
In terms of connectivity, the FW-C72 is designed to accommodate a variety of devices. It includes an auxiliary input, enabling users to connect their smartphones, tablets, or other external devices easily. This feature allows for seamless playback from personal playlists or streaming services, enhancing the overall user experience.
The sound quality of the FW-C72 is further enhanced by its advanced sound control options. The system features a built-in equalizer, providing users with the ability to adjust bass and treble levels according to personal preferences. This customization ensures that every listener can achieve their desired sound profile.
Portability is another significant advantage of the Philips FW-C72. Its compact size makes it easy to fit into various spaces, from living rooms to small apartments. Despite its small footprint, the system delivers robust power, filling rooms with rich, detailed sound.
In summary, the Philips FW-C72 mini hi-fi system combines a traditional design with modern features, making it a versatile addition to any audio setup. With its CD and MP3 playback, radio tuner, auxiliary connectivity, and customizable sound settings, it provides an impressive audio experience in a compact package. Whether for casual listening or serious enjoyment, the FW-C72 is engineered to meet diverse musical needs.