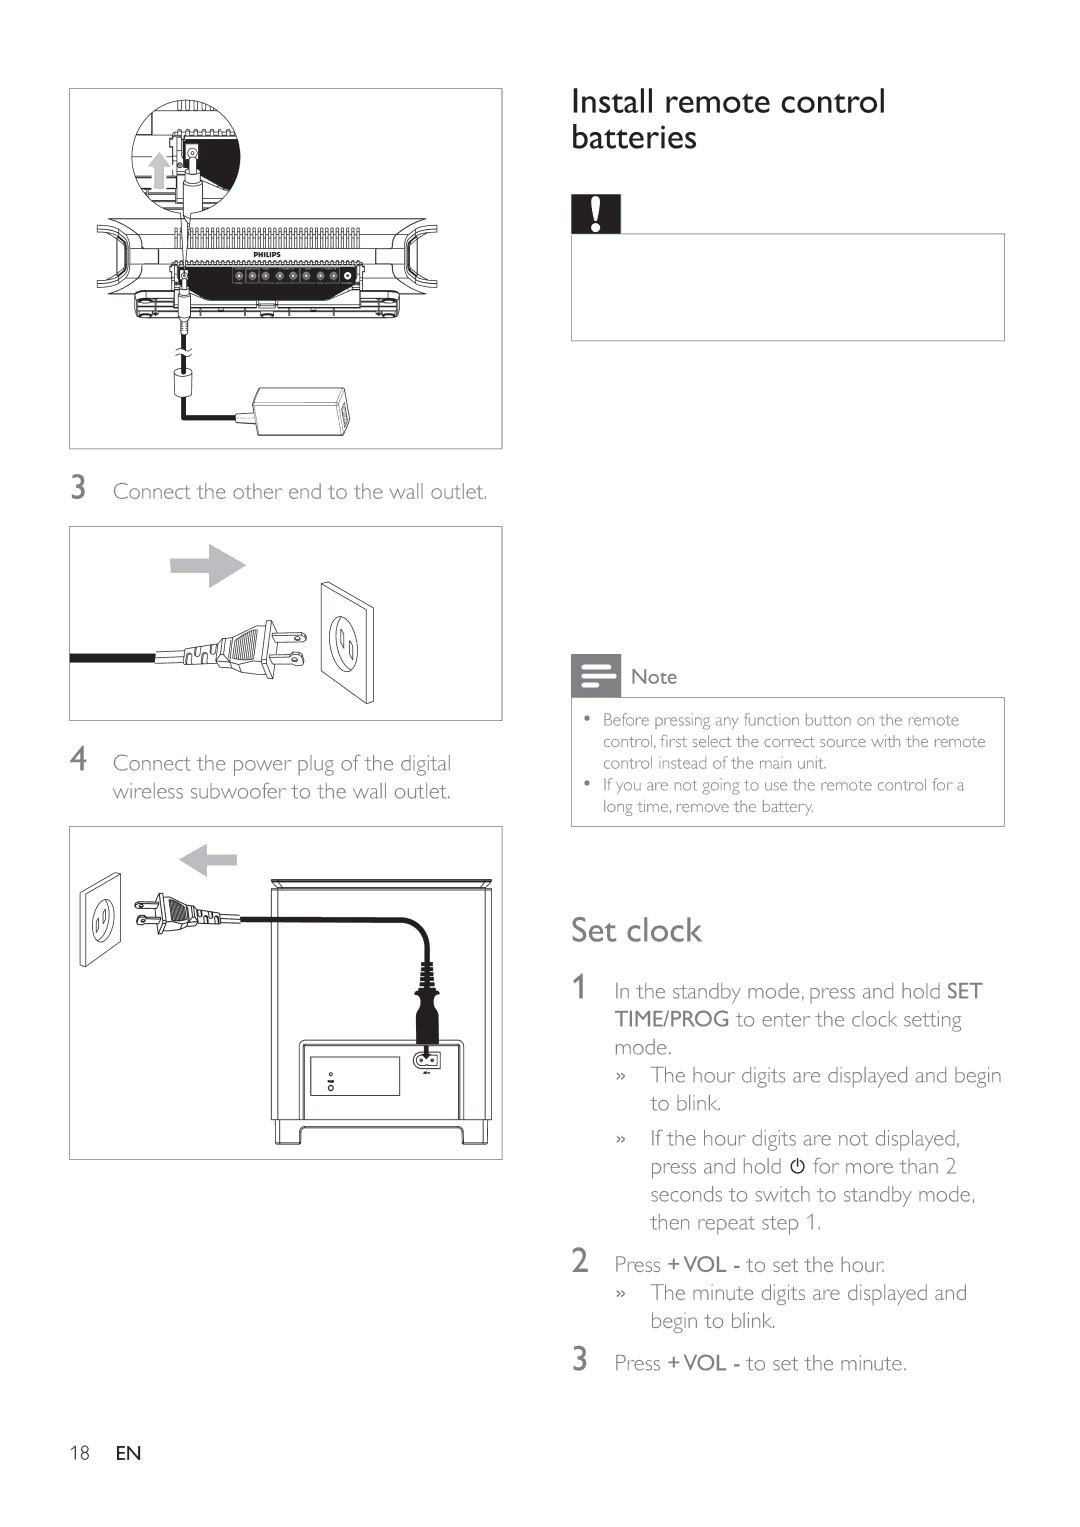
3Connect the other end to the wall outlet.
4Connect the power plug of the digital wireless subwoofer to the wall outlet.
Install remote control batteries
![]()
![]()
![]() Caution
Caution
•Risk of explosion! Keep batteries away from heat, sunshine or fi re. Never discard batteries in fi re.
•Perchlorate Material - special handling may apply. See www.dtsc.ca.gov/hazardouswaste/perchlorate.
For fi
1Remove the protective tab to activate the remote control battery.
To replace the remote control battery:
1Open the battery compartment.
2Insert one lithium CR2025 battery with correct polarity
3Close the battery compartment.
![]() Note
Note
•Before pressing any function button on the remote control, fi rst select the correct source with the remote control instead of the main unit.
•If you are not going to use the remote control for a long time, remove the battery.
Set clock
1In the standby mode, press and hold SET TIME/PROG to enter the clock setting mode.
»The hour digits are displayed and begin to blink.
»If the hour digits are not displayed, press and hold ![]() for more than 2 seconds to switch to standby mode, then repeat step 1.
for more than 2 seconds to switch to standby mode, then repeat step 1.
2Press +VOL - to set the hour.
»The minute digits are displayed and begin to blink.
3 Press +VOL - to set the minute.
18EN