DVD Hometheatre System
Important notes for users in the U.K Mains plug
How to connect a plug
Copyright in the U.K
Italia
English
Klass 1 laseraparat
Disposal of your old product
Nederlands Deutsch Español Français
Index
Table of contents
Table of contents
Accessories supplied
Setup precautions
General Information
Optional GoGear/iPod docking station
Main Unit
Remote Control
Cursor keys
Disc Menu
Title
Prev / REW ., Next / FFW
Using the remote control
Basic Connections
Placement
Never place the main unit in an enclosed cabinet
Option 1 Using the Scart socket
Connecting to TV
Option 2 Connecting to a HDMI- compatible TV
Before you start
Component Video OUT
Connecting the subwoofer to the main unit
Connecting the FM and AM/MW antennas
FM antenna
AM/MW loop antenna
Connecting the power cord
Optional Connections
Connecting to cable box/ satellite receiver and recorder/VCR
Attach the supplied knobs to the rear of the main unit
Mounting the main unit
Getting Started
Setting the speakers
Finding the correct viewing channel
First screen appears on TV
HTS8100
On-screen display OSD language
General Setup Page appears
Audio, Subtitle and Menu language for DVD playback
Repeat steps C ~ D for other settings
Setting the TV Display
Pan Scan
Letter Box
For Progressive Scan TV only
Setting up Progressive Scan feature
Message appears on the TV Confi rm your action by selecting
Can start to enjoy the high quality picture
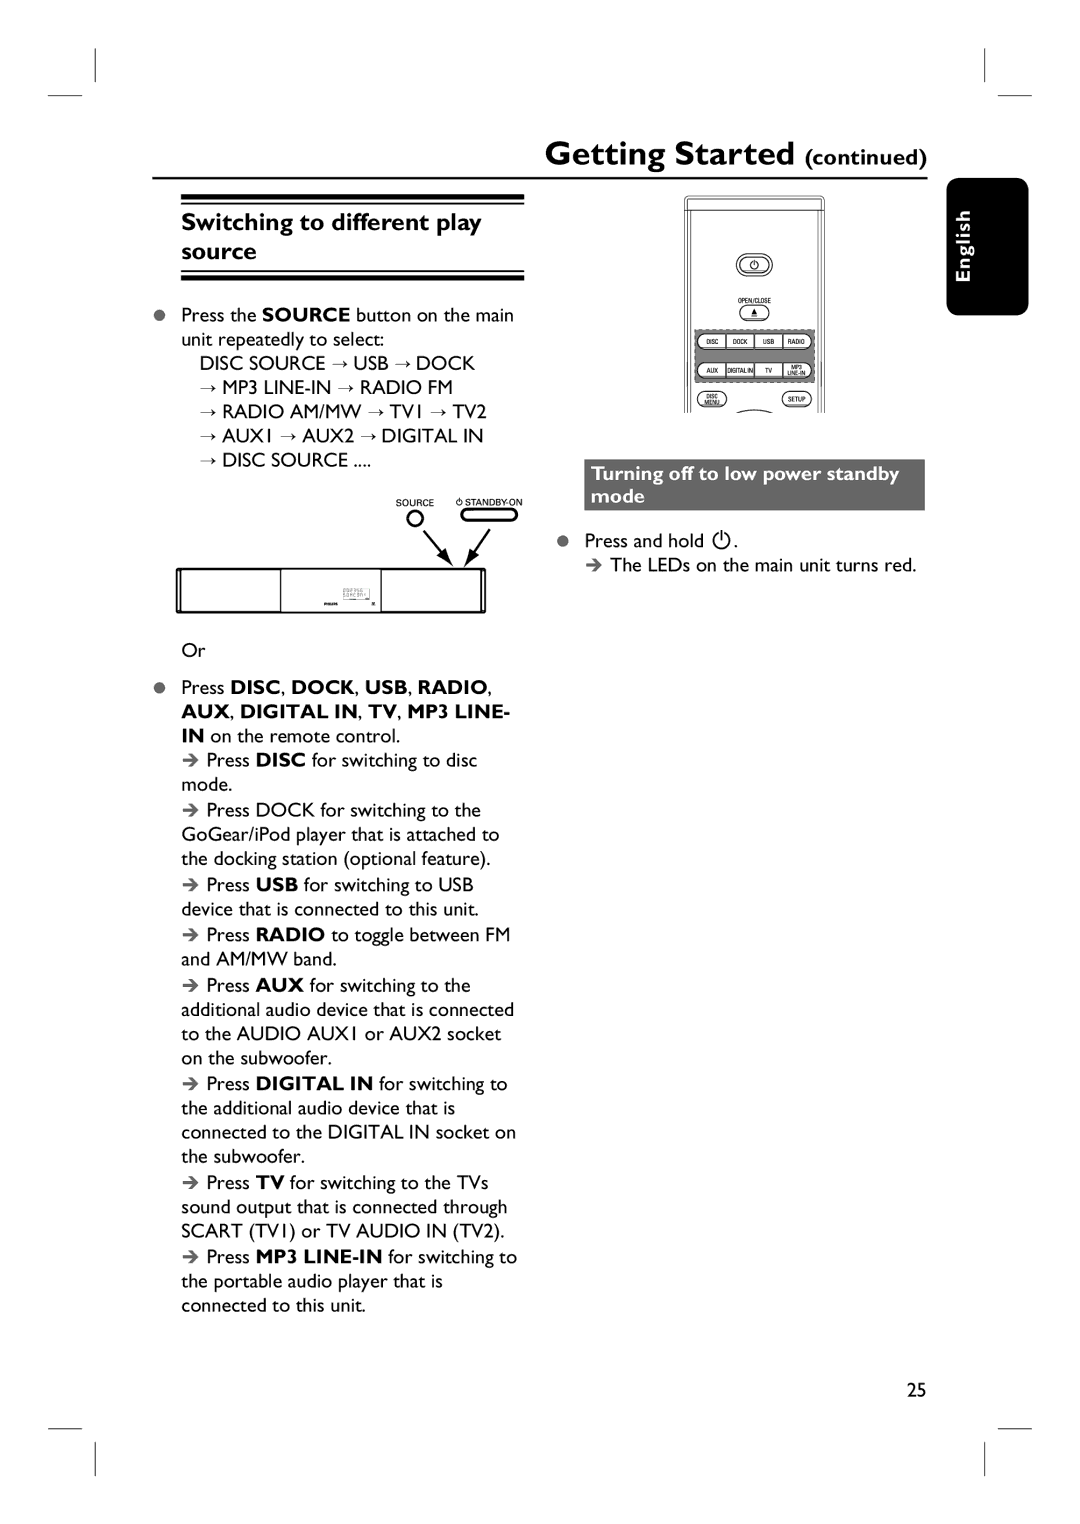
Turning off to low power standby mode
Switching to different play source
Press DISC, DOCK, USB, RADIO, AUX, Digital IN, TV, MP3 Line
Playable discs
Disc Operations
Playing a disc
Selecting various repeat/ shuffle functions
Basic playback controls
Using the Disc Menu
Other playback features for video discs DVD/VCD/ Svcd
Programming disc tracks
Viewing playback information
Switching camera angles
Appears on the TV
Zooming in/out
For VCDs with Playback Control PBC feature version 2.0 only
Setting the delay times for audio playback
For VCD changing the audio channel
Press Audio Sync
Disc menu appears on the TV
Playing a MP3/ WMA disc
Supported file format
Playing a Jpeg image file slide show
Preview function
Zoom picture
To stop simultaneous playback, press Disc Menu followed by
Playing a DivX disc
Playing music from compatible GoGear/iPod devices
Playback GoGear/iPod
Start playback on your GoGear/iPod
PLAY, PAUSE, OK, STOP, NEXT/FFW and PREV/REW
Playing from USB flash drive or USB memory card reader
Playback USB Device
Playing from other portable audio player
Playback Other Audio Player
Accessing the setup menu
Setup Menu Options
If you are not able to access
40%
70%
Off
‘Option 2 Connecting to a HDMI-compatible TV’
This setting is only required if you are using the Hdmi OUT
Hdmi Audio
Socket to connect your TV or other display device see
TV Type
TV Display Picture Setting
Ntsc
Multi
YUV
Component
Progressive Adv Picture
480p
MP3/JPEG Nav
Parental
Password is ‘0000’. To change the password
Password
Press OK to access the change password menu
DivX Subtitle Default
Presetting radio stations
Tuning to radio stations
Using auto install
Radio Operations
Deleting a preset radio station
Selecting a preset radio station
Using automatic preset
Using manual preset
Volume control
Sound and Volume Controls
Adjusting the Bass/Treble level
To turn off the volume temporarily
Installing the latest software
Other Features
Never unplug or turn off this unit during the upgrade
When the disc compartment opens, remove the CD-R
English Problem General
Troubleshooting
Solution
Press STANDBY-ON on the unit to turn on the power
Not able to select some items in the setup/system menu
Problem Playback Solution
This unit does not start
Playback
Problem USB/HDMI/Dock Station Solution
What happens when I plug in a USB HDD?
Frequently Asked Questions USB
Why can’t I rotate the pictures in my device?
What types of file does this unit support?
Amplifier
Specifications
Glossary
Fi le extension ‘WMA’
Glossary

