8Use ¡/¢ to select other files.
9Press à.
10 Use ¡/¢ to select Delete.
11 Confirm with à.
12 Use ¡/¢ if you want to delete the files or cancel the deletion process.
13 Confirm with à.
Notice
Deleting photos on the memory card
When deleting photos via the computer, note that the photos may not be correctly dis- played when the memory card is inserted into the digital camera again. Digital cameras sometimes store additional information in specific folders, including previews and orien- tation information.
For this reason, only delete the photos using the digital camera.
Connect to a computer (USB)
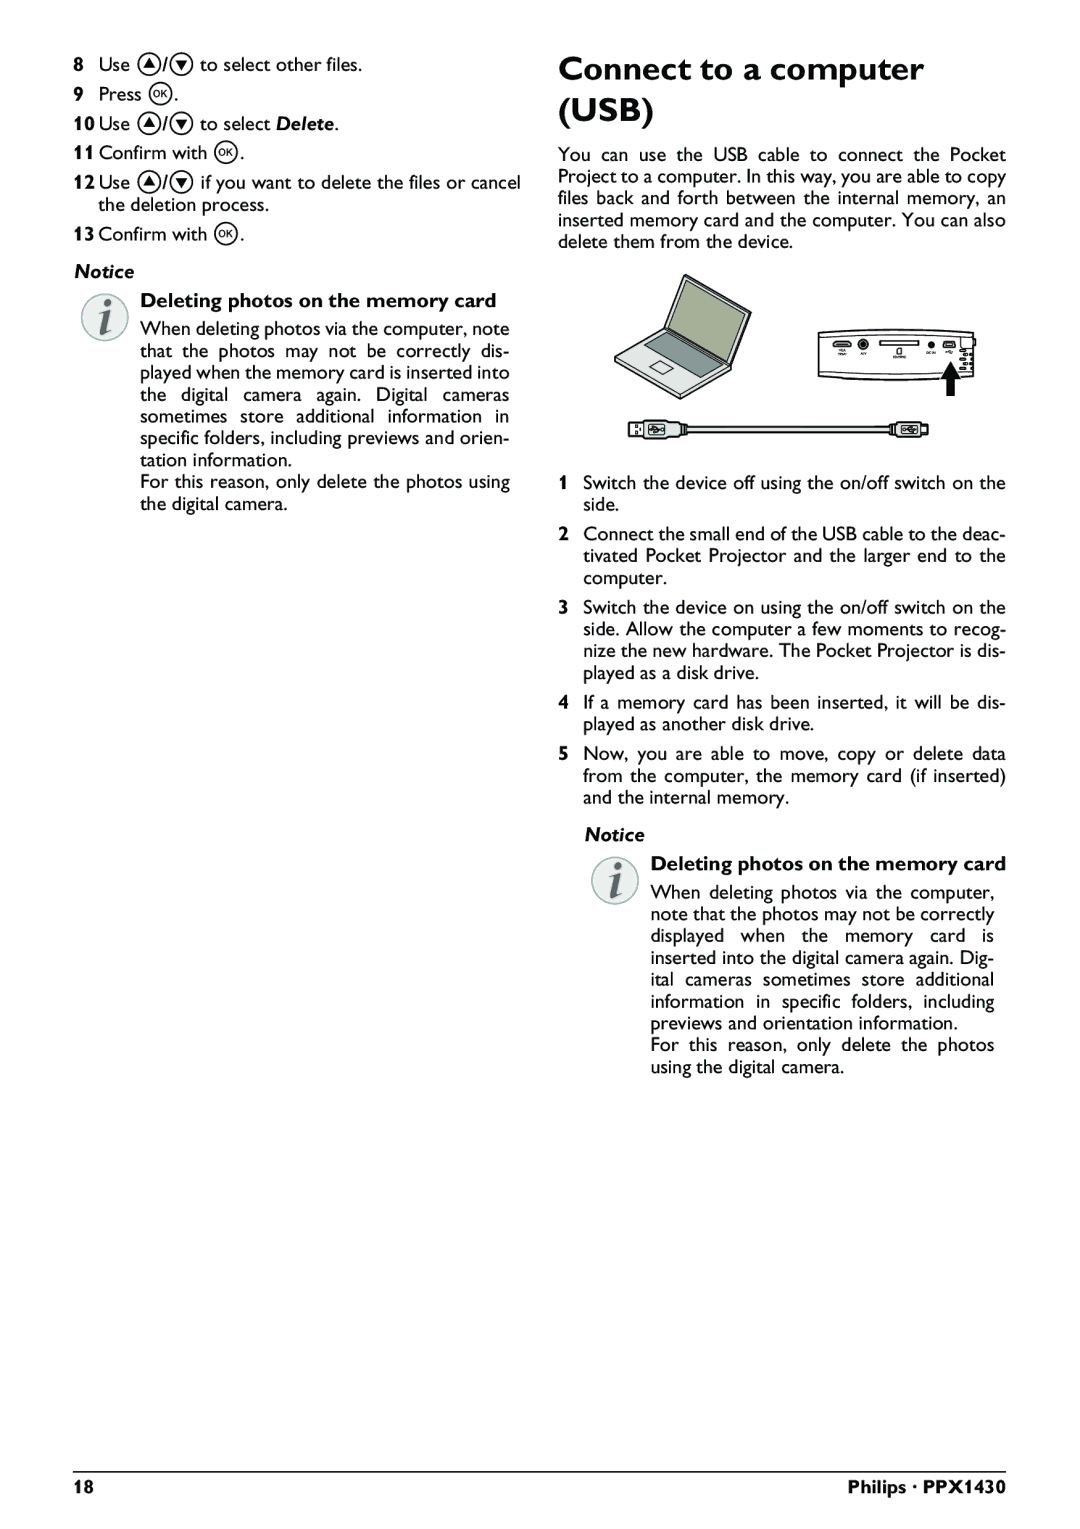
You can use the USB cable to connect the Pocket Project to a computer. In this way, you are able to copy files back and forth between the internal memory, an inserted memory card and the computer. You can also delete them from the device.
1Switch the device off using the on/off switch on the side.
2Connect the small end of the USB cable to the deac- tivated Pocket Projector and the larger end to the computer.
3Switch the device on using the on/off switch on the side. Allow the computer a few moments to recog- nize the new hardware. The Pocket Projector is dis- played as a disk drive.
4If a memory card has been inserted, it will be dis- played as another disk drive.
5Now, you are able to move, copy or delete data from the computer, the memory card (if inserted) and the internal memory.
Notice
Deleting photos on the memory card
When deleting photos via the computer, note that the photos may not be correctly displayed when the memory card is inserted into the digital camera again. Dig- ital cameras sometimes store additional information in specific folders, including previews and orientation information.
For this reason, only delete the photos using the digital camera.
18 | Philips · PPX1430 |
