5.7 Normal Recording
Turn on the power of both the VCR and the MONITOR.
1.Insert the VIDEO CASSETTE. Ensure the safety tab is in place.
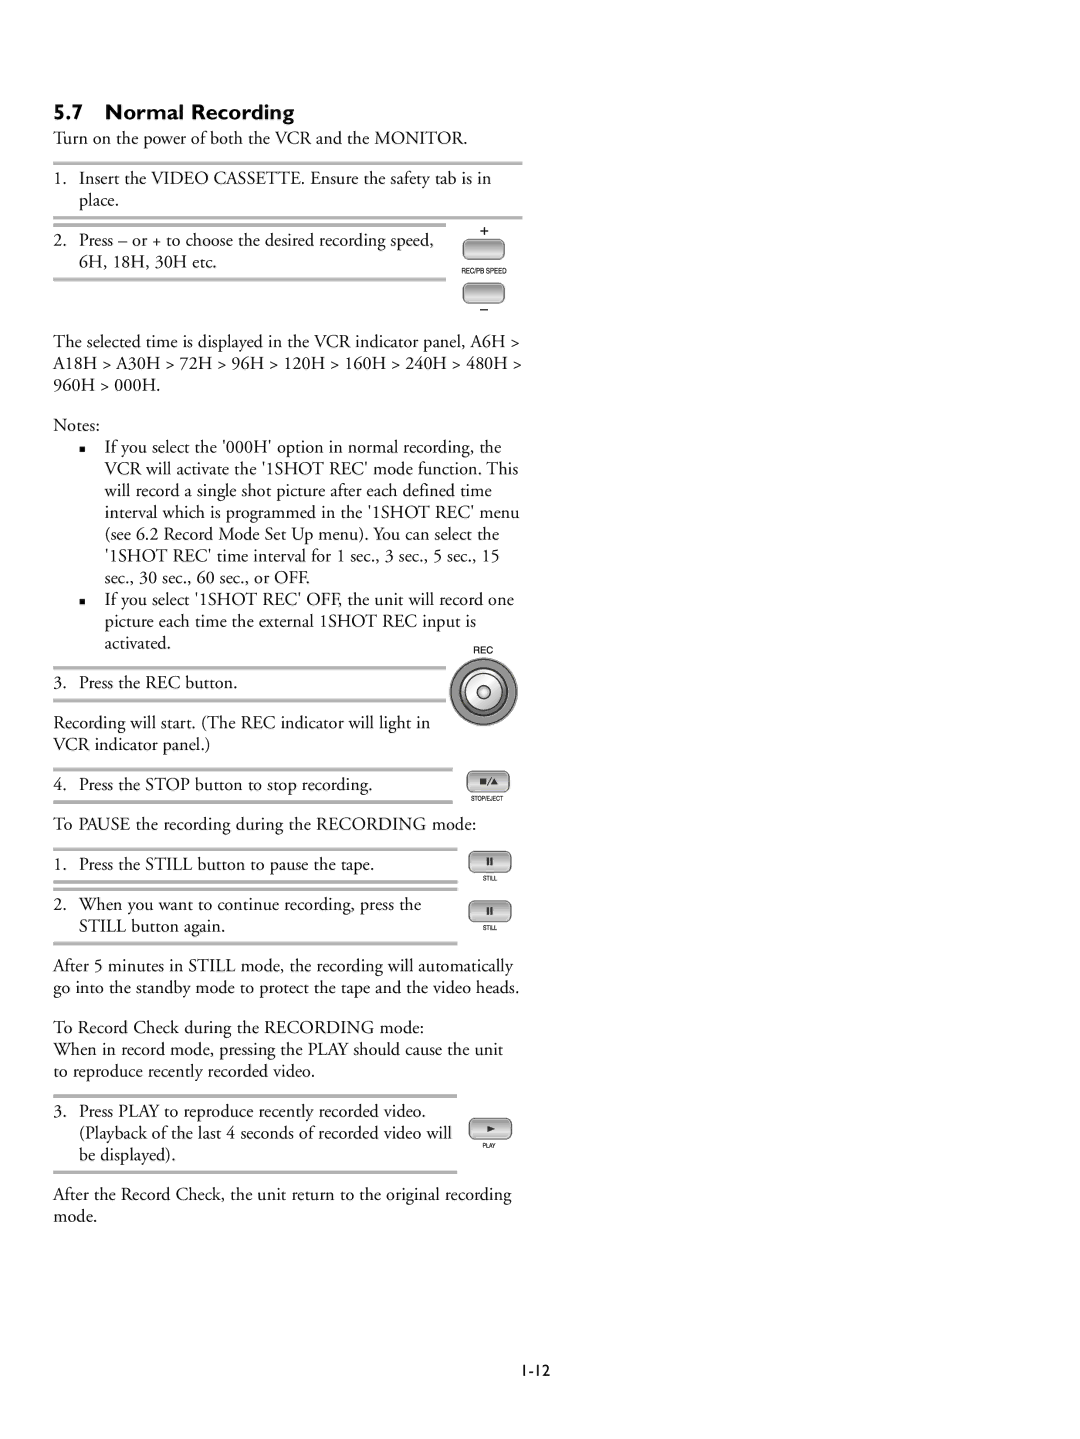
2.Press – or + to choose the desired recording speed,
6H, 18H, 30H etc.
The selected time is displayed in the VCR indicator panel, A6H > A18H > A30H > 72H > 96H > 120H > 160H > 240H > 480H > 960H > 000H.
Notes:
If you select the '000H' option in normal recording, the VCR will activate the '1SHOT REC' mode function. This will record a single shot picture after each defined time interval which is programmed in the '1SHOT REC' menu (see 6.2 Record Mode Set Up menu). You can select the '1SHOT REC' time interval for 1 sec., 3 sec., 5 sec., 15 sec., 30 sec., 60 sec., or OFF.
If you select '1SHOT REC' OFF, the unit will record one picture each time the external 1SHOT REC input is activated.
3. Press the REC button.
Recording will start. (The REC indicator will light in VCR indicator panel.)
4. Press the STOP button to stop recording.
To PAUSE the recording during the RECORDING mode:
1. Press the STILL button to pause the tape.
2. When you want to continue recording, press the STILL button again.
After 5 minutes in STILL mode, the recording will automatically go into the standby mode to protect the tape and the video heads.
To Record Check during the RECORDING mode:
When in record mode, pressing the PLAY should cause the unit to reproduce recently recorded video.
3. Press PLAY to reproduce recently recorded video. (Playback of the last 4 seconds of recorded video will be displayed).
After the Record Check, the unit return to the original recording mode.
