6.1 CLOCK SET UP Menu
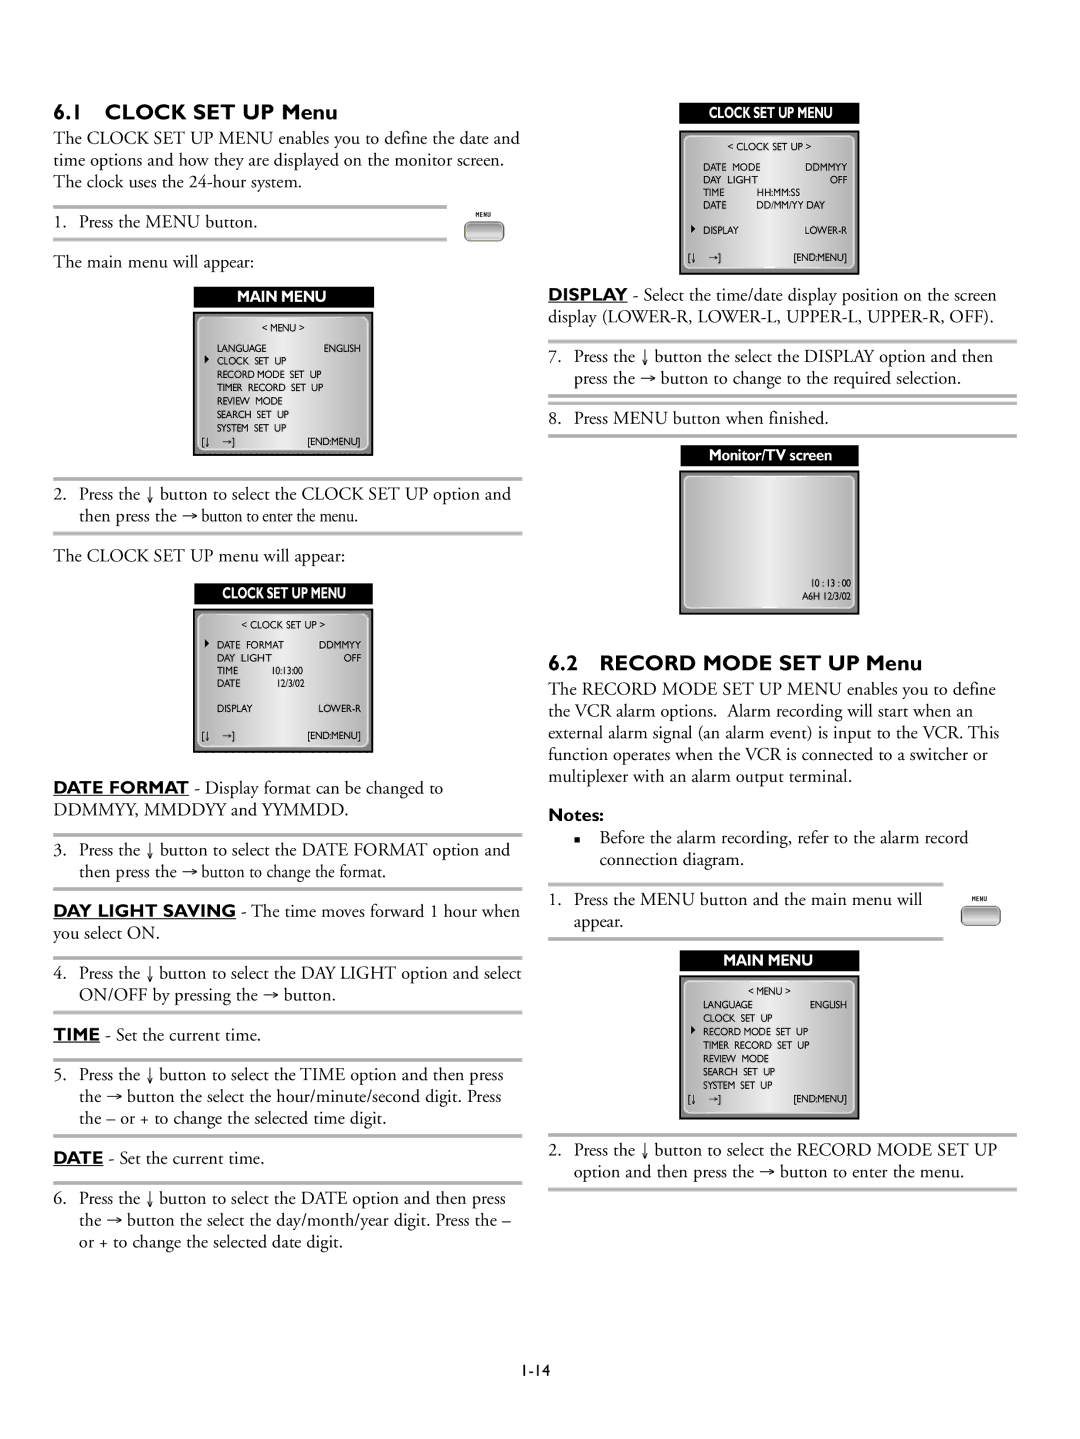
The CLOCK SET UP MENU enables you to define the date and time options and how they are displayed on the monitor screen. The clock uses the
CLOCK SET UP MENU
| < CLOCK SET UP > | |
DATE MODE | DDMMYY | |
DAY LIGHT | OFF | |
TIME | HH:MM:SS |
|
DATE | DD/MM/YY DAY | |
1. Press the MENU button.
The main menu will appear:
MENU
DISPLAY | |
[↓ →] | [END:MENU] |
MAIN MENU
| < MENU > |
|
| LANGUAGE | ENGLISH |
| CLOCK SET UP |
|
| RECORD MODE SET UP | |
| TIMER RECORD SET UP | |
| REVIEW MODE |
|
| SEARCH SET UP |
|
| SYSTEM SET UP |
|
[↓ | →] | [END:MENU] |
DISPLAY - Select the time/date display position on the screen display
7.Press the ↓ button the select the DISPLAY option and then press the → button to change to the required selection.
8.Press MENU button when finished.
Monitor/TV screen
2.Press the ↓ button to select the CLOCK SET UP option and then press the → button to enter the menu.
The CLOCK SET UP menu will appear:
CLOCK SET UP MENU
|
| < CLOCK SET UP > | |
| DATE FORMAT | DDMMYY | |
| DAY LIGHT | OFF | |
| TIME | 10:13:00 |
|
| DATE | 12/3/02 |
|
| DISPLAY | ||
[↓ | →] |
| [END:MENU] |
DATE FORMAT - Display format can be changed to DDMMYY, MMDDYY and YYMMDD.
3.Press the ↓ button to select the DATE FORMAT option and then press the → button to change the format.
DAY LIGHT SAVING - The time moves forward 1 hour when you select ON.
4.Press the ↓ button to select the DAY LIGHT option and select ON/OFF by pressing the → button.
TIME - Set the current time.
5.Press the ↓ button to select the TIME option and then press the → button the select the hour/minute/second digit. Press the – or + to change the selected time digit.
DATE - Set the current time.
6.Press the ↓ button to select the DATE option and then press the → button the select the day/month/year digit. Press the – or + to change the selected date digit.
10 : 13 : 00 A6H 12/3/02
6.2 RECORD MODE SET UP Menu
The RECORD MODE SET UP MENU enables you to define the VCR alarm options. Alarm recording will start when an external alarm signal (an alarm event) is input to the VCR. This function operates when the VCR is connected to a switcher or multiplexer with an alarm output terminal.
Notes:
Before the alarm recording, refer to the alarm record connection diagram.
1. Press the MENU button and the main menu will | MENU |
appear. |
|
|
|
MAIN MENU
| < MENU > |
|
| LANGUAGE | ENGLISH |
| CLOCK SET UP |
|
| RECORD MODE SET UP | |
| TIMER RECORD SET UP | |
| REVIEW MODE |
|
| SEARCH SET UP |
|
| SYSTEM SET UP |
|
[↓ | →] | [END:MENU] |
2.Press the ↓ button to select the RECORD MODE SET UP option and then press the → button to enter the menu.
