8ENGLISH
DC 9V ![]()
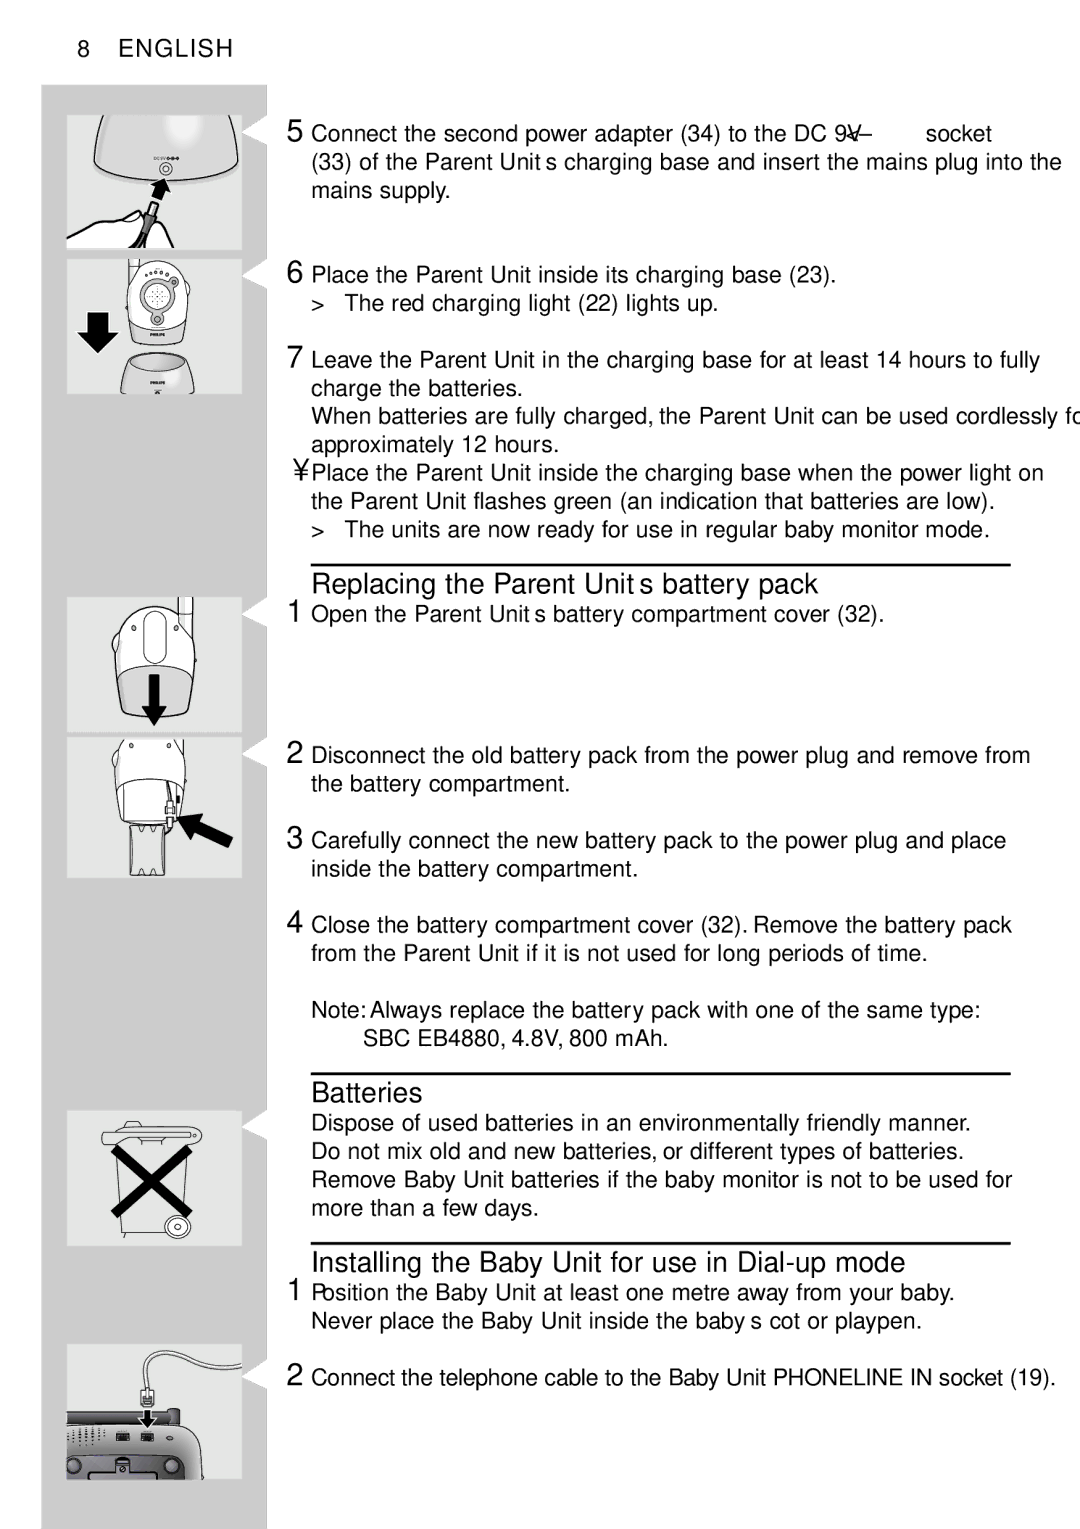
5 Connect the second power adapter (34) to the DC 9V
(33)of the Parent Unit’s charging base and insert the mains plug into the mains supply.
6 Place the Parent Unit inside its charging base (23). > The red charging light (22) lights up.
7 Leave the Parent Unit in the charging base for at least 14 hours to fully charge the batteries.
When batteries are fully charged, the Parent Unit can be used cordlessly for approximately 12 hours.
•Place the Parent Unit inside the charging base when the power light on the Parent Unit flashes green (an indication that batteries are low).
> The units are now ready for use in regular baby monitor mode.
Replacing the Parent Unit’s battery pack
1 Open the Parent Unit’s battery compartment cover (32).
2 Disconnect the old battery pack from the power plug and remove from the battery compartment.
3 Carefully connect the new battery pack to the power plug and place inside the battery compartment.
4 Close the battery compartment cover (32). Remove the battery pack from the Parent Unit if it is not used for long periods of time.
Note: Always replace the battery pack with one of the same type: SBC EB4880, 4.8V, 800 mAh.
Batteries
Dispose of used batteries in an environmentally friendly manner. Do not mix old and new batteries, or different types of batteries. Remove Baby Unit batteries if the baby monitor is not to be used for more than a few days.
Installing the Baby Unit for use in Dial-up mode
1 Position the Baby Unit at least one metre away from your baby. Never place the Baby Unit inside the baby’s cot or playpen.
2 Connect the telephone cable to the Baby Unit PHONELINE IN socket (19).