6ENGLISH
Using your FM wireless headphone system
IMPORTANT!
•Use only Philips 12V/200mA AC/DC adapter.
•Use only Philips’ shortened sleeve rechargeable batteries NiMH (R03/AAA, type number: SBC HB550S, partnumber 996500015757).
•Do not use NiCd batteries or alkaline batteries as they may
damage your FM wireless headphone system.
Installing/replacing batteries
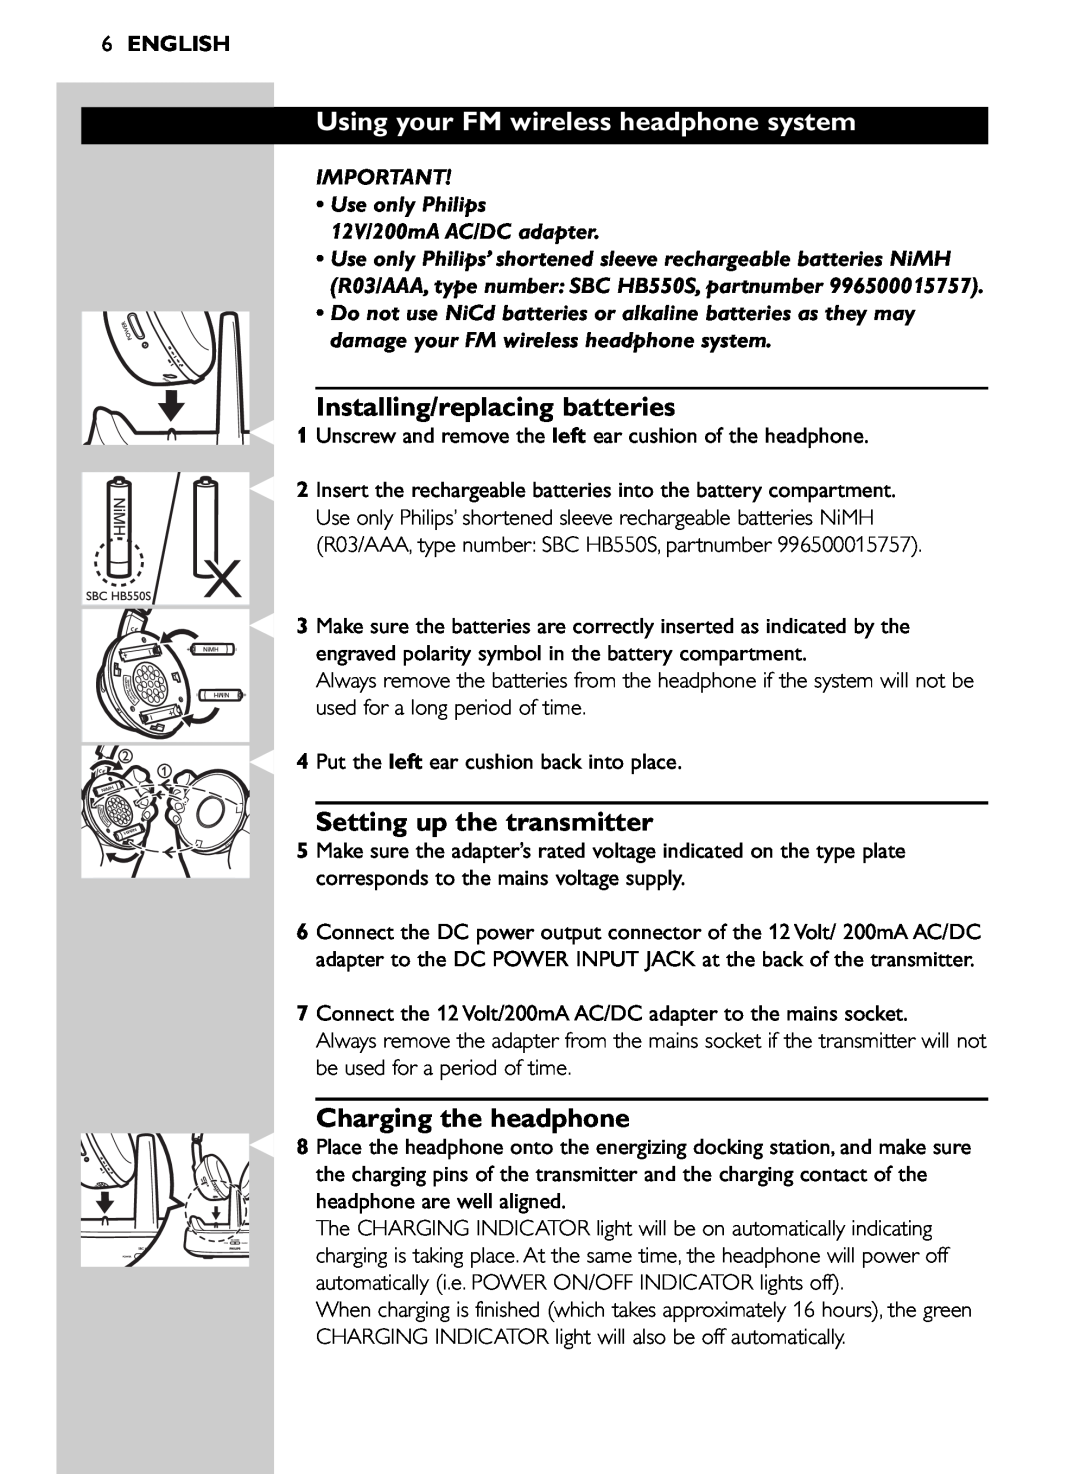
1 Unscrew and remove the left ear cushion of the headphone.
2 Insert the rechargeable batteries into the battery compartment. Use only Philips’ shortened sleeve rechargeable batteries NiMH (R03/AAA, type number: SBC HB550S, partnumber 996500015757).
3 Make sure the batteries are correctly inserted as indicated by the engraved polarity symbol in the battery compartment.
Always remove the batteries from the headphone if the system will not be used for a long period of time.
4 Put the left ear cushion back into place.
Setting up the transmitter
5 Make sure the adapter’s rated voltage indicated on the type plate corresponds to the mains voltage supply.
6 Connect the DC power output connector of the 12 Volt/ 200mA AC/DC adapter to the DC POWER INPUT JACK at the back of the transmitter.
7 Connect the 12 Volt/200mA AC/DC adapter to the mains socket.
Always remove the adapter from the mains socket if the transmitter will not be used for a period of time.
Charging the headphone
8 Place the headphone onto the energizing docking station, and make sure the charging pins of the transmitter and the charging contact of the headphone are well aligned.
The CHARGING INDICATOR light will be on automatically indicating charging is taking place. At the same time, the headphone will power off automatically (i.e. POWER ON/OFF INDICATOR lights off).
When charging is finished (which takes approximately 16 hours), the green CHARGING INDICATOR light will also be off automatically.
