04Getting started
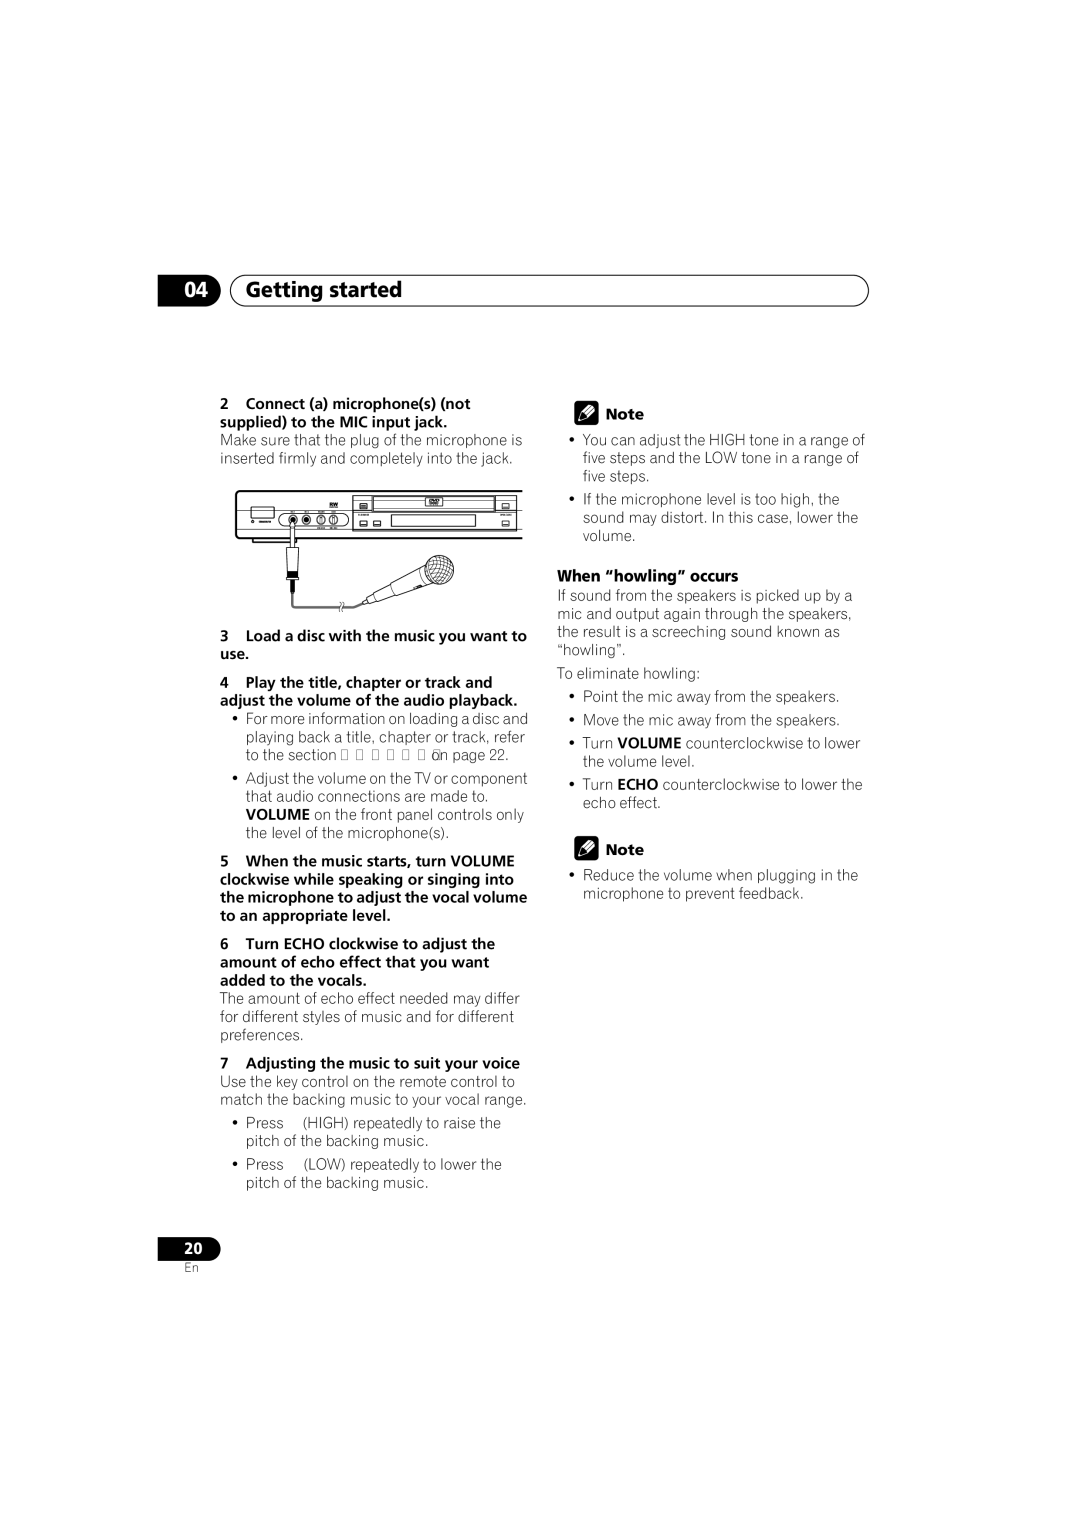
2Connect (a) microphone(s) (not supplied) to the MIC input jack.
Make sure that the plug of the microphone is inserted firmly and completely into the jack.
MIC 1 | MIC 2 | VOLUME | ECHO |
|
|
|
| FL DIMMER | OPEN/CLOSE |
STANDBY/ON |
|
|
|
|
|
|
|
3Load a disc with the music you want to use.
4Play the title, chapter or track and
adjust the volume of the audio playback.
•For more information on loading a disc and playing back a title, chapter or track, refer to the section Playing discs on page 22.
•Adjust the volume on the TV or component that audio connections are made to. VOLUME on the front panel controls only the level of the microphone(s).
5When the music starts, turn VOLUME clockwise while speaking or singing into the microphone to adjust the vocal volume to an appropriate level.
6Turn ECHO clockwise to adjust the amount of echo effect that you want added to the vocals.
The amount of echo effect needed may differ for different styles of music and for different preferences.
7Adjusting the music to suit your voice Use the key control on the remote control to match the backing music to your vocal range.
• Press | (HIGH) repeatedly to raise the |
pitch of the backing music. | |
• Press | (LOW) repeatedly to lower the |
pitch of the backing music.
20
![]() Note
Note
•You can adjust the HIGH tone in a range of five steps and the LOW tone in a range of five steps.
•If the microphone level is too high, the sound may distort. In this case, lower the volume.
When “howling” occurs
If sound from the speakers is picked up by a mic and output again through the speakers, the result is a screeching sound known as “howling”.
To eliminate howling:
•Point the mic away from the speakers.
•Move the mic away from the speakers.
•Turn VOLUME counterclockwise to lower the volume level.
•Turn ECHO counterclockwise to lower the echo effect.
![]() Note
Note
•Reduce the volume when plugging in the microphone to prevent feedback.
En