Getting started

Using the on-screen displays

For ease of use, this system makes extensive use of graphical on-screen displays (OSDs).

All the screens are navigated in basically the same way, using the cursor buttons ( , , ,

) to change the highlighted item and pressing ENTER to select it.1

Important

Throughout this manual, ‘Select’ means use the cursor buttons to highlight an item on-screen, then press ENTER.

Button What it does

HOME Displays/exits the on-screen display

MENU

Changes the highlighted menu item

ENTER Selects the highlighted menu item

RETURN Returns to the main menu without saving changes

Tip

The button guide at the bottom of every OSD screen shows you which buttons you’ll need to use for that screen.

Playing discs

The basic playback controls for playing DVD, CD, Video CD/Super VCD, DivX video and MP3/ WMA discs are covered here. Further functions are detailed in chapter 3.

1If the player isn’t already on, switch it on. If you’re playing a disc with video, also turn on your TV and make sure that it is set to the correct video input.

2 Press OPEN/CLOSE to load a disc.

01

Load a disc with the label side facing up, using

English

the disc tray guide to align the disc (if you’re


loading a double-sided DVD disc, load it with


the side you want to play face down).


Deutsch

3

Press (play) to start playback.


If you’re playing a DVD or Video CD/Super VCD,


Français

a menu may appear. See DVD-Video disc


menus and Video CD/Super VCD PBC menus on


page 8 to navigate these.


If you’re playing a DivX video or WMA/MP3


disc, it may take a few seconds before playing.


Italiano

If you loaded a CD/CD-R/RW containing


JPEGs, a slideshow will start. See Playing a


JPEG slideshow on page 13 for more on this.


• If a disc contains a mixture of DivX video


and other media file types (MP3, for


example), first select whether to play the


Nederlands


DivX video files (DivX) or the other media


file types (MP3 / WMA / JPEG) from the


on-screen display.


4

Adjust the volume.


Use the VOLUME control.

Español

The following table shows the basic controls on

Basic playback controls


the remote for playing discs2. You can find other playback features in the chapter 3.

Button What it does

Starts/resumes normal playback.

If the display shows RESUME or LAST MEM playback starts from the resume or last memory point (see Resume and Last Memory below).

Pauses/unpauses a disc.

Note

1The screen saver will appear after five minutes of inactivity.

2You may find with some DVD discs that some playback controls don’t work in certain parts of the disc.

7

En

Page 7
Image 7
Pioneer S-DV232T, S-DV131 manual Getting started Using the on-screen displays, Playing discs, Basic playback controls, Menu

S-DV232T, S-DV131 specifications

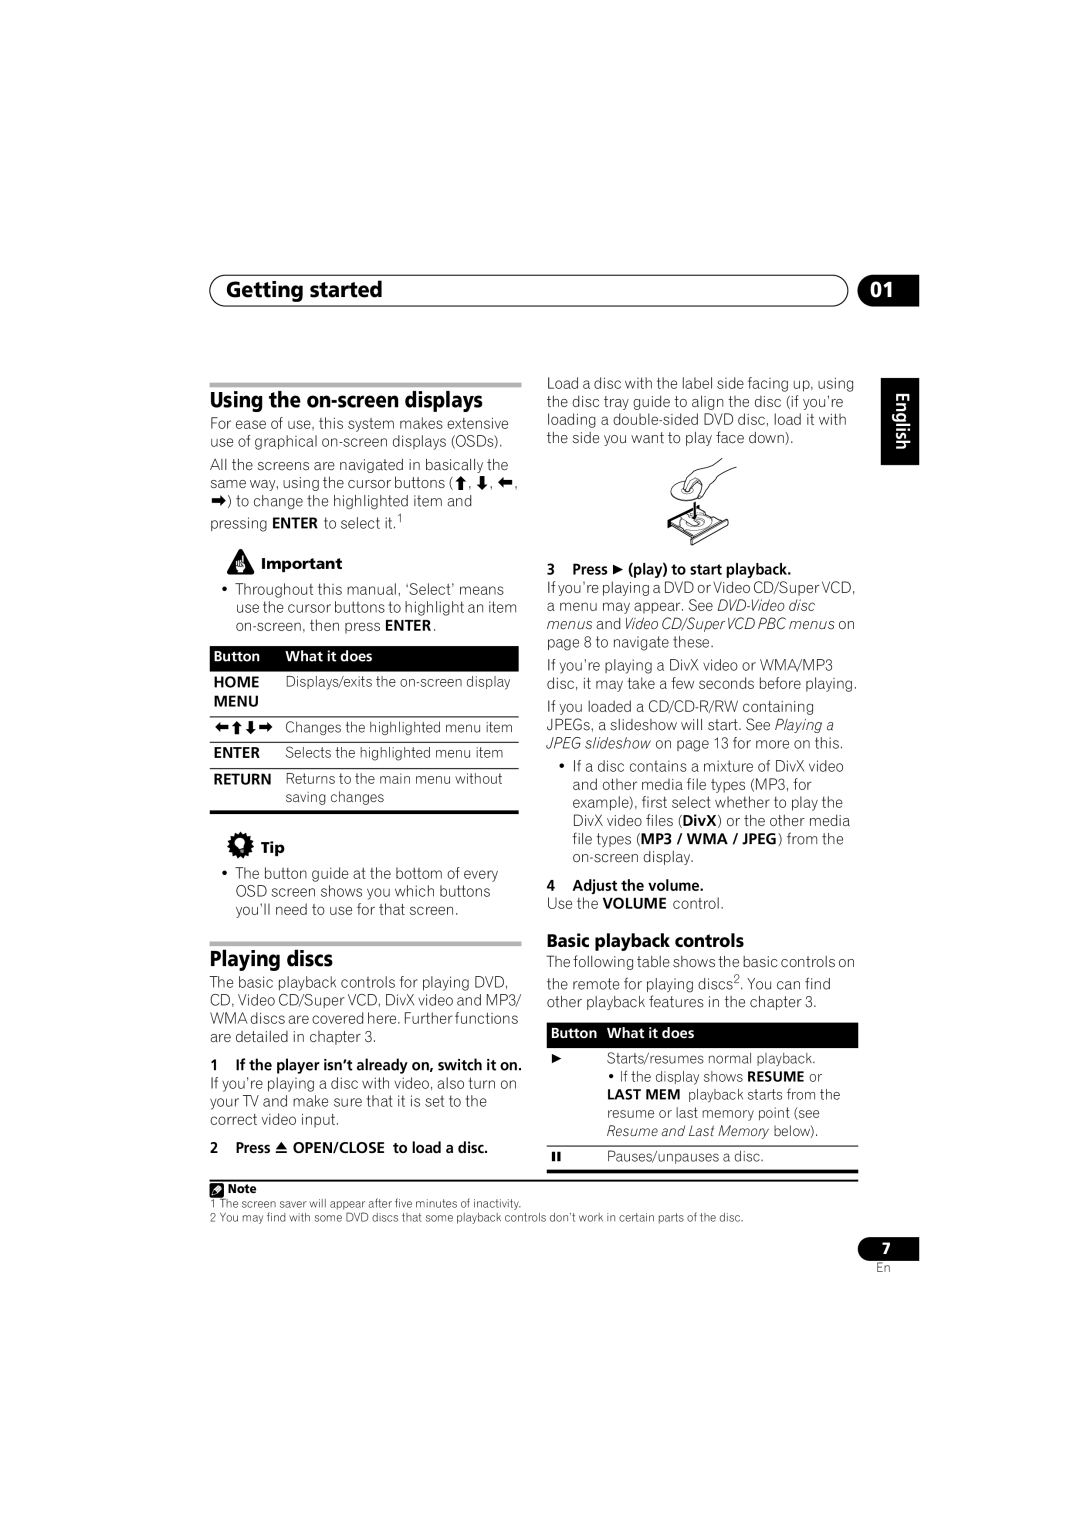
The Pioneer S-DV131 and S-DV232T are exemplary home theater systems that bring immersive audio experiences to any entertainment setup. Designed with advanced technologies and user-friendly features, these models cater to audiophiles and casual listeners alike, enhancing the way you enjoy music and movies at home.

Starting with the S-DV131, this system is known for its compact design, making it suitable for smaller spaces without compromising sound quality. One of its main features is the incorporation of high-performance speakers that deliver robust output across a range of frequencies. This model employs Pioneer’s proprietary speaker technology, which ensures clear dialogue and a rich bass response, allowing listeners to fully appreciate their favorite media. The built-in amplifier in the S-DV131 further enhances audio performance, providing a powerful yet crisp listening experience.

Moving on to the S-DV232T, this system steps up in versatility and functionality. It includes Bluetooth connectivity, allowing users to stream their favorite playlists effortlessly from smartphones and tablets. The S-DV232T also supports various file formats, ensuring that music can be enjoyed in high resolution. Additionally, it features a sleek, modern design that complements any home decor, making it not just a functional device but also an attractive addition to your living space.

Both the S-DV131 and S-DV232T come equipped with advanced sound processing technologies that optimize audio playback. Technologies like Dolby Digital and DTS decoding are employed to create a surround sound effect, immersing listeners in a cinematic environment. Users can also take advantage of multiple input options, including HDMI, optical, and auxiliary ports, allowing for easy connection to various devices such as televisions, game consoles, and streaming boxes.

Furthermore, the systems are designed with user convenience in mind, featuring intuitive remote controls and on-screen displays that simplify navigation and setup. The compact nature of these systems makes them ideal for home use, whether for movie nights or music listening parties.

In summary, the Pioneer S-DV131 and S-DV232T stand out for their impressive sound quality, advanced connectivity options, and stylish designs, making them excellent choices for anyone looking to enhance their home audio experience. With these systems, Pioneer continues to deliver on its promise of innovation and excellence in audio engineering.