
VSX-517-S/-K specifications
The Pioneer VSX-517-S/-K is a noteworthy addition to the realm of home theater receivers, offering a blend of performance, versatility, and user-friendly features. This model is popularly recognized for its impressive audio capabilities, making it a great choice for both casual listeners and audiophiles alike.One of the key features of the VSX-517 is its 5.1 channel surround sound system. This allows users to enjoy immersive audio experiences, whether they are watching movies, playing video games, or listening to music. The receiver delivers a robust power output, enabling dynamic sound reproduction that can fill a room, enhancing the overall entertainment experience.
The VSX-517 is equipped with Dolby Digital and DTS decoding technologies, which are staples in the industry for delivering high-quality sound reproduction. This ensures that the audio is as close to the original recording as possible, providing an engaging listening experience. Additionally, the receiver supports a range of other audio formats, allowing users to enjoy their favorite media without restrictions.
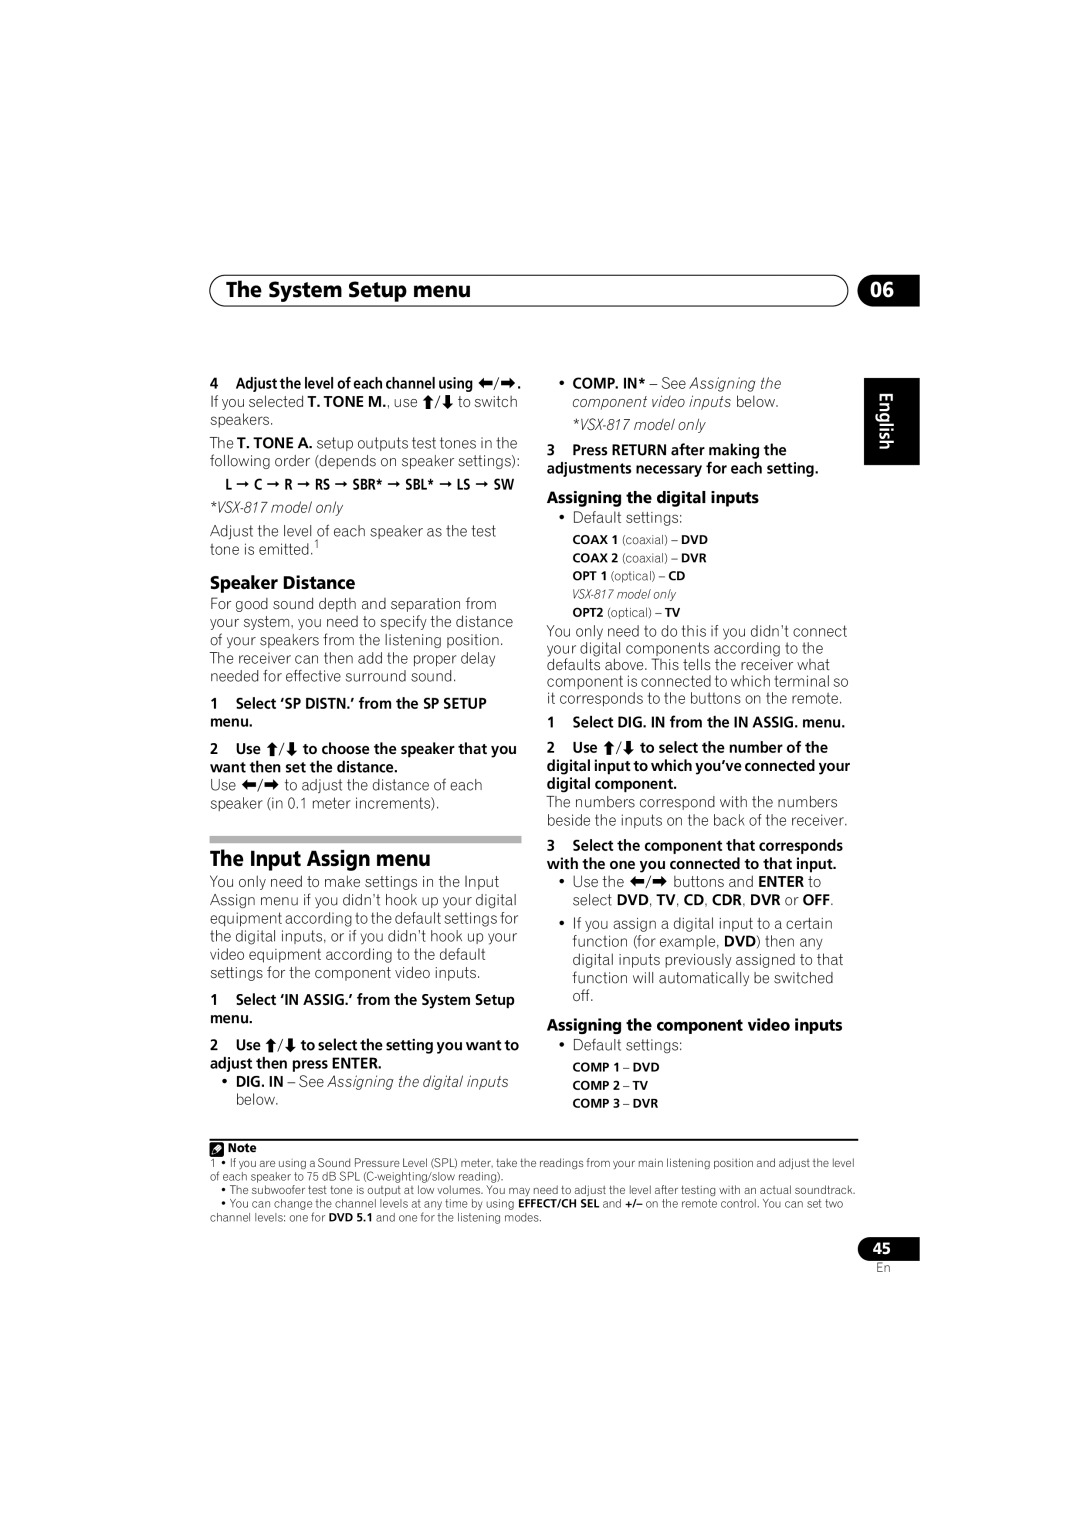
Another attractive feature of the VSX-517 is its advanced setup options. The receiver includes an on-screen graphical user interface that simplifies the installation and configuration process. This user-friendly interface allows users to easily adjust settings according to their preferences, making it more accessible for those who may not be tech-savvy.
The VSX-517 also boasts multiple inputs and outputs, including HDMI, component, composite, and digital audio inputs, ensuring compatibility with various devices such as Blu-ray players, gaming consoles, and streaming devices. This versatility means that users can connect their entire entertainment system to one central hub, streamlining their setup.
In terms of user convenience, the remote control is designed for intuitive operation, allowing easy access to essential functions such as volume control, input selection, and audio adjustments directly from the comfort of the couch.
The amplifier section of the Pioneer VSX-517 features Class D technology, which contributes to its efficiency. This means that the device can produce a remarkable sound output while consuming less power, making it an eco-friendly option for users.
Overall, the Pioneer VSX-517-S/-K stands out for its combination of strong audio performance, versatility in connectivity, and user-friendly features, making it an appealing choice for consumers looking to elevate their home entertainment experience without breaking the bank.