Connecting the Optional Touchscreen
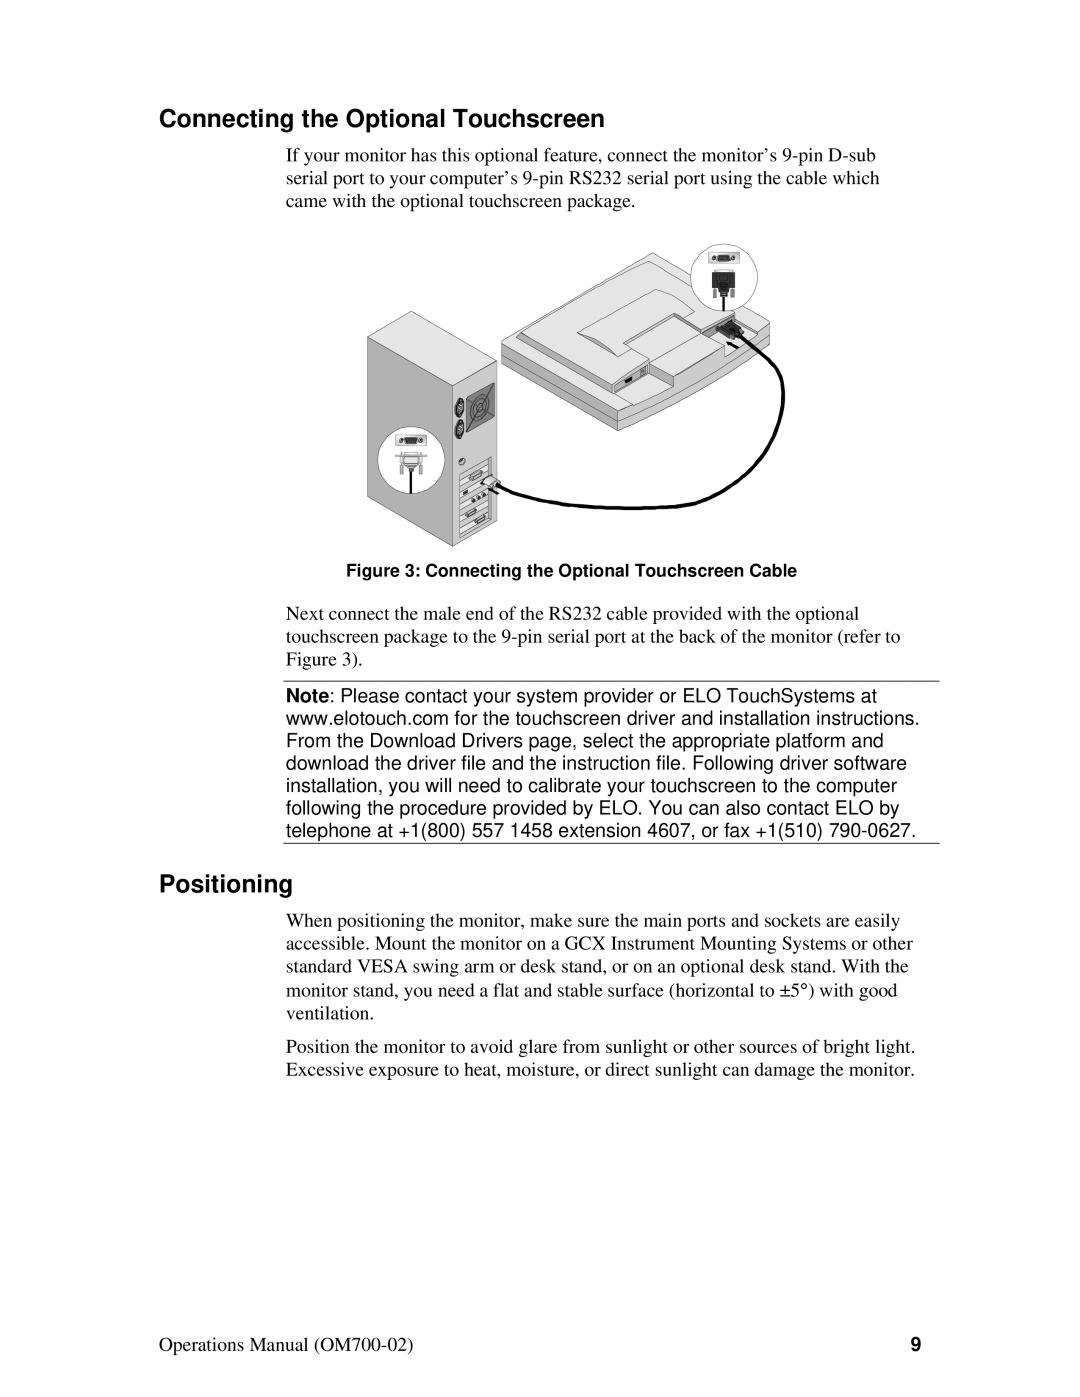
If your monitor has this optional feature, connect the monitor’s
Figure 3: Connecting the Optional Touchscreen Cable
Next connect the male end of the RS232 cable provided with the optional touchscreen package to the
Note: Please contact your system provider or ELO TouchSystems at www.elotouch.com for the touchscreen driver and installation instructions. From the Download Drivers page, select the appropriate platform and download the driver file and the instruction file. Following driver software installation, you will need to calibrate your touchscreen to the computer following the procedure provided by ELO. You can also contact ELO by telephone at +1(800) 557 1458 extension 4607, or fax +1(510)
Positioning
When positioning the monitor, make sure the main ports and sockets are easily accessible. Mount the monitor on a GCX Instrument Mounting Systems or other standard VESA swing arm or desk stand, or on an optional desk stand. With the monitor stand, you need a flat and stable surface (horizontal to ±5°) with good ventilation.
Position the monitor to avoid glare from sunlight or other sources of bright light. Excessive exposure to heat, moisture, or direct sunlight can damage the monitor.
Operations Manual | 9 |