25.Raise video system into approximate position and connect all wiring to components. Route video cable through hole in mounting bracket. Connect wiring and cabling to video system per instructions included with video system. Make sure lights in video system operate with door jamb switch.
26.Check function of all components and lights. See operating instructions for video system operations check. For further assistance, refer to the video system manual for the technical support phone number listed for your area.
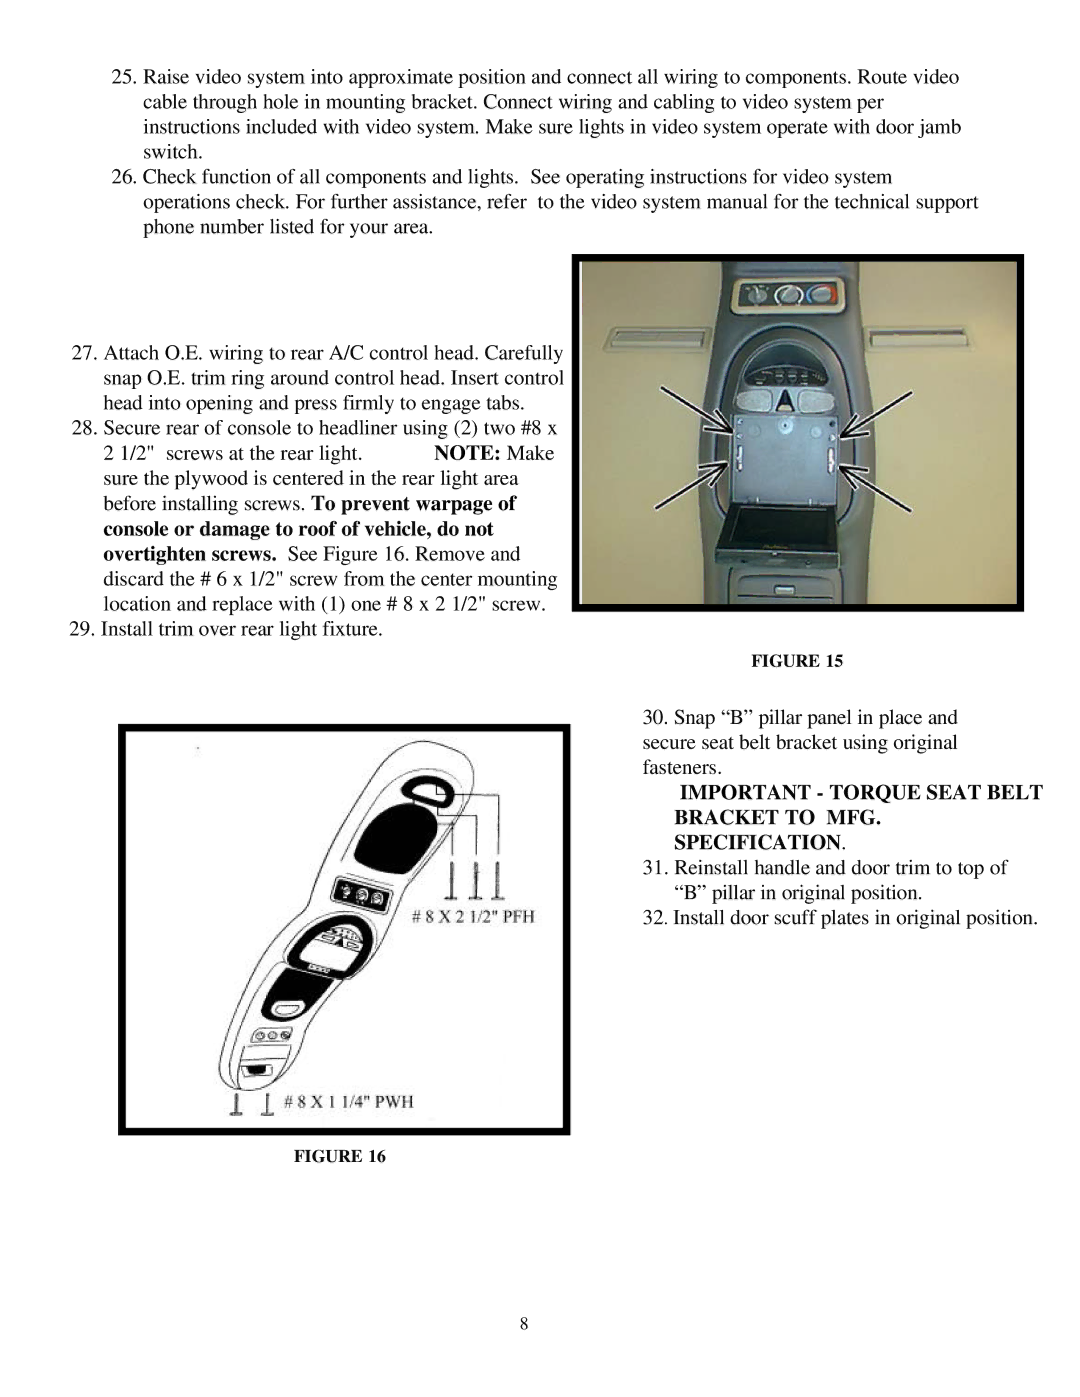
27.Attach O.E. wiring to rear A/C control head. Carefully snap O.E. trim ring around control head. Insert control head into opening and press firmly to engage tabs.
28.Secure rear of console to headliner using (2) two #8 x
2 1/2" screws at the rear light. NOTE: Make sure the plywood is centered in the rear light area before installing screws. To prevent warpage of console or damage to roof of vehicle, do not overtighten screws. See Figure 16. Remove and discard the # 6 x 1/2" screw from the center mounting location and replace with (1) one # 8 x 2 1/2" screw.
29. Install trim over rear light fixture.
FIGURE 15
30. Snap “B” pillar panel in place and secure seat belt bracket using original fasteners.
IMPORTANT - TORQUE SEAT BELT
BRACKET TO MFG.
SPECIFICATION.
31. Reinstall handle and door trim to top of “B” pillar in original position.
32. Install door scuff plates in original position.
FIGURE 16
8