REMOTE CONTROL GUIDED TOUR
The remote control is divided into three major sections. The top section contains the controls used most often, such as ON/OFF, MUTE, SUBWOOFER volume and system VOLUME controls. The middle section has the source buttons, where you select the source component you want to hear and see. The bottom set of buttons are set-up buttons that are rarely used. Most folks will use them once to set up the system and never touch them again. For that matter you could never touch them and you’ll still get great sound from your Digital Solution system!
A—Surround On/Off Button
This button switches between surround sound and 2 channel stereo.
B—Subwoofer +/- Buttons
Push (+) to increase and (-) to decrease the bass volume. The preamp/ processor “remembers” the bass level for stereo and surround modes. For example, if you are watching a DVD and you select a bass level of -7, then switch to a CD in stereo and change the bass setting to -10, the system will return to a bass setting of -7 when you go back to the surround mode.
C—Power Switch
When this switch is pressed once, the power turns ON and lights appear on the display panel. When pressed again, the power turns OFF and the standby indicator light on the preamp/processor glows red. Make sure the power switch on the back of the subwoofer enclosure is set to the “Standby” position. When you turn on the preamp/processor, the amplifiers in the subwoofer enclosure will also turn on and you will see a green glow on the base of the subwoofer. When the preamp/processor is turned “Off,” the amplifiers turn off and the light in the subwoofer base glows red.
D—Volume +/- Buttons
Push (+) to increase and (-) to decrease the overall volume of the system.
E—Mute Button
Push this button to temporarily silence the sound. When mute is on, you will see “MUTE” appear on the preamp/processor display. Pressing the Mute button a second time or pressing either of the Volume buttons will release the mute, sound will resume, and the MUTE light turns off.
F—+/- Radio Tuner Button
When either the AM or FM sources are selected, these buttons allow you to manually tune AM and FM radio stations. Pressing the right (+) side of the rocker button moves the tuner up the radio band. Pressing the left (-) side of the rocker button moves the tuner down the radio band. If you hold your finger on the button for a few seconds, the tuner will “fast forward” through the frequencies. The tuner stops as soon as you push the button a second time.
G—+/- Radio Preset Button
This button selects from the list of preset radio stations. Pushing the right (+) side of the rocker button moves from lower preset numbers to the higher preset numbers. Pushing the left (-) side of the rocker button moves down through the list of preset stations. See page 22 for more information on using this feature.
H—Late Night Button
This button toggles between Late Night and Normal modes. In the Late Night mode the dynamic range of the signal is reduced. That means that loud sounds are made less loud. This is a great feature to use anytime you want to watch action/adventure movies and avoid bothering other people in the house. This feature only works with Dolby Digital inputs such as DVD, LD, and Dolby Digital equipped DSS. When you push this button, the word “NIGHT ON” appears in the main display window for a
few seconds and the small 
 mode light in the lower right hand corner of the display illuminates. Push the button again and “NIGHT OFF” appears for a few seconds. (See page 22.)
I—FM and AM Buttons
Push the AM button to listen to AM band radio stations or push the FM button to listen to FM radio band radio stations.
J—Preset Scan Button
Push this button when you want to scan through the radio stations you have preset. The tuner will play each preset station for a few seconds, then move on to the next preset station. The scanning stops as soon as
you push the button again. 
 will flash in the display window while this mode is in use.
K—Audio Input Buttons
Push these buttons to listen to either CD or tape players.
L—Video/Audio Input Buttons
Push the appropriate button to select an audio/video source. Both audio and video inputs will be selected at the same time.
M—Status Button
Push this button to display the audio status of the preamp/processor on your TV screen for five (5) seconds. It will display the current source (DVD, FM, etc.), the mode (Dolby Digital, Pro Logic, Stereo), Multi- Room status (“off” or the selected multi-room source), Subwoofer Level, and Master Volume level.
N—Balance Button
Push this button to display the Channel Balance Menu on your TV screen. See “SET UP AND CALIBRATION” on page 19.
O—Delay Button
Push this button to display the Delay Menu on your TV screen. See “SET UP AND CALIBRATION” on page 19.
P—Multi-Room Button
Push this button to display the Multi-Room Menu on you TV screen. See “USING MULTI-ROOM” on page 24.
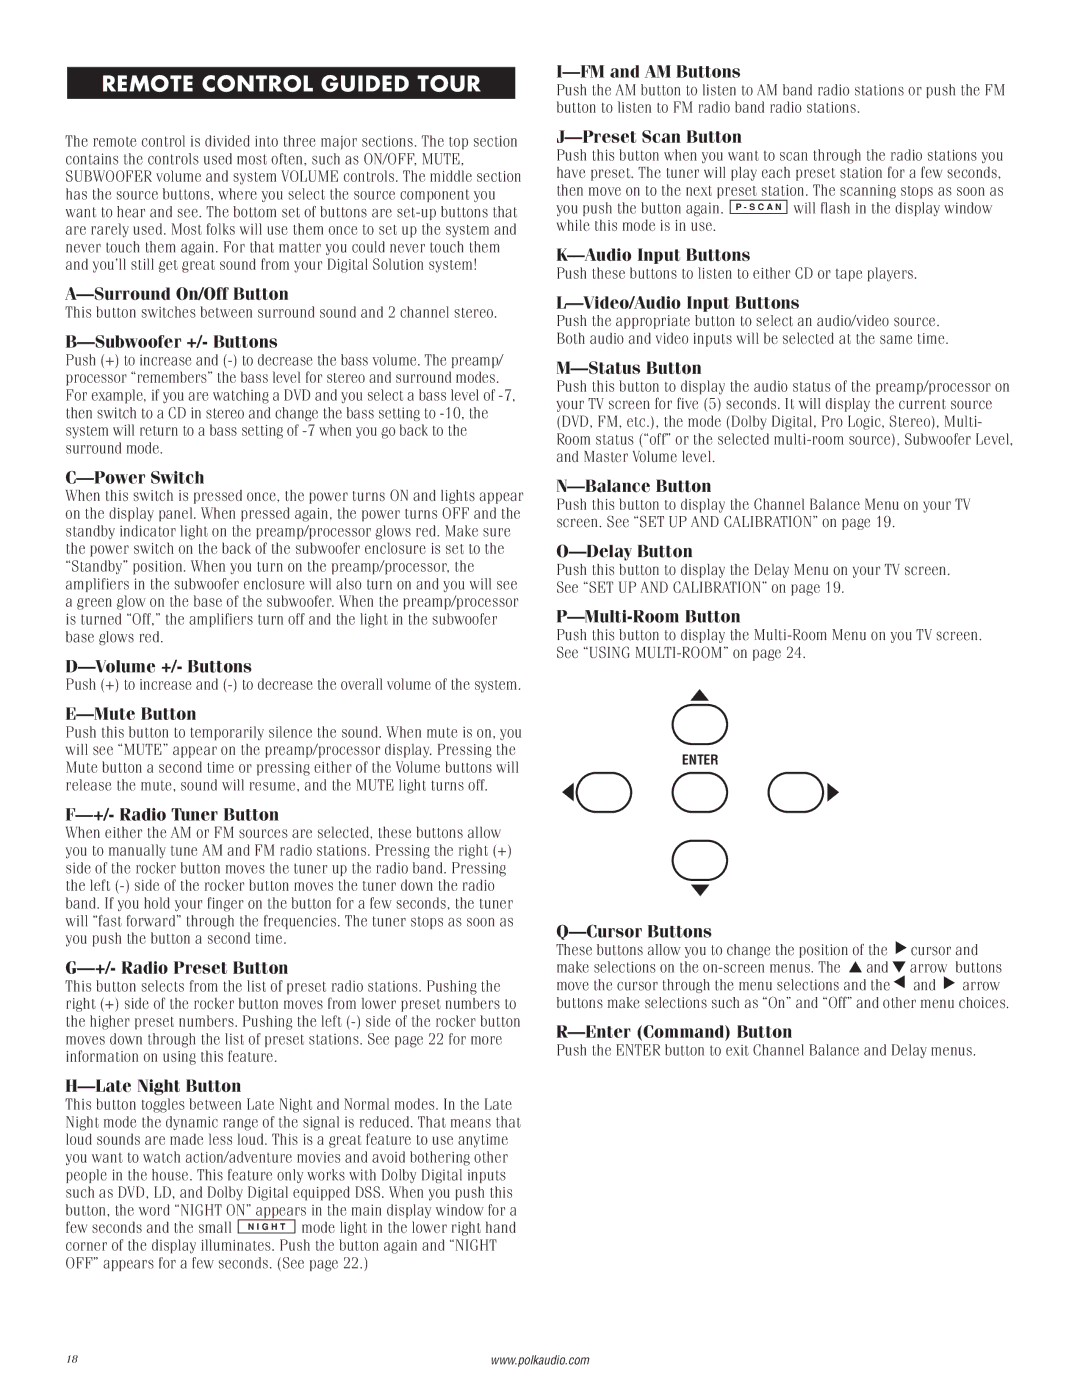
ENTER
Q—Cursor Buttons
These buttons allow you to change the position of the  cursor and make selections on the on-screen menus. The ▲ and ▼ arrow buttons move the cursor through the menu selections and the
  and
and  arrow buttons make selections such as “On” and “Off” and other menu choices.
R—Enter (Command) Button
Push the ENTER button to exit Channel Balance and Delay menus.