A
BA
Fig. 8 | Fig. 9 |
8.Assemble the left hand
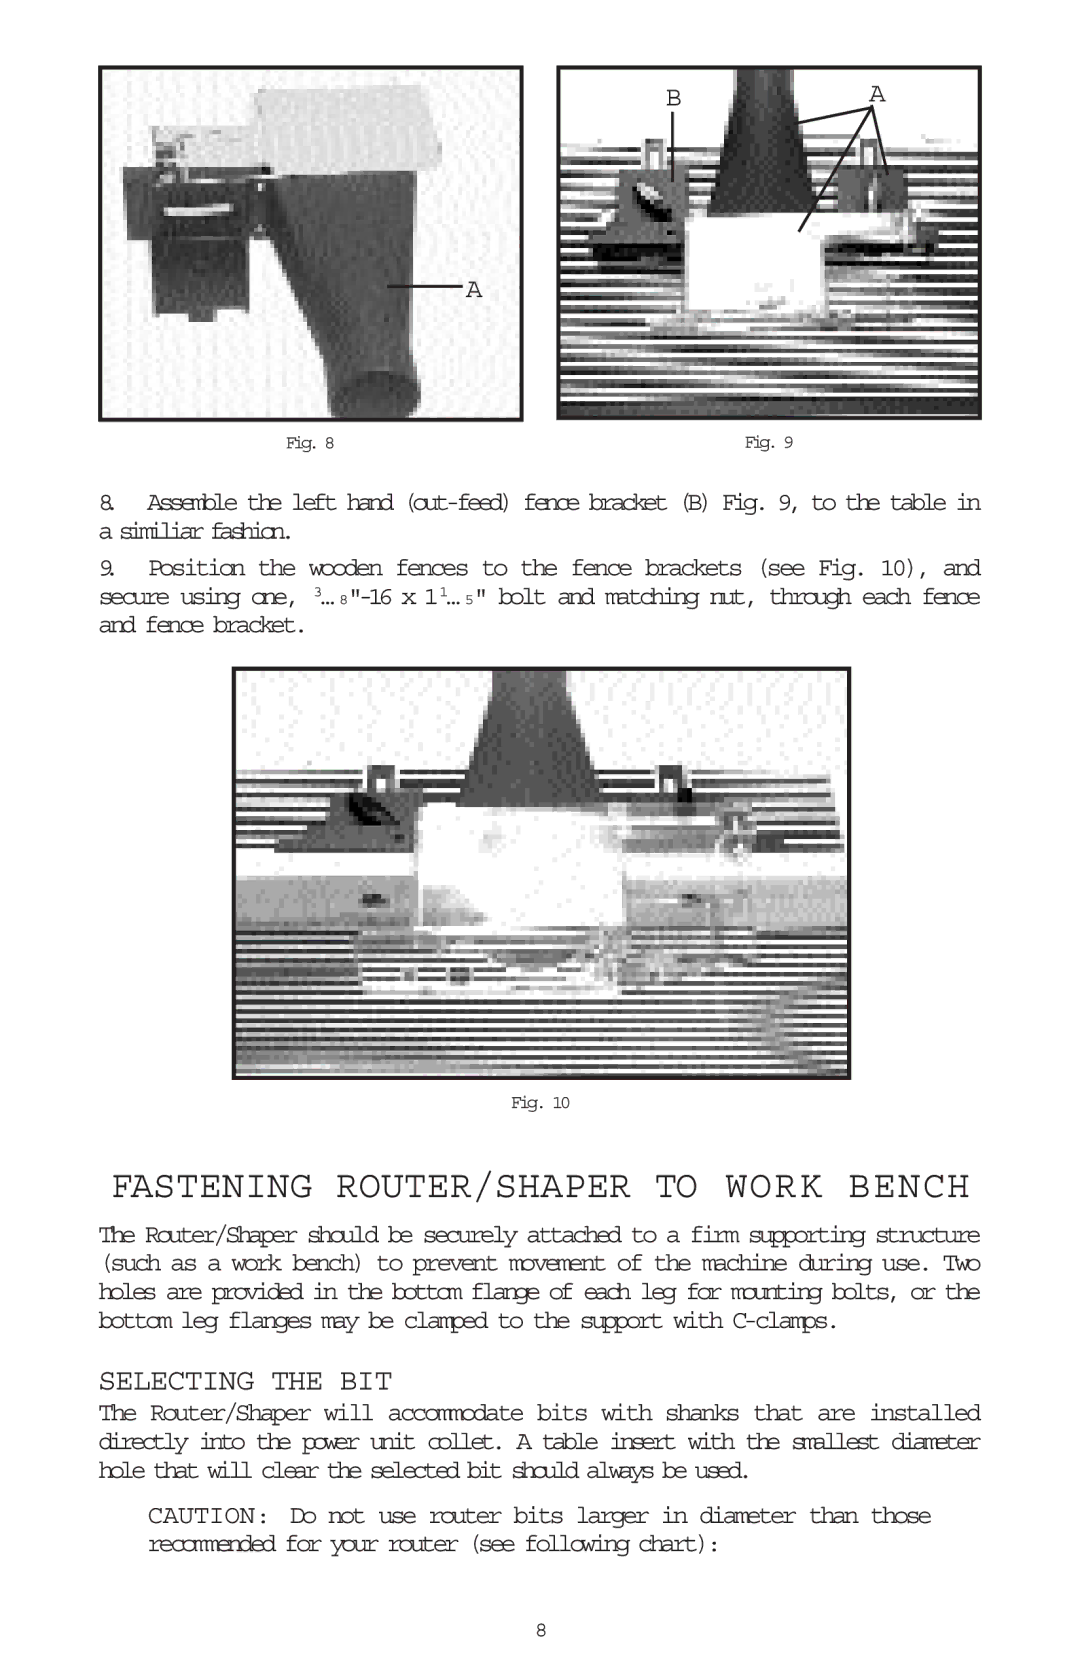
9.Position the wooden fences to the fence brackets (see Fig. 10), and secure using one, 3…
Fig. 10
FASTENING ROUTER/SHAPER TO WORK BENCH
The Router/Shaper should be securely attached to a firm supporting structure (such as a work bench) to prevent movement of the machine during use. Two holes are provided in the bottom flange of each leg for mounting bolts, or the bottom leg flanges may be clamped to the support with
SELECTING THE BIT
The Router/Shaper will accommodate bits with shanks that are installed directly into the power unit collet. A table insert with the smallest diameter hole that will clear the selected bit should always be used.
CAUTION: Do not use router bits larger in diameter than those recommended for your router (see following chart):
8