115261126, 952711671, PPB5500P specifications
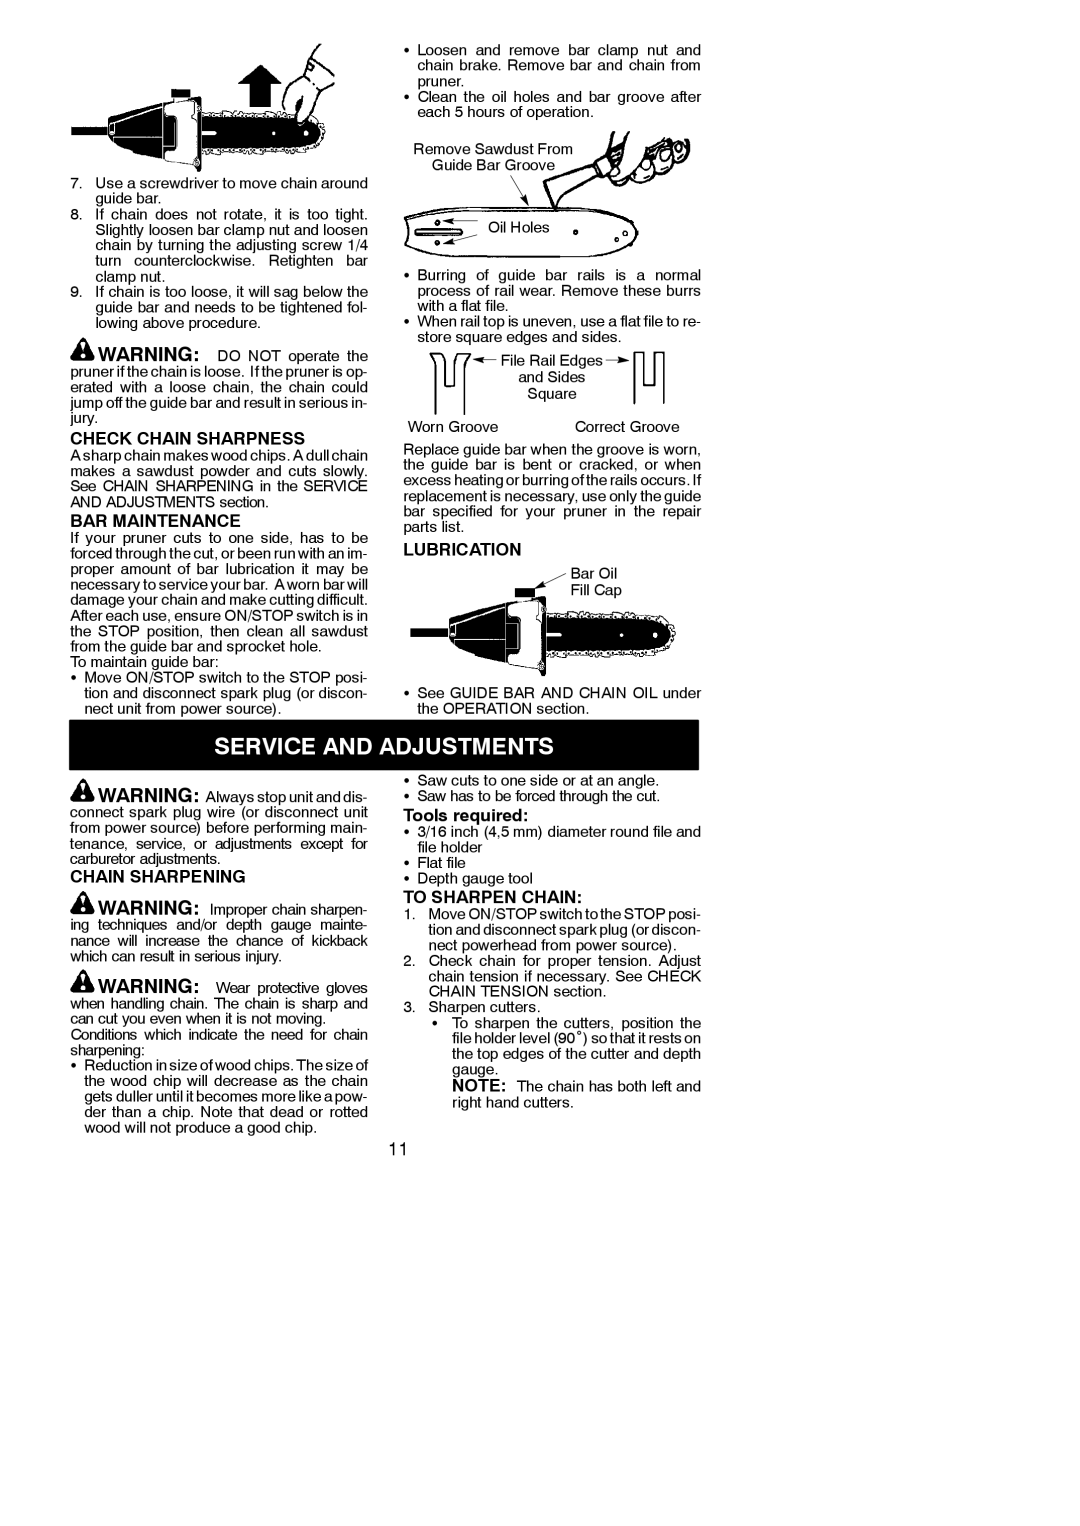
The Poulan 952711671, PPB5500P, and 115261126 are powerful tools tailored for outdoor enthusiasts, gardeners, and professionals alike. These products reflect the brand's commitment to quality, performance, and user-friendly features, making them a popular choice in the industry.The Poulan 952711671 is a replacement part known for its durability and compatibility with various Poulan models. This part is often sought after for maintenance and repair, ensuring that equipment continues to perform at its best. The high-quality construction helps to prolong the life of the equipment, reducing downtime and enhancing overall efficiency. It is engineered with precision to fit seamlessly into existing systems, making installation straightforward for users.
The PPB5500P, a robust gas-powered blower, stands out due to its impressive airspeed and volume capabilities. This blower features a powerful 50cc engine, providing the necessary power to tackle heavy-duty tasks such as clearing leaves, debris, and grass clippings. The product is designed with user comfort in mind; it includes an ergonomic handle that reduces strain during extended use. Additionally, the lightweight construction allows for easy maneuverability, enabling users to work efficiently without fatigue.
One of the standout technologies found in the PPB5500P is the professional-grade air filtration system, which ensures optimal engine performance and longevity. This feature prevents dirt and debris from entering the engine, which can lead to wear and tear over time. Furthermore, the blower comes with adjustable speed settings, allowing users to customize the airflow according to the task at hand.
The 115261126, another vital component from Poulan, serves as a critical replacement part designed to keep your equipment running smoothly. It embodies the same commitment to quality and reliability that characterize all Poulan products. Utilizing advanced materials and manufacturing processes, the 115261126 ensures endurance even in demanding conditions. The integration of eco-friendly technologies into Poulan's designs demonstrates the brand's commitment to sustainability, appealing to environmentally conscious consumers.
Overall, the combination of the Puolan 952711671, PPB5500P, and 115261126 showcases the brand's dedication to delivering superior products that meet the needs of various users. Whether it's in ensuring equipment longevity or providing powerful performance for outdoor tasks, Poulan continues to be a trusted name in the world of outdoor power tools.