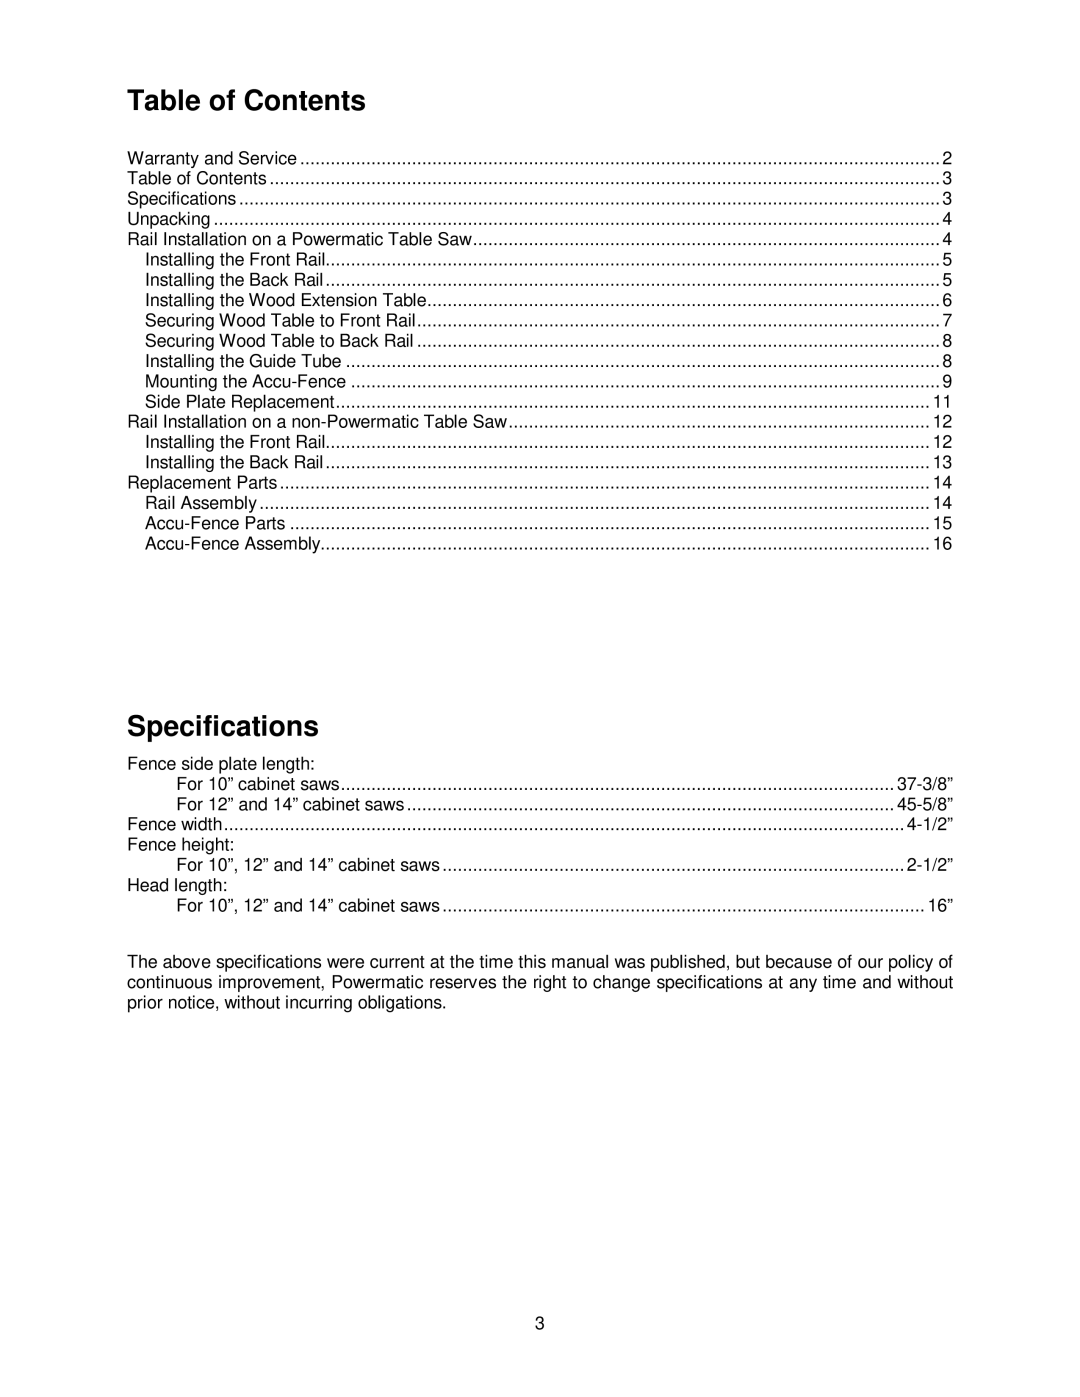
Table of Contents |
|
Warranty and Service | 2 |
Table of Contents | 3 |
Specifications | 3 |
Unpacking | 4 |
Rail Installation on a Powermatic Table Saw | 4 |
Installing the Front Rail | 5 |
Installing the Back Rail | 5 |
Installing the Wood Extension Table | 6 |
Securing Wood Table to Front Rail | 7 |
Securing Wood Table to Back Rail | 8 |
Installing the Guide Tube | 8 |
Mounting the | 9 |
Side Plate Replacement | 11 |
Rail Installation on a | 12 |
Installing the Front Rail | 12 |
Installing the Back Rail | 13 |
Replacement Parts | 14 |
Rail Assembly | 14 |
15 | |
16 |
Specifications
Fence side plate length: |
|
For 10” cabinet saws | |
For 12” and 14” cabinet saws | |
Fence width | |
Fence height: |
|
For 10”, 12” and 14” cabinet saws | |
Head length: |
|
For 10”, 12” and 14” cabinet saws | 16” |
The above specifications were current at the time this manual was published, but because of our policy of continuous improvement, Powermatic reserves the right to change specifications at any time and without prior notice, without incurring obligations.
3
