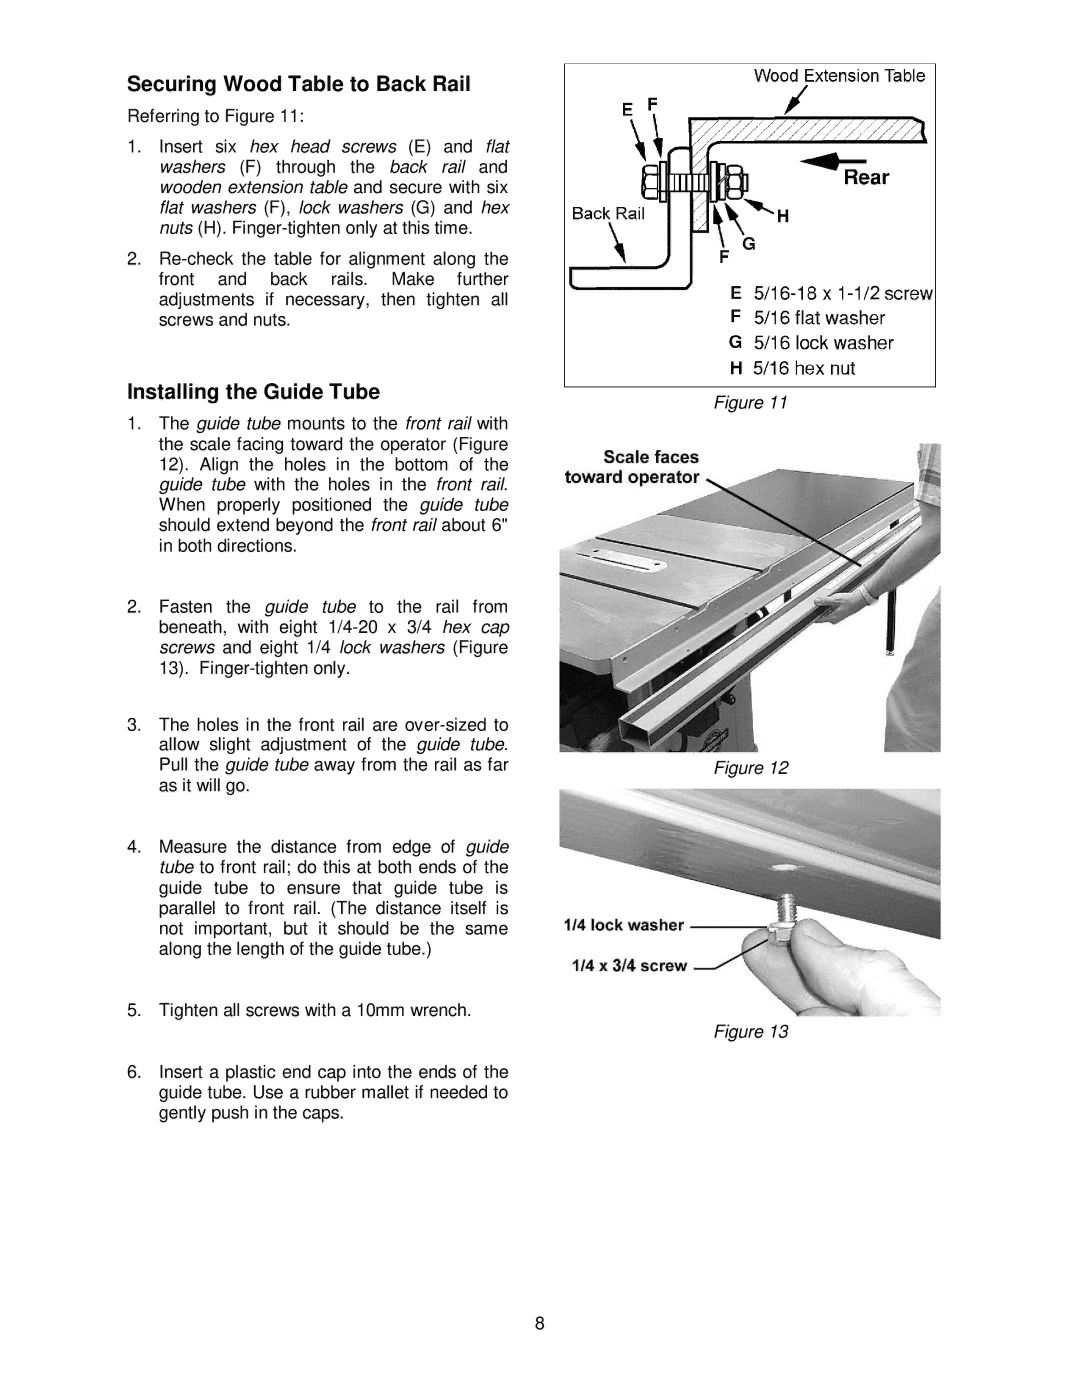
Securing Wood Table to Back Rail
Referring to Figure 11:
1.Insert six hex head screws (E) and flat washers (F) through the back rail and wooden extension table and secure with six flat washers (F), lock washers (G) and hex nuts (H).
2.
Installing the Guide Tube
1.The guide tube mounts to the front rail with the scale facing toward the operator (Figure 12). Align the holes in the bottom of the guide tube with the holes in the front rail. When properly positioned the guide tube should extend beyond the front rail about 6" in both directions.
2.Fasten the guide tube to the rail from beneath, with eight
3.The holes in the front rail are
4.Measure the distance from edge of guide tube to front rail; do this at both ends of the guide tube to ensure that guide tube is parallel to front rail. (The distance itself is not important, but it should be the same along the length of the guide tube.)
5.Tighten all screws with a 10mm wrench.
6.Insert a plastic end cap into the ends of the guide tube. Use a rubber mallet if needed to gently push in the caps.
Figure 11
Figure 12
Figure 13
8