V . A S S E M B L Y
To reduce the possibility of shipping damage, your Jet 1’s seat is removed from the power base, and the seatback is removed from the seat assembly before your Jet 1 is shipped. The joystick may also have been removed from the armrest. The following is a set of instructions to help you quickly and easily prepare your Jet 1 for immediate use.
Required Tool: Phillips screwdriver
Parts List | Quantity |
4 | |
Expandable arm | 1 |
Expandable arm with joystick | 1 |
Seatback | 1 |
4 | |
|
|
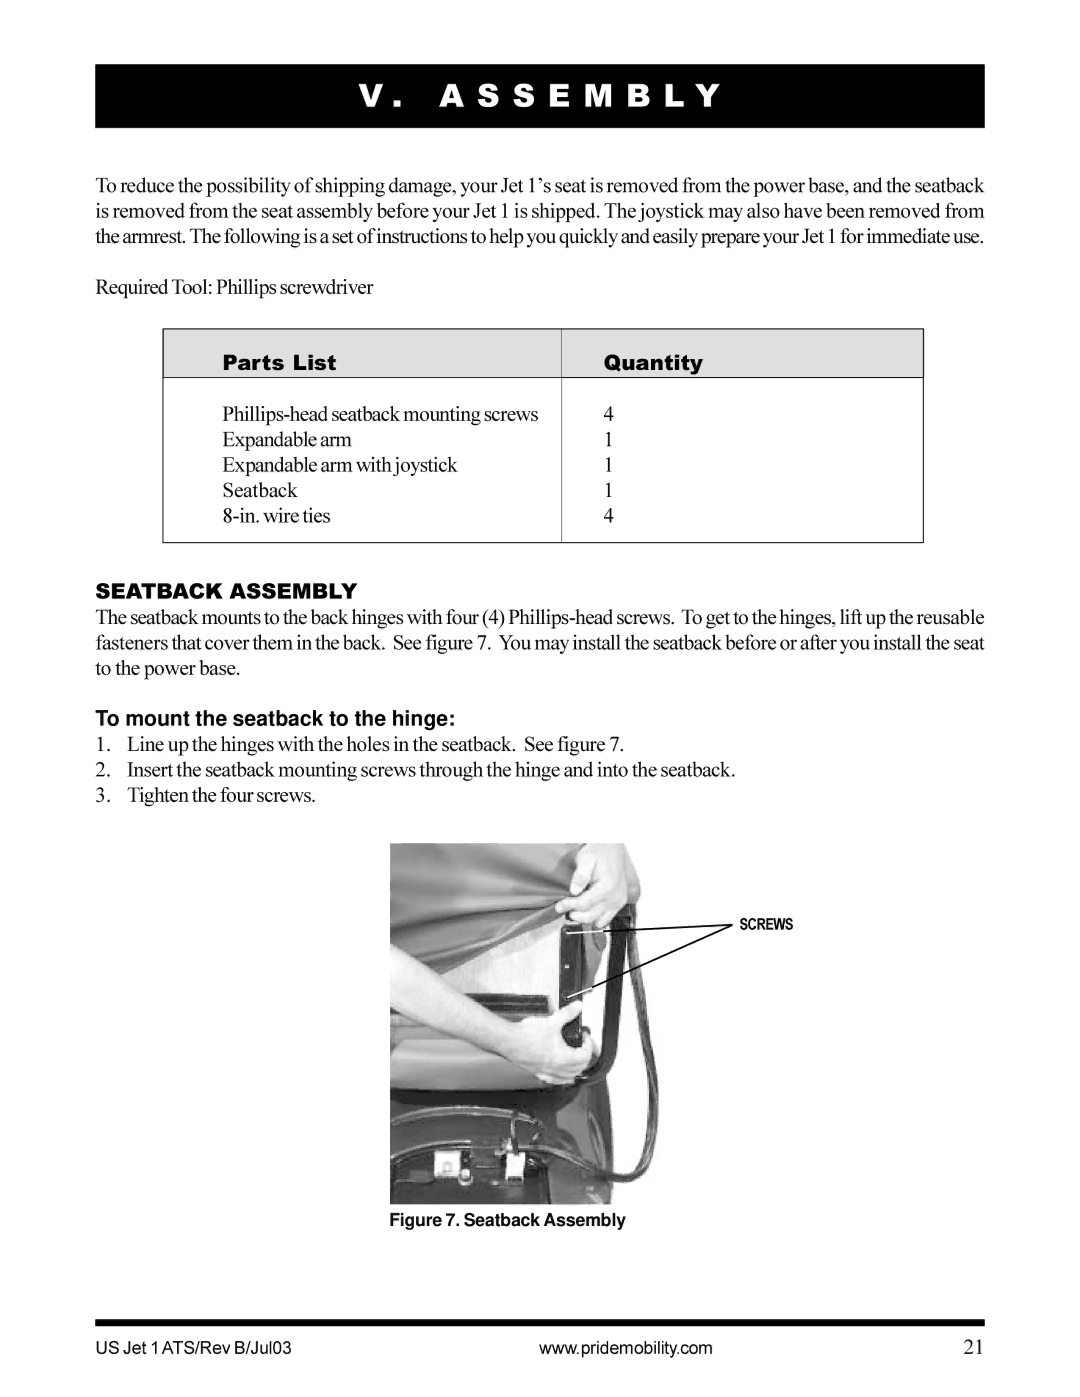
SEATBACK ASSEMBLY
The seatback mounts to the back hinges with four (4)
To mount the seatback to the hinge:
1.Line up the hinges with the holes in the seatback. See figure 7.
2.Insert the seatback mounting screws through the hinge and into the seatback.
3.Tighten the four screws.
SCREWS
Figure 7. Seatback Assembly
US Jet 1 ATS/Rev B/Jul03 | www.pridemobility.com | 21 |
