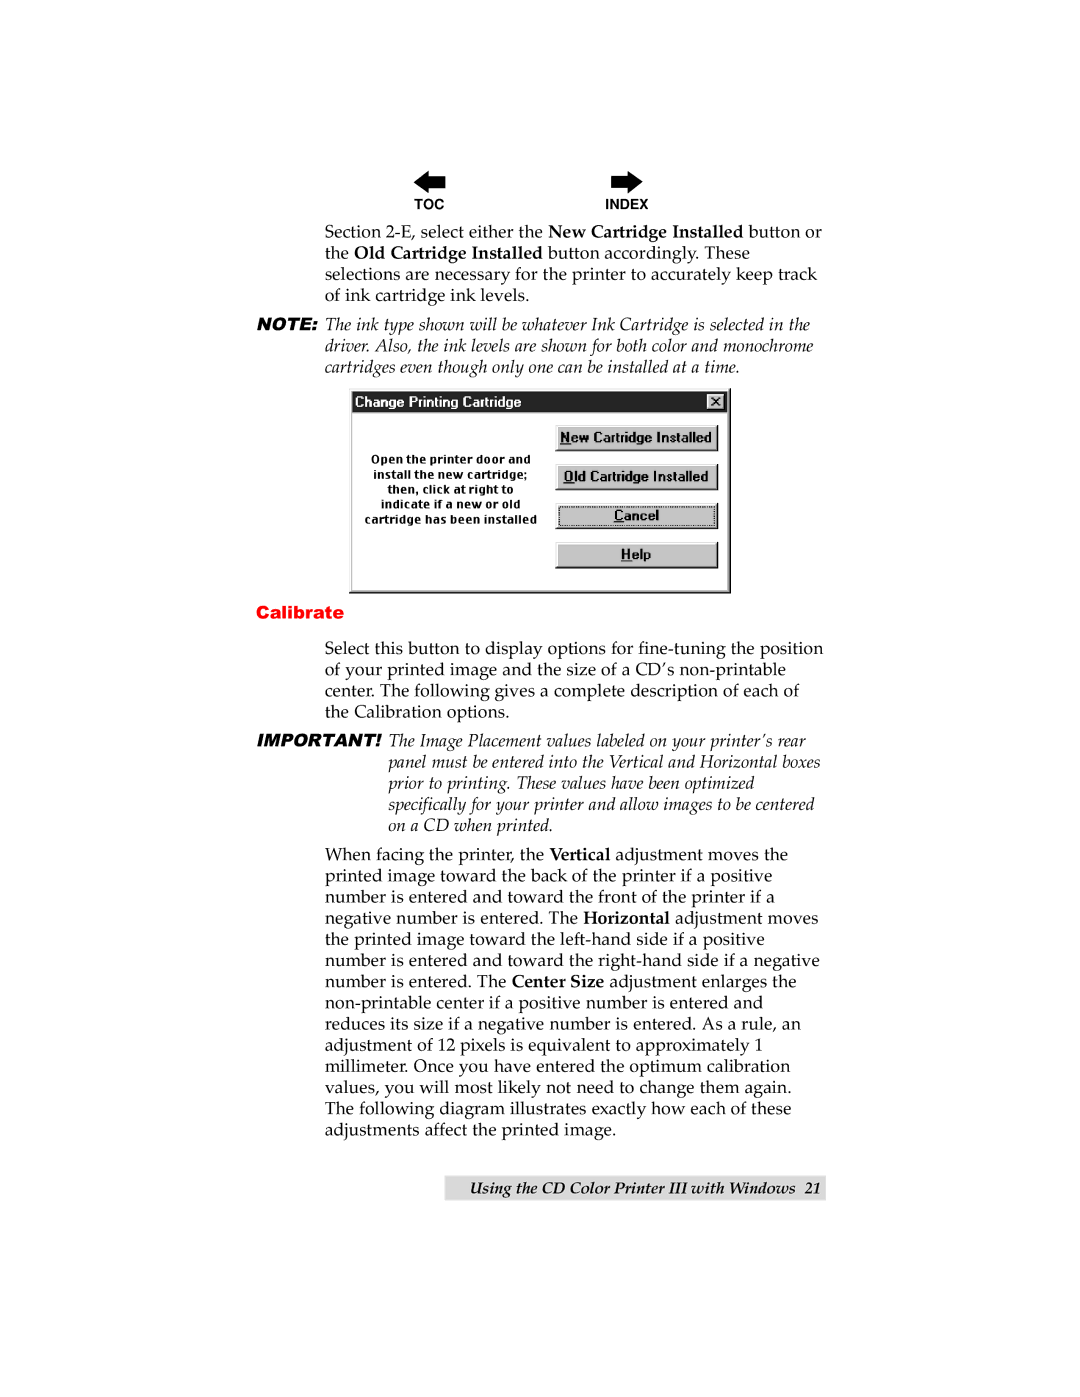
Section 2-E, select either the New Cartridge Installed button or the Old Cartridge Installed button accordingly. These selections are necessary for the printer to accurately keep track of ink cartridge ink levels.
NOTE: The ink type shown will be whatever Ink Cartridge is selected in the driver. Also, the ink levels are shown for both color and monochrome cartridges even though only one can be installed at a time.
Open the printer door and install the new cartridge; then, click at right to indicate if a new or old cartridge has been installed
Calibrate
Select this button to display options for fine-tuning the position of your printed image and the size of a CD’s non-printable center. The following gives a complete description of each of the Calibration options.
IMPORTANT! The Image Placement values labeled on your printer’s rear panel must be entered into the Vertical and Horizontal boxes prior to printing. These values have been optimized specifically for your printer and allow images to be centered on a CD when printed.
When facing the printer, the Vertical adjustment moves the printed image toward the back of the printer if a positive number is entered and toward the front of the printer if a negative number is entered. The Horizontal adjustment moves the printed image toward the left-hand side if a positive number is entered and toward the right-hand side if a negative number is entered. The Center Size adjustment enlarges the non-printable center if a positive number is entered and reduces its size if a negative number is entered. As a rule, an adjustment of 12 pixels is equivalent to approximately 1 millimeter. Once you have entered the optimum calibration values, you will most likely not need to change them again. The following diagram illustrates exactly how each of these adjustments affect the printed image.
Using the CD Color Printer III with Windows 21