INSTALLATION INSTRUCTIONS
Continued
5.Install logs 1,2,3,4,5 by inserting each log screw into holes of corresponding grate branch . Make sure each log is placed in proper sequence.(See FIG 5.)
Note: If the log is too loose or the screw can’t be pulled down after inserting the log screw, screw the nuts to adjust the clearance between nuts and logs.
Figure 5-Installing log 1.2.3.4.5
6. Install logs 6,7,8,9,10 as step 5.(See FIG.6)
Figure 6-Installing log 6.7.8.9.10
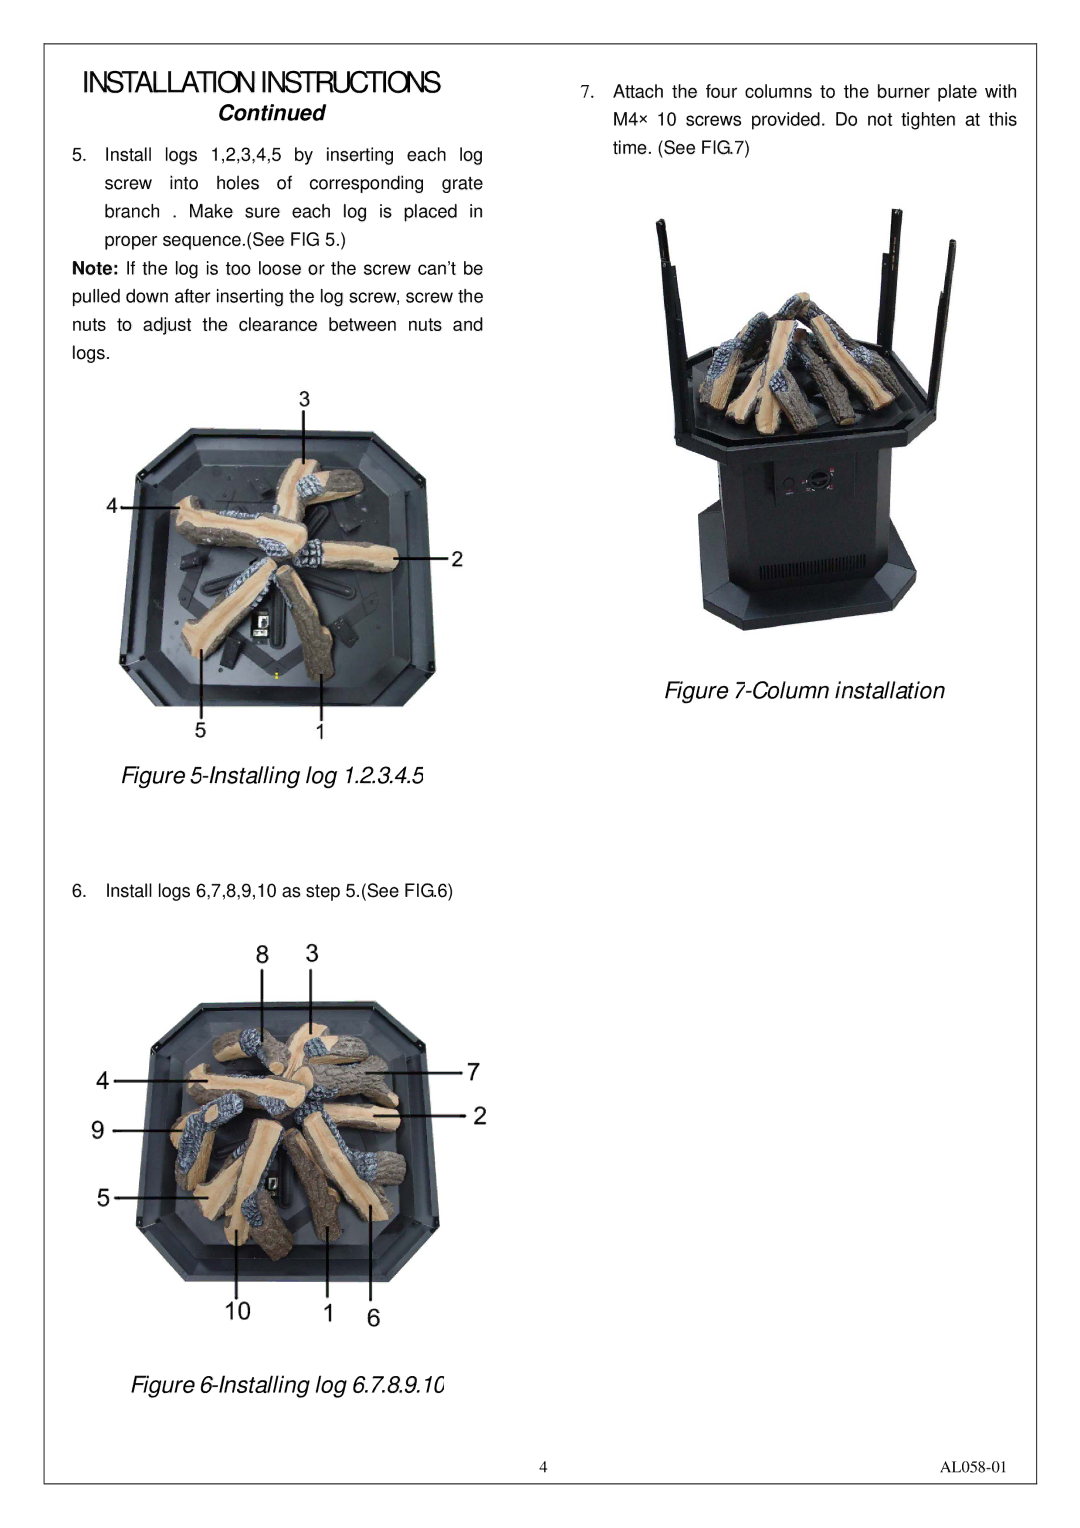
7.Attach the four columns to the burner plate with M4×10 screws provided. Do not tighten at this time. (See FIG.7)
Figure 7-Column installation
4 |