HOW TO USE A CUSTOM PROGRAM
1Turn on the console. See step 1 on page 11.
2Select a custom program.
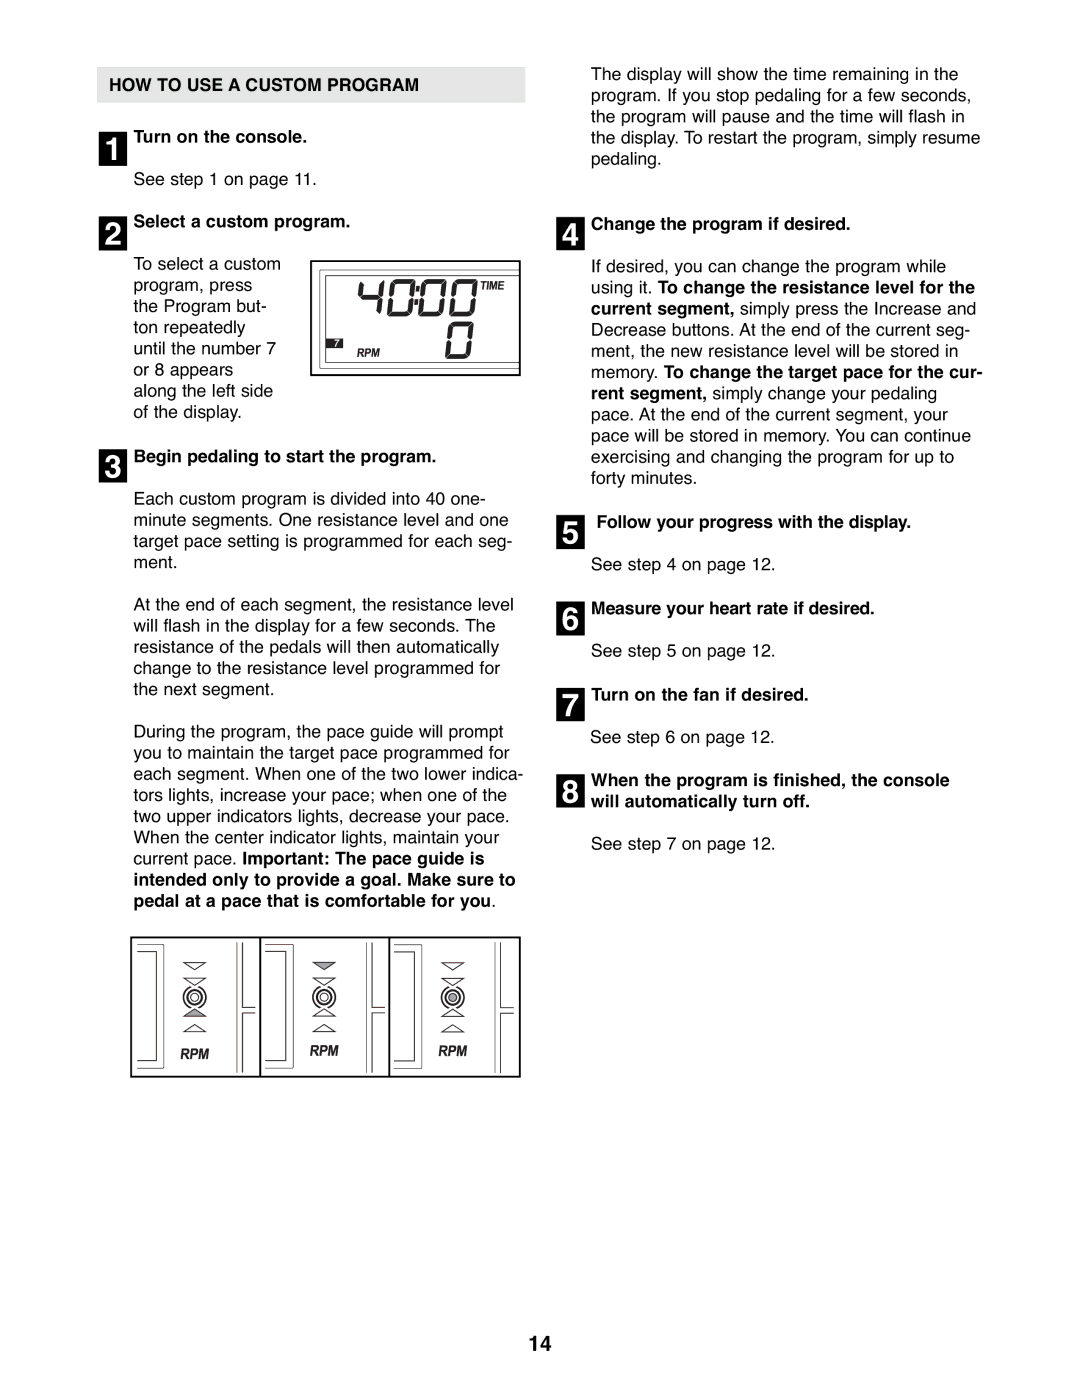
To select a custom program, press the Program but- ton repeatedly until the number 7 or 8 appears along the left side of the display.
3Begin pedaling to start the program.
Each custom program is divided into 40 one- minute segments. One resistance level and one target pace setting is programmed for each seg- ment.
At the end of each segment, the resistance level will flash in the display for a few seconds. The resistance of the pedals will then automatically change to the resistance level programmed for the next segment.
During the program, the pace guide will prompt you to maintain the target pace programmed for each segment. When one of the two lower indica- tors lights, increase your pace; when one of the two upper indicators lights, decrease your pace. When the center indicator lights, maintain your current pace. Important: The pace guide is intended only to provide a goal. Make sure to pedal at a pace that is comfortable for you.
The display will show the time remaining in the program. If you stop pedaling for a few seconds, the program will pause and the time will flash in the display. To restart the program, simply resume pedaling.
4Change the program if desired.
If desired, you can change the program while using it. To change the resistance level for the current segment, simply press the Increase and Decrease buttons. At the end of the current seg- ment, the new resistance level will be stored in memory. To change the target pace for the cur- rent segment, simply change your pedaling pace. At the end of the current segment, your pace will be stored in memory. You can continue exercising and changing the program for up to forty minutes.
5Follow your progress with the display.
See step 4 on page 12.
6Measure your heart rate if desired. See step 5 on page 12.
7 Turn on the fan if desired.
| See step 6 on page 12. |
|
|
|
|
8 | When the program is finished, | the console |
will automatically turn off. |
| |
|
| |
| See step 7 on page 12. |
|
14
