If the display does not show your heart rate, make sure that your hands are positioned as described. Be careful not to move your hands excessively or to squeeze the metal contacts too tightly. For opti- mal performance, clean the metal contacts using a soft cloth; never use alcohol, abrasives, or chemicals to clean the contacts.
6Turn on the fan if desired.
To turn on the fan at high speed, press the Fan button. To turn on the fan at low speed, press the button a second time. To turn off the fan, press the button a third time. Note: If the pedals do not move for a few minutes, the fan will automatically turn off to conserve the batteries.
Pivot the thumb tab |
|
on the right side of | Thumb |
the fan to adjust the | Tab |
fan angle. |
|
When you are finished exercising, the console
7will turn off automatically.
If the pedals do not move for several seconds, a tone will sound and the console will pause.
If the pedals do not move for about five minutes and the buttons are not pressed, the console will turn off and the display will be reset.
HOW TO USE A CROSS TRAINING PROGRAM
1begin pedaling to turn on the console.
A moment after you turn on the console, the dis- play will light.Press the Resistance decrease button or
2Select one of the six cross training programs.
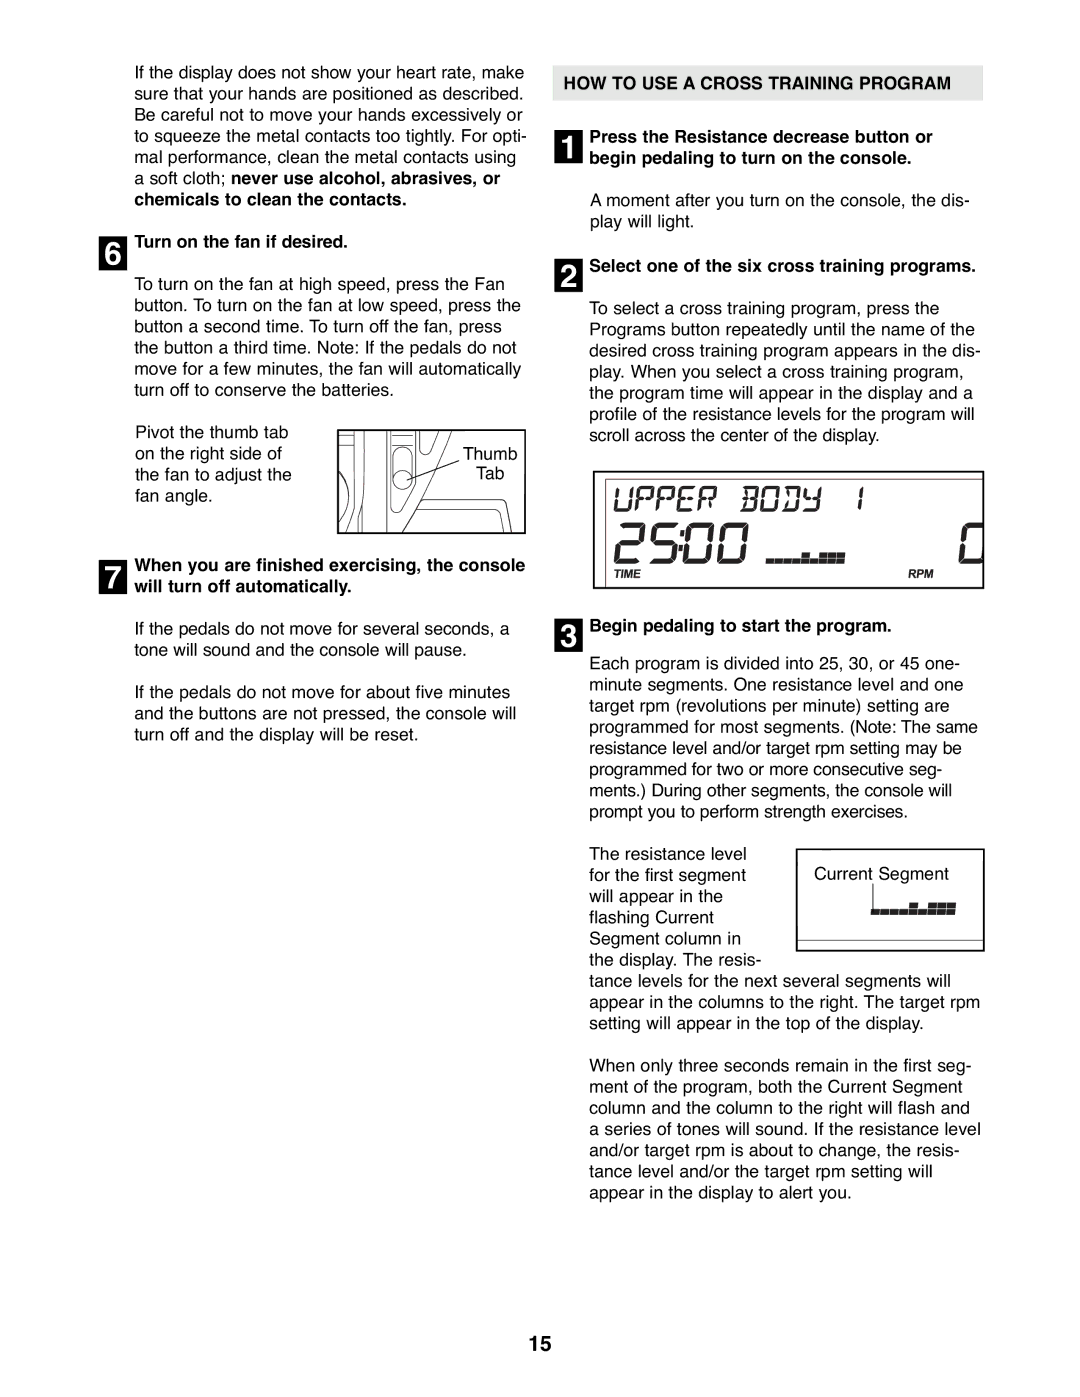
To select a cross training program, press the Programs button repeatedly until the name of the desired cross training program appears in the dis- play. When you select a cross training program, the program time will appear in the display and a profile of the resistance levels for the program will scroll across the center of the display.
3Begin pedaling to start the program.
Each program is divided into 25, 30, or 45 one- minute segments. One resistance level and one target rpm (revolutions per minute) setting are programmed for most segments. (Note: The same resistance level and/or target rpm setting may be programmed for two or more consecutive seg- ments.) During other segments, the console will prompt you to perform strength exercises.
The resistance level |
|
|
|
|
|
|
for the first segment |
|
|
|
| ||
Current |
| Segment | ||||
will appear in the |
|
|
|
|
|
|
|
|
|
|
|
| |
flashing Current |
|
|
|
|
|
|
|
|
|
|
|
| |
Segment column in |
|
|
|
|
|
|
the display. The resis- |
|
|
|
|
|
|
tance levels for the next several segments will appear in the columns to the right. The target rpm setting will appear in the top of the display.
When only three seconds remain in the first seg- ment of the program, both the Current Segment column and the column to the right will flash and a series of tones will sound. If the resistance level and/or target rpm is about to change, the resis- tance level and/or the target rpm setting will appear in the display to alert you.
15
