
CX Series specifications
QSC Audio, a recognized leader in professional audio solutions, presents the CX Series of amplifiers, a fusion of power, efficiency, and cutting-edge technology designed to meet the demands of various sound reinforcement applications. Known for their reliability and outstanding performance, the CX Series amplifiers are perfect for installations in venues, theaters, and houses of worship, delivering high-quality audio reproduction regardless of the setting.At the core of the CX Series is its robust Class D amplification. This technology not only ensures excellent audio fidelity but also enhances energy efficiency, resulting in lower operational costs and cooler running temperatures. The amplifiers utilize a linear power supply, which contributes to exceptional audio quality by providing stable and clean power to the components. With varying power ratings, including options ranging from 200 to 1200 watts per channel, the CX Series caters to different venue sizes and specific audio requirements.
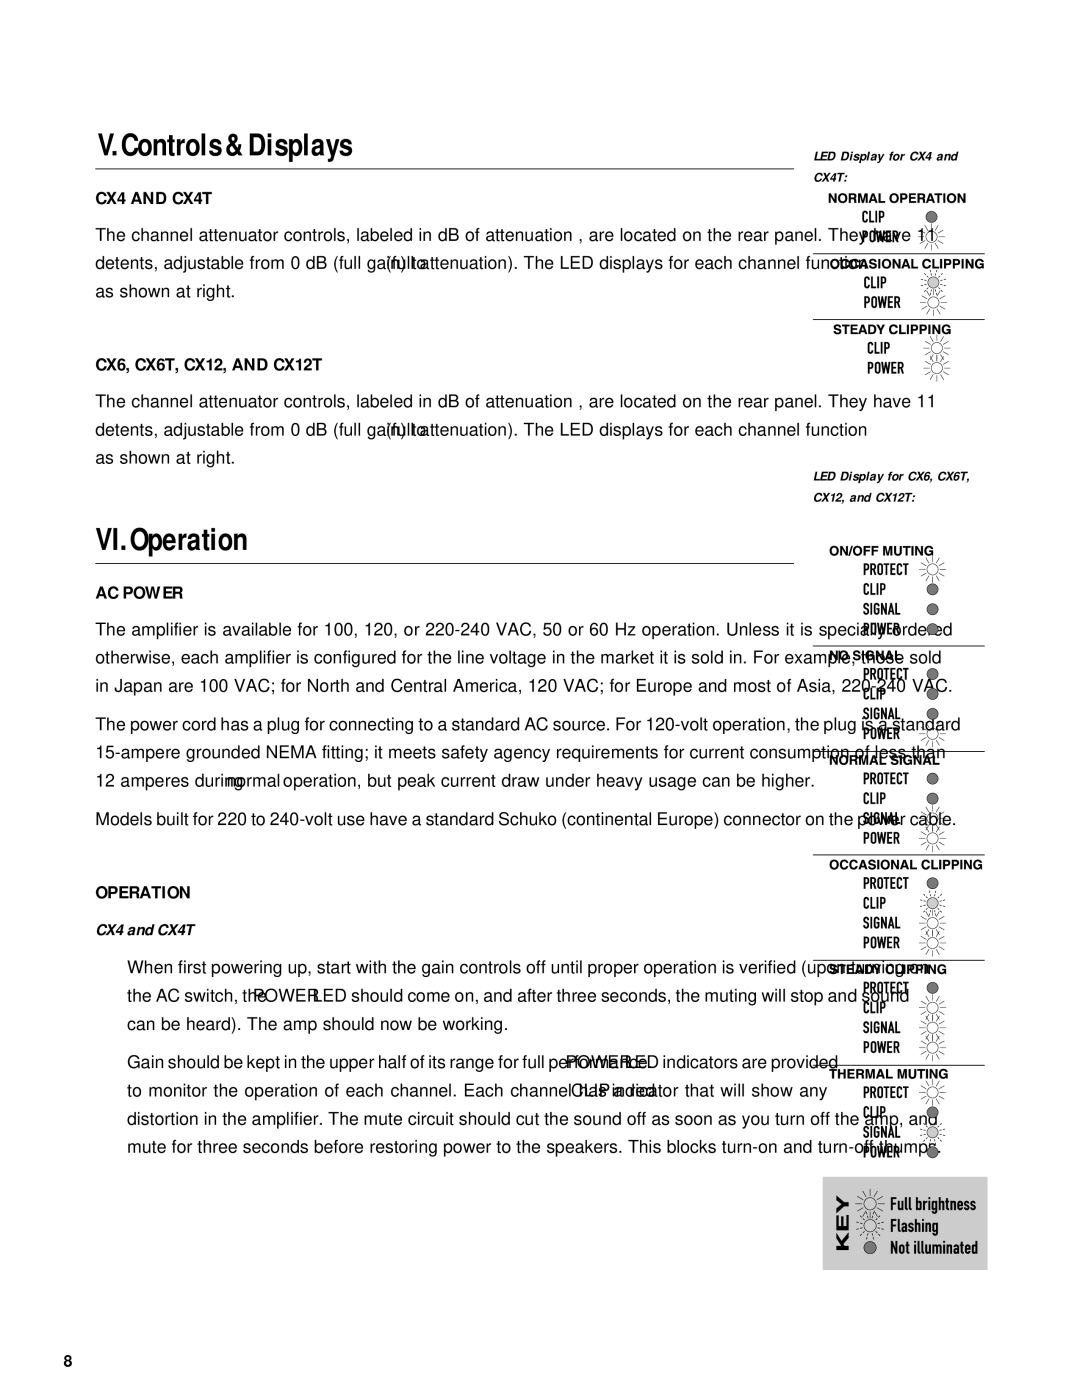
The CX Series is engineered with a range of features that enhance usability and performance. Integrated DSP (Digital Signal Processing) allows users to access advanced sound processing algorithms, enabling fine-tuning of audio settings for optimal performance. The amplifiers include comprehensive protection circuitry to safeguard the equipment from thermal overload, short circuits, and signal clipping, ensuring longevity and reliability in demanding environments.
Connectivity is also a significant aspect of the CX Series. The amplifiers are equipped with a variety of input and output options, including XLR, 1/4" TRS, and barrier strip connectors, facilitating seamless integration with a wide range of audio sources and speakers. Moreover, the user-friendly interface includes LCD displays for easy monitoring, making setup and adjustments straightforward for audio engineers and technicians.
Another defining feature of the CX Series is its lightweight design. This portability makes installation and transport easy without compromising on performance. Additionally, QSC’s commitment to sustainability is evident in the design, as the amplifiers are constructed with environmentally friendly materials and have a reduced carbon footprint, aligning with modern practices in eco-conscious audio engineering.
In summary, the QSC Audio CX Series amplifiers blend professionalism with versatility, delivering exceptional performance that satisfies both audio quality and operational reliability. Their innovative technologies and thoughtful design make them a powerful ally for professionals in any sound reinforcement scenario.