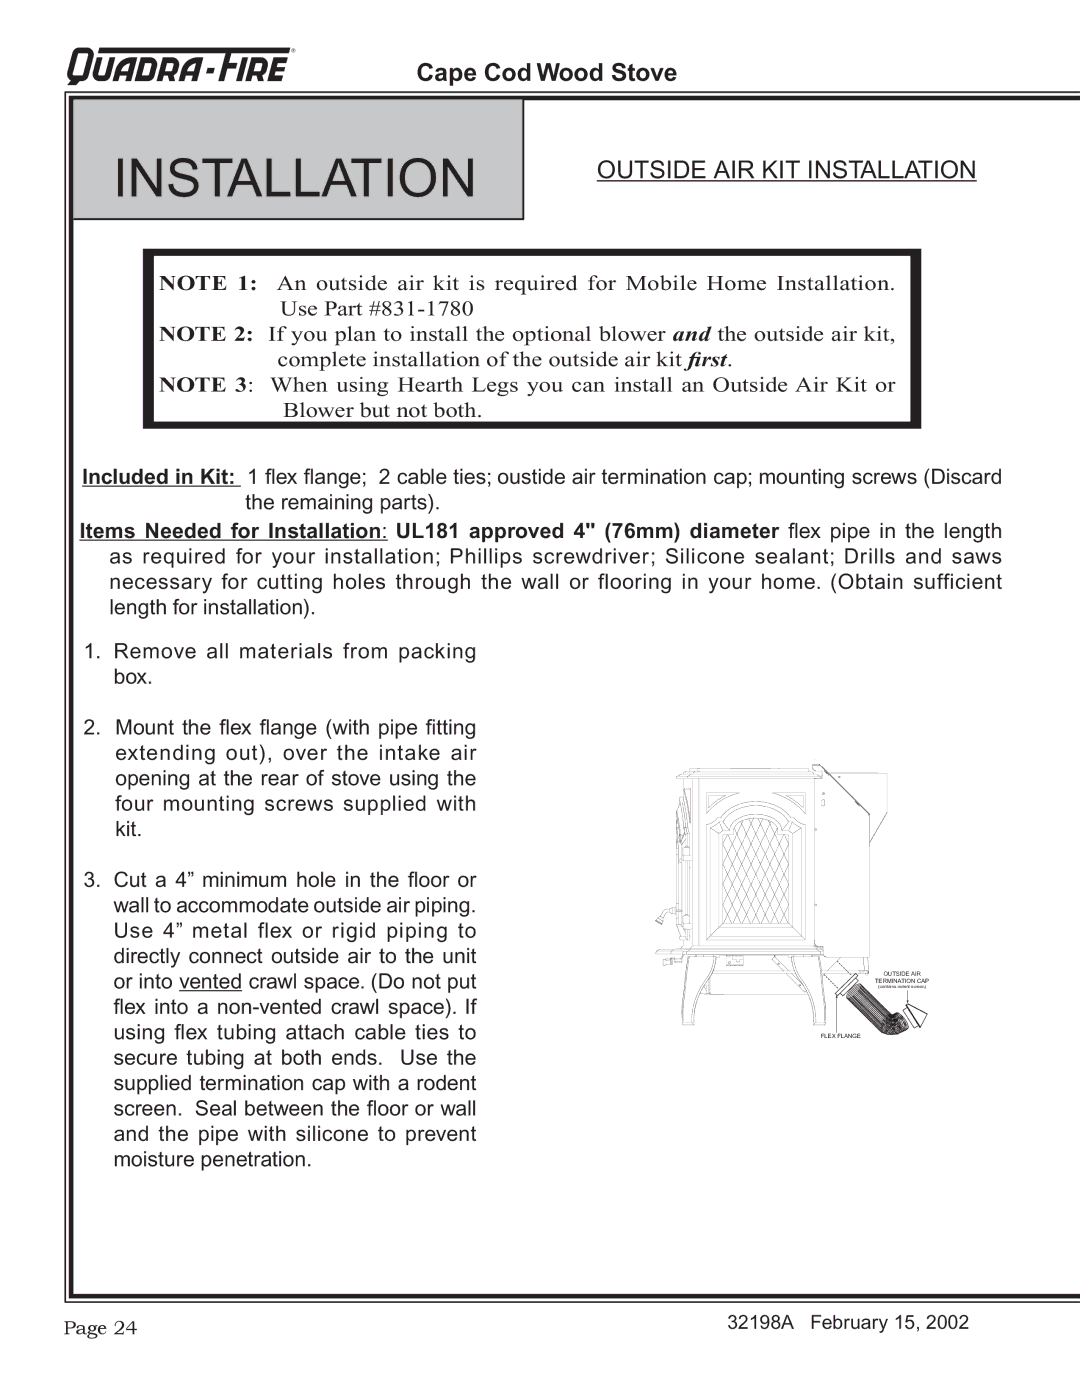
32198A specifications
The Quadra-Fire 32198A is a highly regarded insert stove that offers an ideal solution for homeowners seeking efficient heating while enhancing the aesthetics of their living spaces. Renowned for its quality and performance, the Quadra-Fire 32198A enables users to enjoy warmth and ambiance, making it a valuable addition to any home.One of the standout features of the Quadra-Fire 32198A is its exceptional heating efficiency. Designed with a powerful combustion system, this stove boasts an impressive efficiency rating, ensuring that a significant amount of the fuel's energy is converted into usable heat. This efficiency not only translates into lower fuel costs for users, but it also means reduced emissions, making it an environmentally friendly option for heating.
The stove incorporates advanced technologies to optimize its performance. The Quadra-Fire 32198A features the ingenious Quadra-Fire patented Four-Point Burn System. This system ensures complete combustion of wood, resulting in a cleaner burn and extended burn times. Moreover, the ceramic glass window allows for a beautiful view of the flickering flames while maintaining high thermal efficiency.
In terms of design, the Quadra-Fire 32198A is both stylish and functional. It comes with a sleek, modern aesthetic that can complement various interior design styles. Additionally, its compact size allows it to fit seamlessly into smaller spaces, making it an excellent choice for homes where space is at a premium.
Durability is another hallmark of the Quadra-Fire 32198A. Constructed from high-quality materials, this stove is built to withstand the rigors of regular use. The heavy-duty firebox enhances longevity and ensures that the stove remains functional and reliable over the years.
The user-friendly features of the Quadra-Fire 32198A set it apart from many competitors. With easy-to-use controls, homeowners can effortlessly adjust the heat output according to their needs. The simple ash removal system also adds convenience, allowing for hassle-free maintenance.
In conclusion, the Quadra-Fire 32198A is a remarkable wood insert stove that combines efficiency, advanced technology, and stylish design. Its innovative features, unparalleled performance, and durability make it a top choice for those looking to enhance their home's comfort while enjoying the warmth and beauty of a wood fire. Whether for a cozy evening or a chilly winter day, the Quadra-Fire 32198A is poised to deliver exceptional heating and ambiance for many years to come.

