ˆPreparation
INSTALLING A BACKUP BATTERY
You can install an optional 9V backup battery so if the AC power fails or you unplug the TAD, the TAD will save the messages, time and day settings, CBT and remote operation security codes, and Caller ID records. For the best performance and longest life, we recommend you use a RadioShack alkaline battery.
Cautions: Use only a fresh battery of the re- quired size and recommended type.
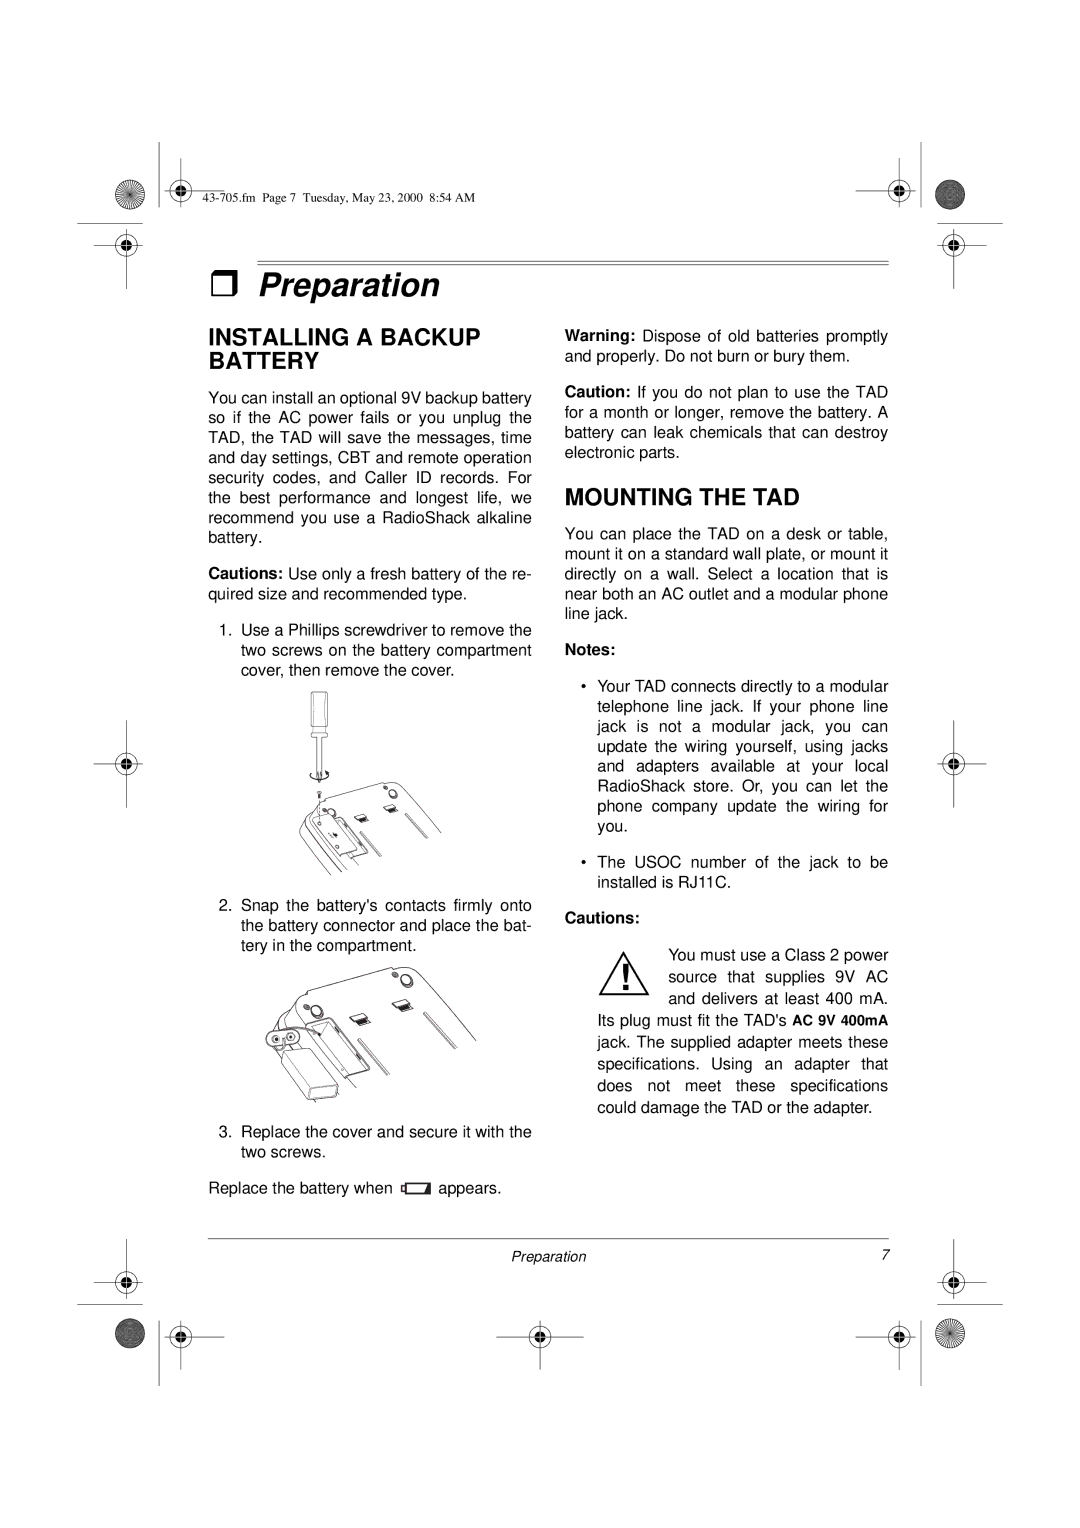
1.Use a Phillips screwdriver to remove the two screws on the battery compartment cover, then remove the cover.
2.Snap the battery's contacts firmly onto the battery connector and place the bat- tery in the compartment.
3.Replace the cover and secure it with the two screws.
Replace the battery when ![]()
![]() appears.
appears.
Warning: Dispose of old batteries promptly and properly. Do not burn or bury them.
Caution: If you do not plan to use the TAD for a month or longer, remove the battery. A battery can leak chemicals that can destroy electronic parts.
MOUNTING THE TAD
You can place the TAD on a desk or table, mount it on a standard wall plate, or mount it directly on a wall. Select a location that is near both an AC outlet and a modular phone line jack.
Notes:
•Your TAD connects directly to a modular telephone line jack. If your phone line jack is not a modular jack, you can update the wiring yourself, using jacks and adapters available at your local RadioShack store. Or, you can let the phone company update the wiring for you.
•The USOC number of the jack to be installed is RJ11C.
Cautions:
You must use a Class 2 power
!source that supplies 9V AC and delivers at least 400 mA.
Its plug must fit the TAD's
jack. The supplied adapter meets these specifications. Using an adapter that does not meet these specifications could damage the TAD or the adapter.
Preparation | 7 |
| ||
|
|
|
|
|
|
|
|
|
|
|
|
|
|
|