Although we know that you are anxious to complete the assembly of your phone patch mixer kit it is best to follow the
Remember that all of the components will be mounted on the component side of the circuit board and soldered on the solder side of the circuit board (the side that contains the printed circuit traces). Have a look at the parts layout diagram to help with your assembly.
Use the boxes to check off your progress.
Check all received parts against the parts list. The parts list describes the various markings that may be found on the kit parts. Carefully sort the parts into small piles to aid in finding the correct part at the required time.
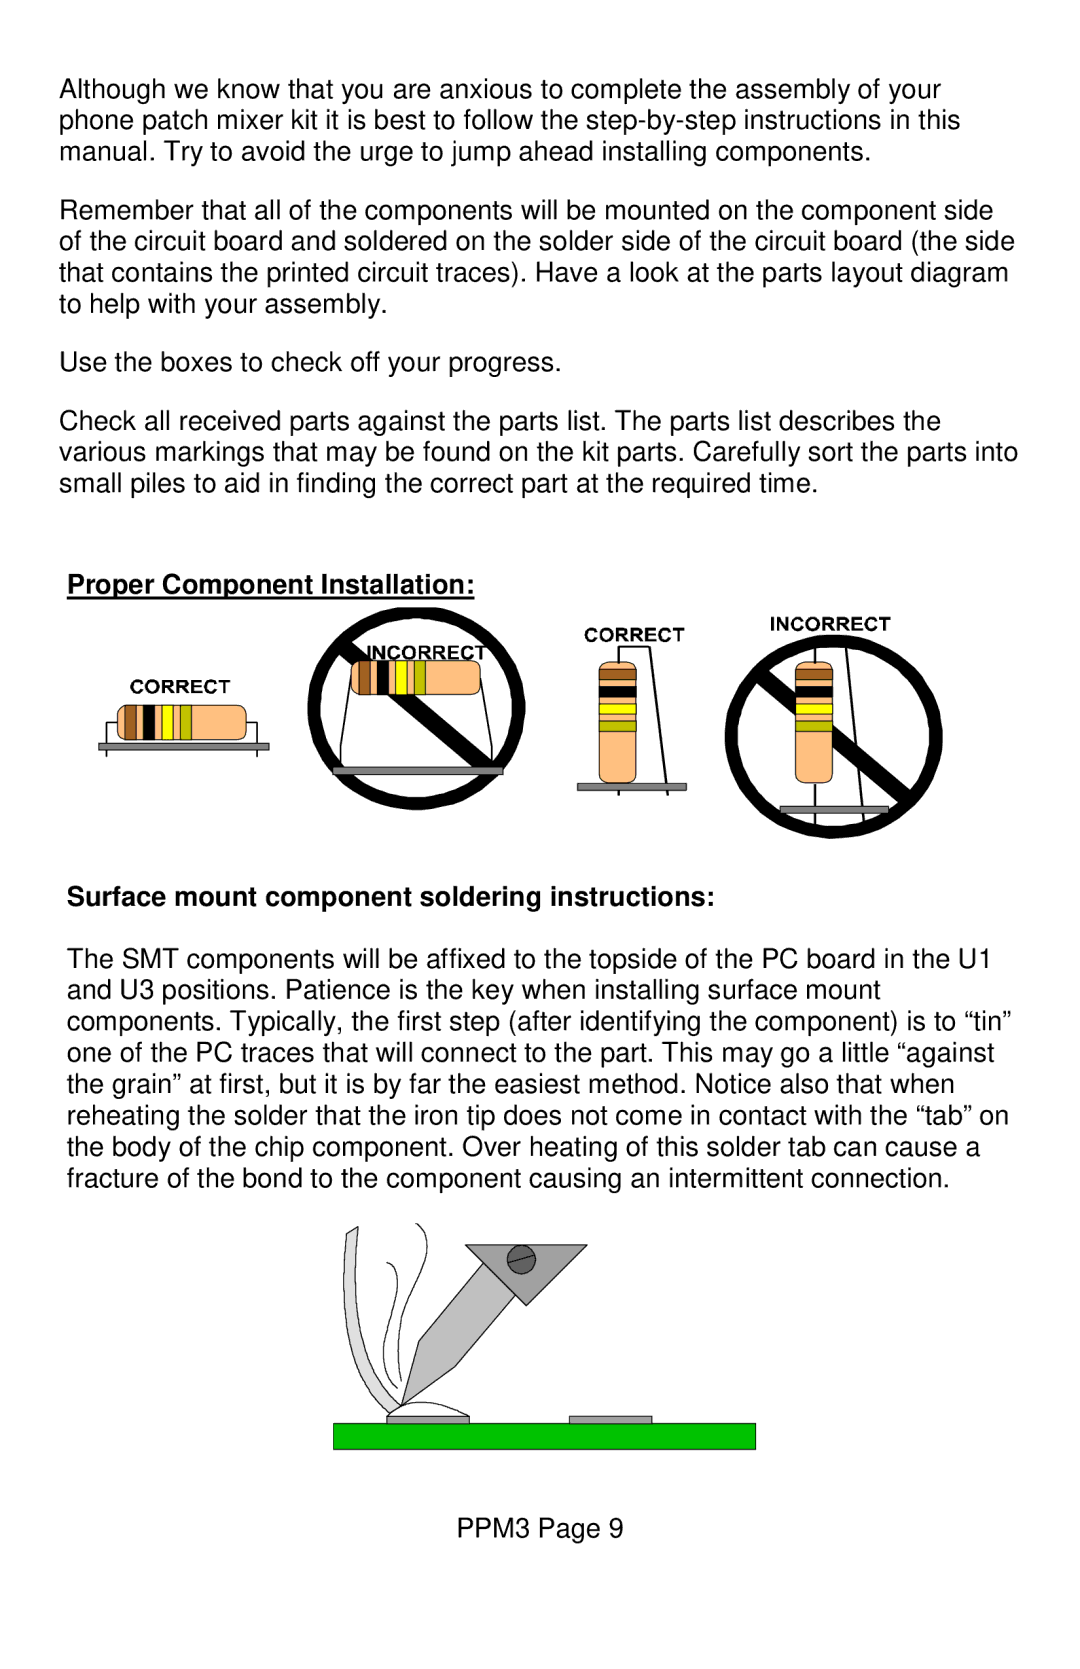
Proper Component Installation:
Surface mount component soldering instructions:
The SMT components will be affixed to the topside of the PC board in the U1 and U3 positions. Patience is the key when installing surface mount components. Typically, the first step (after identifying the component) is to “tin” one of the PC traces that will connect to the part. This may go a little “against the grain” at first, but it is by far the easiest method. Notice also that when reheating the solder that the iron tip does not come in contact with the “tab” on the body of the chip component. Over heating of this solder tab can cause a fracture of the bond to the component causing an intermittent connection.
