General Setup
You can control access to the unit and the type of discs your family can watch with the lock function. Locking the unit prevents playback of DVDs that may not be suitable for all audiences by using the rating level encoded on the disc (not all discs are rated).
EN If the rating level of the disc is higher than the preset level, playback is prohibited unless a password is entered.
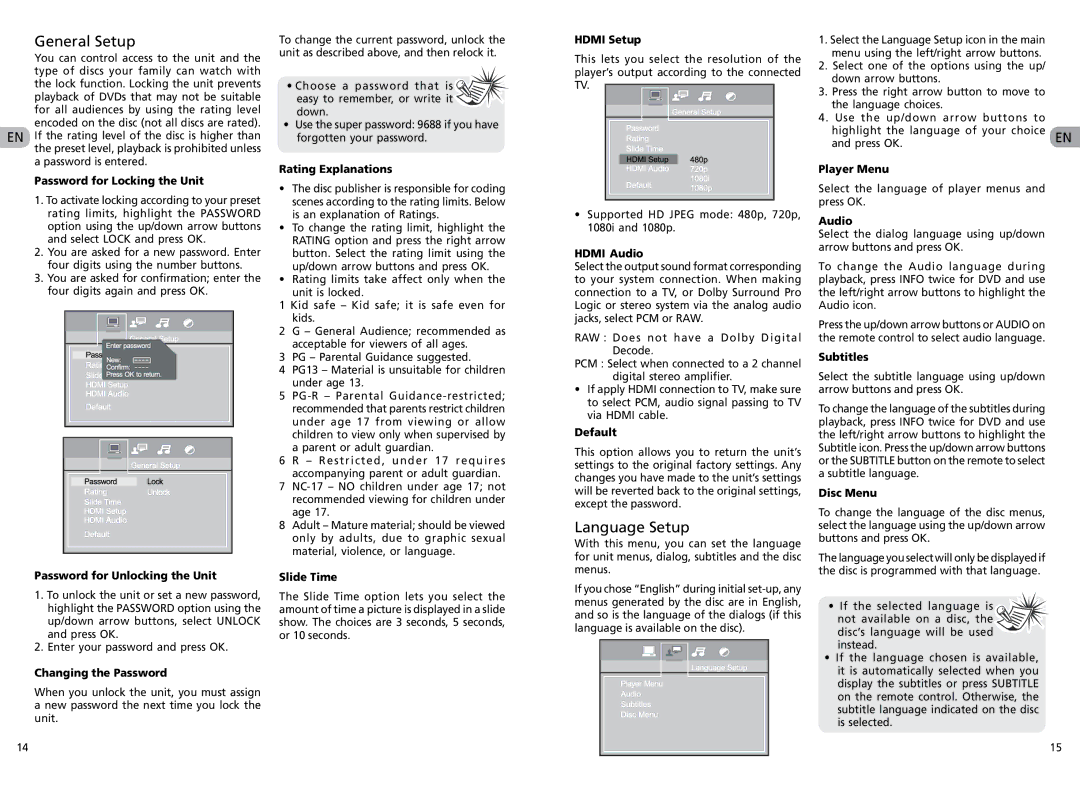
Password for Locking the Unit
1.To activate locking according to your preset rating limits, highlight the PASSWORD option using the up/down arrow buttons and select LOCK and press OK.
2.You are asked for a new password. Enter four digits using the number buttons.
3.You are asked for confirmation; enter the four digits again and press OK.
Password for Unlocking the Unit
1.To unlock the unit or set a new password, highlight the PASSWORD option using the up/down arrow buttons, select UNLOCK and press OK.
2.Enter your password and press OK.
Changing the Password
When you unlock the unit, you must assign a new password the next time you lock the unit.
14
To change the current password, unlock the unit as described above, and then relock it.
•Choose a password that is 
 easy to remember, or write it
  down.
down.
•Use the super password: 9688 if you have forgotten your password.
Rating Explanations
•The disc publisher is responsible for coding scenes according to the rating limits. Below is an explanation of Ratings.
•To change the rating limit, highlight the
RATING option and press the right arrow button. Select the rating limit using the up/down arrow buttons and press OK.
•Rating limits take affect only when the unit is locked.
1 Kid safe – Kid safe; it is safe even for kids.
2G – General Audience; recommended as acceptable for viewers of all ages.
3PG – Parental Guidance suggested.
4PG13 – Material is unsuitable for children under age 13.
5PG-R – Parental Guidance-restricted; recommended that parents restrict children under age 17 from viewing or allow children to view only when supervised by a parent or adult guardian.
6R – Restricted, under 17 requires accompanying parent or adult guardian.
7NC-17 – NO children under age 17; not recommended viewing for children under age 17.
8Adult – Mature material; should be viewed only by adults, due to graphic sexual material, violence, or language.
Slide Time
The Slide Time option lets you select the amount of time a picture is displayed in a slide show. The choices are 3 seconds, 5 seconds, or 10 seconds.
HDMI Setup
This lets you select the resolution of the player’s output according to the connected TV. 
•Supported HD JPEG mode: 480p, 720p,
1080i and 1080p.
HDMI Audio
Select the output sound format corresponding to your system connection. When making connection to a TV, or Dolby Surround Pro Logic or stereo system via the analog audio jacks, select PCM or RAW.
RAW : Does not have a Dolby Digital Decode.
PCM : Select when connected to a 2 channel digital stereo amplifier.
•If apply HDMI connection to TV, make sure to select PCM, audio signal passing to TV via HDMI cable.
Default
This option allows you to return the unit’s settings to the original factory settings. Any changes you have made to the unit’s settings will be reverted back to the original settings, except the password.
Language Setup
With this menu, you can set the language for unit menus, dialog, subtitles and the disc menus.
If you chose “English” during initial set-up, any menus generated by the disc are in English, and so is the language of the dialogs (if this language is available on the disc).
1.Select the Language Setup icon in the main menu using the left/right arrow buttons.
2.Select one of the options using the up/ down arrow buttons.
3.Press the right arrow button to move to the language choices.
4.Use the up/down arrow buttons to highlight the language of your choice EN and press OK.
Player Menu
Select the language of player menus and press OK.
Audio
Select the dialog language using up/down arrow buttons and press OK.
To change the Audio language during playback, press INFO twice for DVD and use the left/right arrow buttons to highlight the Audio icon.
Press the up/down arrow buttons or AUDIO on the remote control to select audio language.
Subtitles
Select the subtitle language using up/down arrow buttons and press OK.
To change the language of the subtitles during playback, press INFO twice for DVD and use the left/right arrow buttons to highlight the Subtitle icon. Press the up/down arrow buttons or the SUBTITLE button on the remote to select a subtitle language.
Disc Menu
To change the language of the disc menus, select the language using the up/down arrow buttons and press OK.
The language you select will only be displayed if the disc is programmed with that language.
•If the selected language is 
 not available on a disc, the

 disc’s language will be used
  instead.
•If the language chosen is available, it is automatically selected when you display the subtitles or press SUBTITLE on the remote control. Otherwise, the subtitle language indicated on the disc is selected.
15