Video cassette recorder Users guide
Product Registration
Cover or back. No user serviceable parts inside
Refer servicing to qualified service personnel
Important Information
Table of Contents
Appendix Reference
Other Features
Programming the Remote
Connections
First Things First
First Things First
HI, MY Name is LIZ… Read the First Three Sections
WHAT’S LEFT?
Connect Your VCR
Install Batteries in the Remote Control
Remote control RF coaxial cable
Unpack WHAT’S in the BOX
Turn on the VCR
Access the Menus
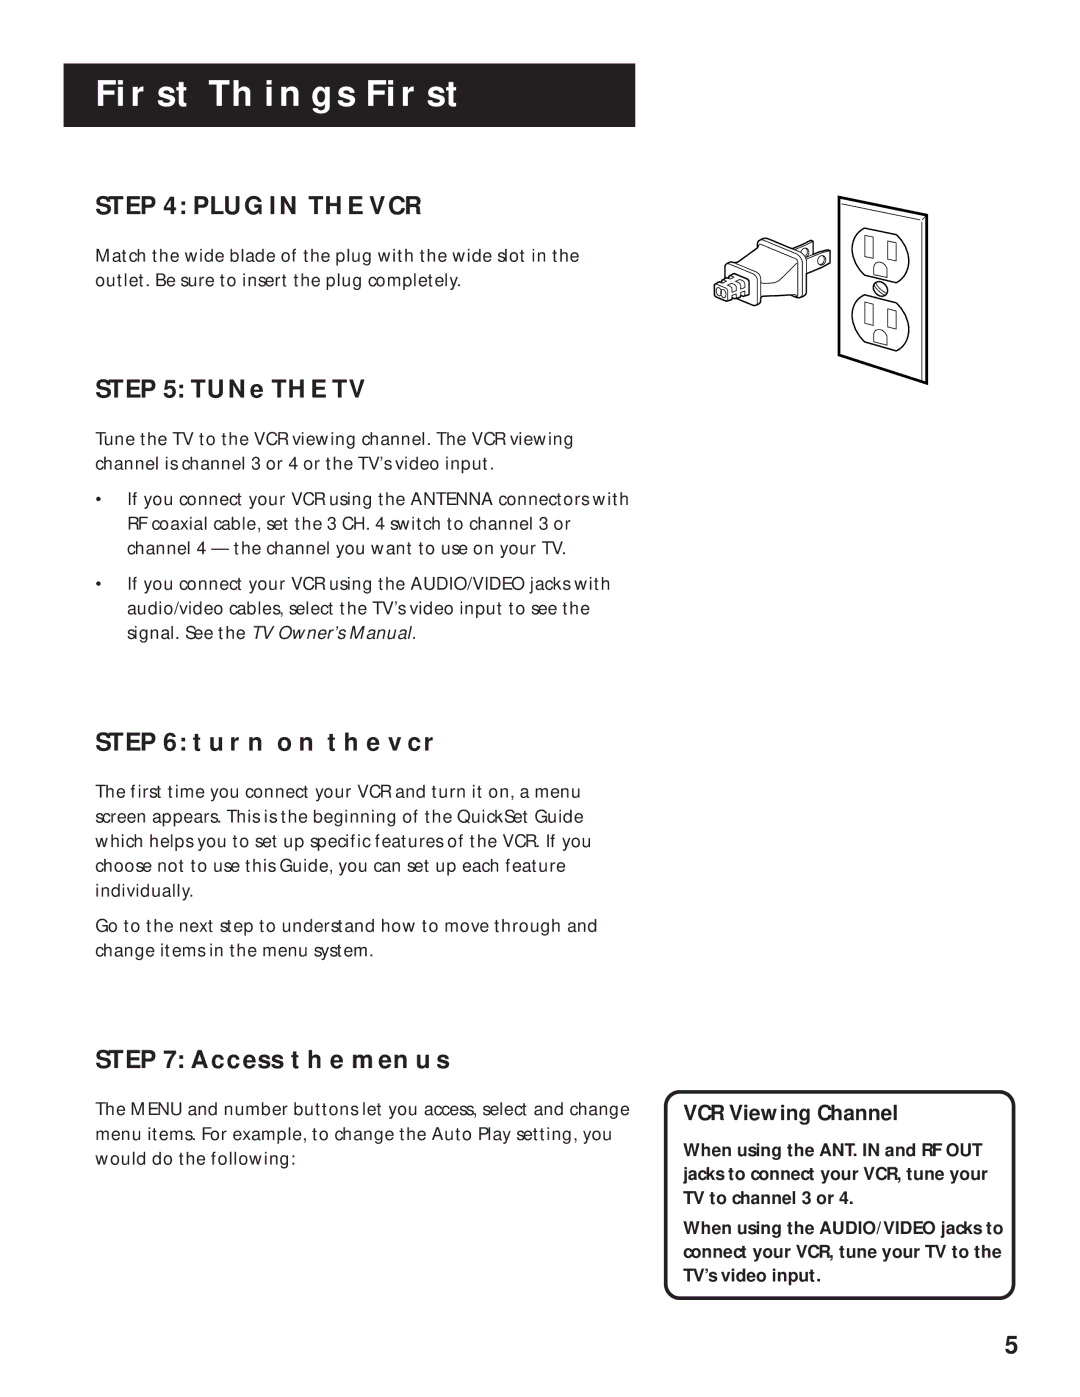
Plug in the VCR
Tune the TV
Press 6 to display the Preferences menu
SET UP the VCR
Press 2 to switch Auto Play to on or OFF
Press Menu to display the VCR Main Menu
ON-SCREEN Guide and Additional SET-UP Features
Setting UP the VCR
Setting UP the VCR
On-Screen Menus
Using the Quickset Guide
Using the Menu to SET UP Features
Language
Press 4 to display Channels menu
Digital Satellite System Setup
Press 8 to select the Language menu
Select English, Español Spanish, or Français French
Satellite Receiver Codes
Press 6 to select DSS Setup
Cable Box Setup
Cable BOX Setup
Press 4 to display the Channels menu
37, 43
22,46
Anvision
15, 23, 24, 25, 30, 36
To Auto Channel Search
VCR Channels List
Detect Automatically
To Change the Signal Type
To Add or Remove Channels
Auto Channel Search
Selecting Channels
Auto Clock SET Feature
Time and Date
Set the Time Zone
Press 3 to display the SET Time Zone screen
Set Daylight Savings
Spring forward Fall backward
Press 3 to display Time menu
Time/Date Display
SET the Time and Date Manually
Press 1 to display the SET Time and Date menu
Press 4 to display the VCR Plus+ Channel List screen
VCR PLUS+ Channels
Two-Digit VCR Plus+ Channel Numbers for Cable TV USA List
VCR Plus+ Channel List
VCR PLUS+ Worksheet
Remote VCR1/VCR2 Option
Additional SET-UP Features Preferences Menu
Remote Control Option
Now you are ready to select an item from the menu to set up
Auto TV/VCR
Auto Play
Auto TV/VCR
Tape Speeds
Energysaver
Front Panel VCR Display
Preferred Tape Speed
Learn the Basics to GET YOU Started
VCR Basics
VCR Basics
Component Buttons
Remote Buttons
VCR Function Buttons
TV Function Buttons
Mute Reduces volume to minimum level
TV Buttons
Pause
Playing a Tape
Automatic Tracking
Recording
Check the Safety TAB
Automatic Rewind
Tape Eject
Page
Several Recording Options
Recording
REC
Select 1 to Create a New Program
Timer Recording
Timer Recording Information
Press 2 to display the Timer Recordings menu
Press Menu to bring up the VCR Main Menu
Timer Recording with VCR PLUS+
Setting Up the Channel List
Using VCR Plus+
Press Menu to enter the VCR PlusCode number
VCR Plus+ Recording
Indicate how often you want the program to be recorded
Press 2 to display the Review Existing Progs. screen
Stopping a Timer Recording
Reviewing and Clearing Programs
Recording Broadcast Stereo TV or SAP Second Audio Program
Playing Back Audio Only
Recording Audio only
Audio Connection
Two VCR Connection
Using TWO Vcrs for Copying Editing Tapes
Control Your TV
Programmingtheremote
Programmingremote
Programming the Remote to Control
About Programming the Remote
Operate the TV
TV Codes
Page
Features to Enhance VCR Operation
Other Features
Other Features
Commercial Scan Search Button
Picture Search Options
Forward and Reverse Search
Slow Motion
Index Search
Frame Advance
To Search
GO-TO Search
Tracking
Time Counter
PRO-TECT Plus Locking Feature
Locking Your VCR
ON-SCREEN Displays
Audio SET-UP Features
Press 7 to display the Audio menu
Tape Playback
Reception
Page
Connections
Things to Know Before Connecting Components
Protect Your Components from Power Surges
Connections
Audio/Video Jacks and Cables RCA-type
Connecting Your VCR
Jacks and Cables
RF Jacks and Coaxial Cables F-type
Choosing a VCR Connection
DON’T Forget about the Auto TV/VCR Feature
Advantages of AUDIO/VIDEO Cable Connections
TV with RF Jack only
Using This Connection
TV with AUDIO/VIDEO Jacks
Set the Auto TV/VCR feature to OFF
Coaxial cables Audio/video cables Splitter
To record a digital satellite receiver program
TV with RF Jack and Digital Satellite Receiver
If the VCR can control your digital satellite receiver
To record one off-air or cable program and watch another
Coaxial cables and 6 audio/video cables
TV with AUDIO/VIDEO Jacks and Digital Satellite Receiver
Appendix Reference
Front Panel
Display Panel
Back Panel
Troubleshooting Tips
Will not record
Streaks in picture during normal playback
Will not record or play
Rewind does not operate
Clock shows incorrect time or date
Time did not adjust for daylight-saving time
VCR makes noise when stopped
Timer indicator flashes
Stereo audio too noisy
No stereo sound during playback
Limited Warranty
Cleaning the VCR
Specifications
Index
CH switch 5, 8, 52, 55 Accessing menus
Index
VCR Main Menu
Tocom
North Meridian Street Indianapolis,

