Chapter 3: On-Screen Menus
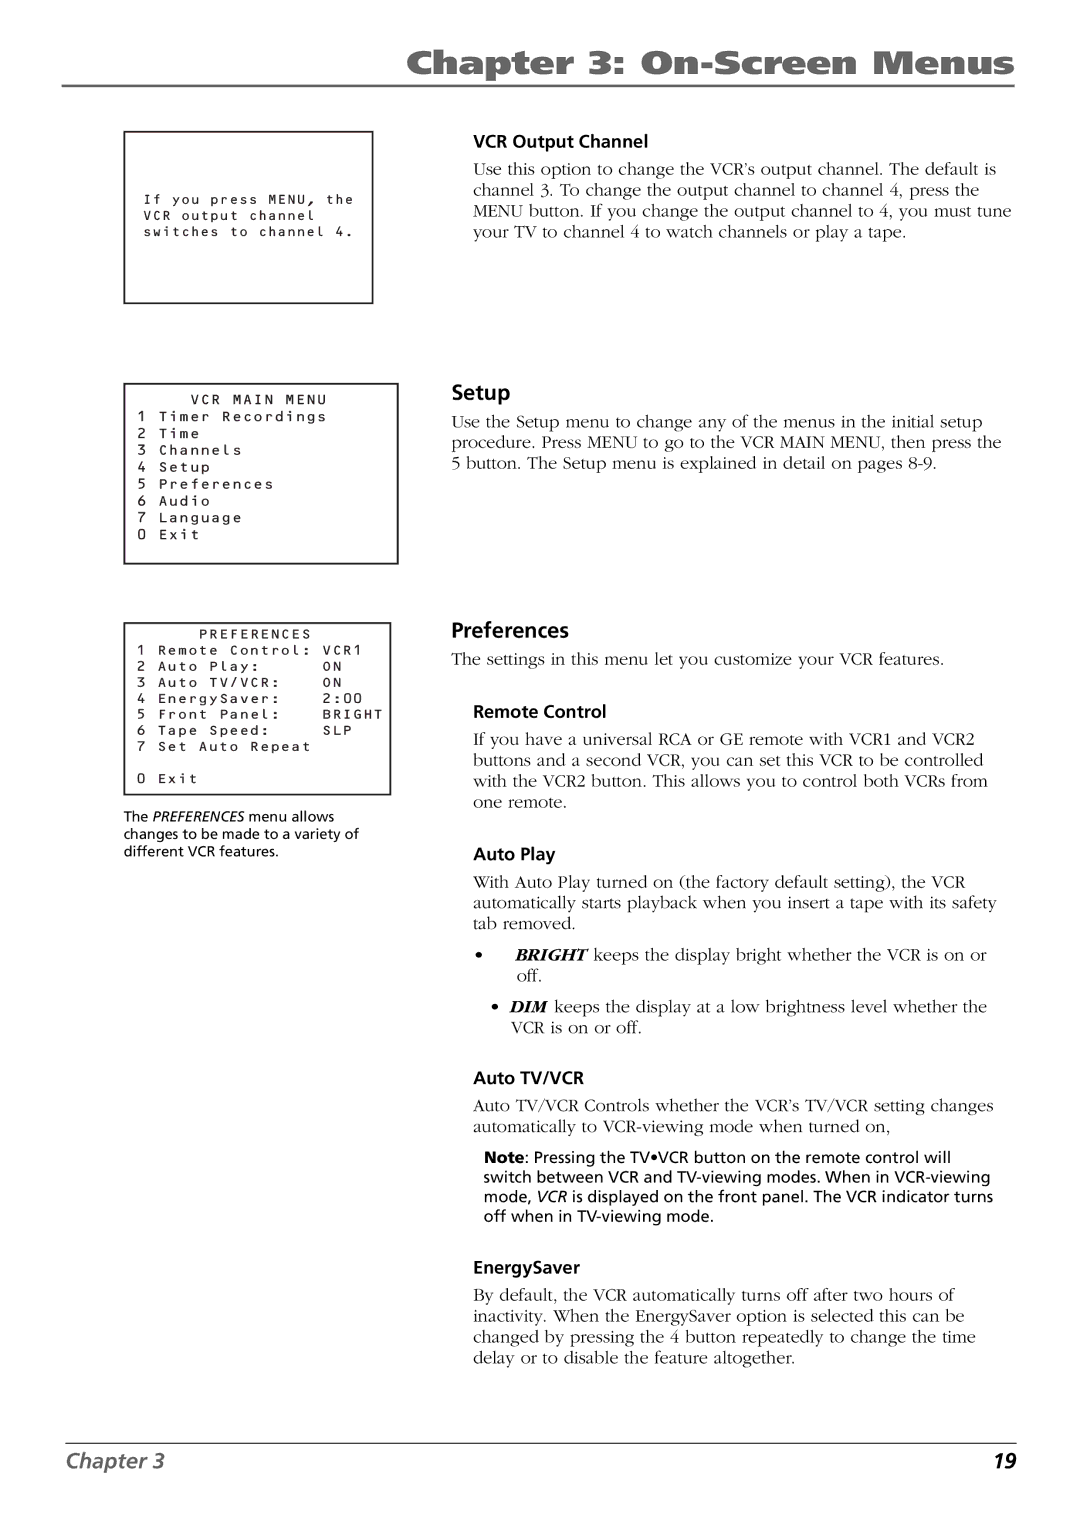
If you press MENU, the VCR output channel switches to channel 4.
VCR MAIN MENU 1 Timer Recordings
2Time
3Channels
4Setup
5Preferences
6Audio
7Language
0 Exit
| PREFERENCES |
|
1 | Remote Control: VCR1 | |
2 | Auto Play: | ON |
3 | Auto TV/VCR: | ON |
4 | EnergySaver: | 2:00 |
5 | Front Panel: | BRIGHT |
6 | Tape Speed: | SLP |
7 | Set Auto Repeat |
|
0 | Exit |
|
|
|
|
The PREFERENCES menu allows changes to be made to a variety of different VCR features.
VCR Output Channel
Use this option to change the VCR’s output channel. The default is channel 3. To change the output channel to channel 4, press the MENU button. If you change the output channel to 4, you must tune your TV to channel 4 to watch channels or play a tape.
Setup
Use the Setup menu to change any of the menus in the initial setup procedure. Press MENU to go to the VCR MAIN MENU, then press the 5 button. The Setup menu is explained in detail on pages
Preferences
The settings in this menu let you customize your VCR features.
Remote Control
If you have a universal RCA or GE remote with VCR1 and VCR2 buttons and a second VCR, you can set this VCR to be controlled with the VCR2 button. This allows you to control both VCRs from one remote.
Auto Play
With Auto Play turned on (the factory default setting), the VCR automatically starts playback when you insert a tape with its safety tab removed.
•BRIGHT keeps the display bright whether the VCR is on or off.
•DIM keeps the display at a low brightness level whether the VCR is on or off.
Auto TV/VCR
Auto TV/VCR Controls whether the VCR’s TV/VCR setting changes automatically to
Note: Pressing the TV•VCR button on the remote control will switch between VCR and
EnergySaver
By default, the VCR automatically turns off after two hours of inactivity. When the EnergySaver option is selected this can be changed by pressing the 4 button repeatedly to change the time delay or to disable the feature altogether.
Chapter 3 | 19 |
