Chapter 1: Connections & Setup
CHANNELS menu – submenus are listed below.
Auto Channel Search – automatically searches for channels so that they are stored in the VCR’s channel list (the list of channels that are accessed when you press the CH +/– buttons.
Add/Remove Channels – allows you to manually add or remove channels from the channel list. This is helpful if the channel’s signal is weak. See Auto Channel Search on page 18.
Signal Type – press 3 to go back and forth between the two signal types: Cable and Antenna. When the setting you want is on the screen, press 0 to Exit (the VCR MAIN MENU appears and your signal setting is saved). Press 0 again to return to normal viewing.
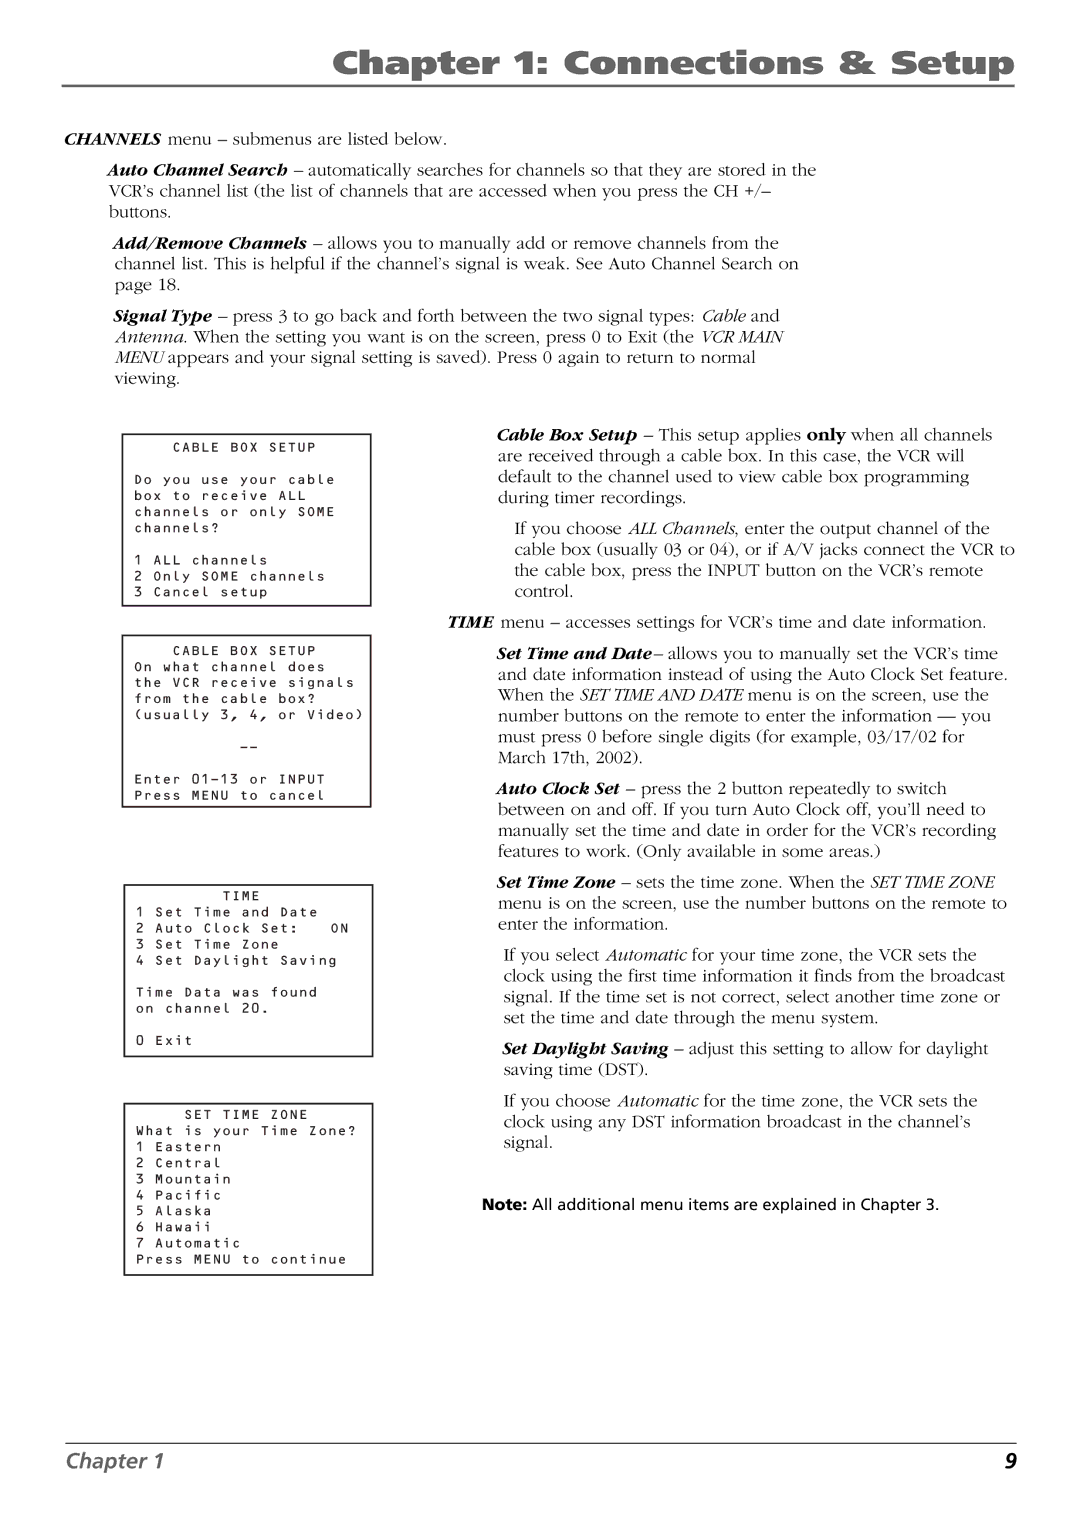
CABLE BOX SETUP
Do you use your cable box to receive ALL channels or only SOME channels?
1 ALL channels
2 Only SOME channels
3 Cancel setup
CABLE BOX SETUP On what channel does the VCR receive signals from the cable box? (usually 3, 4, or Video)
Enter
TIME
1 Set Time and Date
2 Auto Clock Set: ON
3 Set Time Zone
4 Set Daylight Saving
Time Data was found on channel 20.
0 Exit
SET TIME ZONE
What is your Time Zone?
1Eastern
2Central
3Mountain
4Pacific
5Alaska
6Hawaii
7Automatic
Press MENU to continue
Cable Box Setup – This setup applies only when all channels are received through a cable box. In this case, the VCR will default to the channel used to view cable box programming during timer recordings.
If you choose ALL Channels, enter the output channel of the cable box (usually 03 or 04), or if A/V jacks connect the VCR to the cable box, press the INPUT button on the VCR’s remote control.
TIME menu – accesses settings for VCR’s time and date information.
Set Time and Date– allows you to manually set the VCR’s time and date information instead of using the Auto Clock Set feature. When the SET TIME AND DATE menu is on the screen, use the number buttons on the remote to enter the information — you must press 0 before single digits (for example, 03/17/02 for March 17th, 2002).
Auto Clock Set – press the 2 button repeatedly to switch between on and off. If you turn Auto Clock off, you’ll need to manually set the time and date in order for the VCR’s recording features to work. (Only available in some areas.)
Set Time Zone – sets the time zone. When the SET TIME ZONE menu is on the screen, use the number buttons on the remote to enter the information.
If you select Automatic for your time zone, the VCR sets the clock using the first time information it finds from the broadcast signal. If the time set is not correct, select another time zone or set the time and date through the menu system.
Set Daylight Saving – adjust this setting to allow for daylight saving time (DST).
If you choose Automatic for the time zone, the VCR sets the clock using any DST information broadcast in the channel’s signal.
Note: All additional menu items are explained in Chapter 3.
Chapter 1 | 9 |