Using On-Screen Menus
Time and Date
Your VCR gives you two ways to set the time and date; manually or by using the Auto Clock Set feature. Using Auto Clock Set enables the time to be updated each time the VCR is turned off by using time and date information carried in certain broadcast signals.
Auto Clock Set Feature
The Auto Clock Set feature is set to ON by default at the factory. In the ON setting, the VCR looks for a channel carrying time data and updates the clock automatically. In order for Auto Clock Set to work properly though, certain steps must first be completed such as Auto Channel Search, setting the time zone, and setting the
Notes: Auto Clock Set is available only in limited areas.
You must set available channels, time zone, and
When using Auto Clock Set with a cable box, the VCR will not reset the clock after a power outage unless the cable box is tuned to the channel carrying time data.
If the time does not automatically set after trying for ten minutes, manually set the time and date information using the TIME menu (see the next page for information on manually setting time and date information).
To Turn Auto Clock Set ON
TIME
1 Set Time and Date
2 Auto Clock Set: ON
3 Set Time Zone
4 Set Daylight Saving
Time Data was found on channel 20.
0 Exit
SET TIME ZONE
What is your Time Zone?
1Eastern
2Central
3Mountain
4Pacific
5Alaska
6Hawaii 7>Automatic
Press MENU to continue
Note: make sure that available channels, time zone, and
1.Press MENU to display the VCR MAIN MENU.
2.Press 3 to choose TIME.
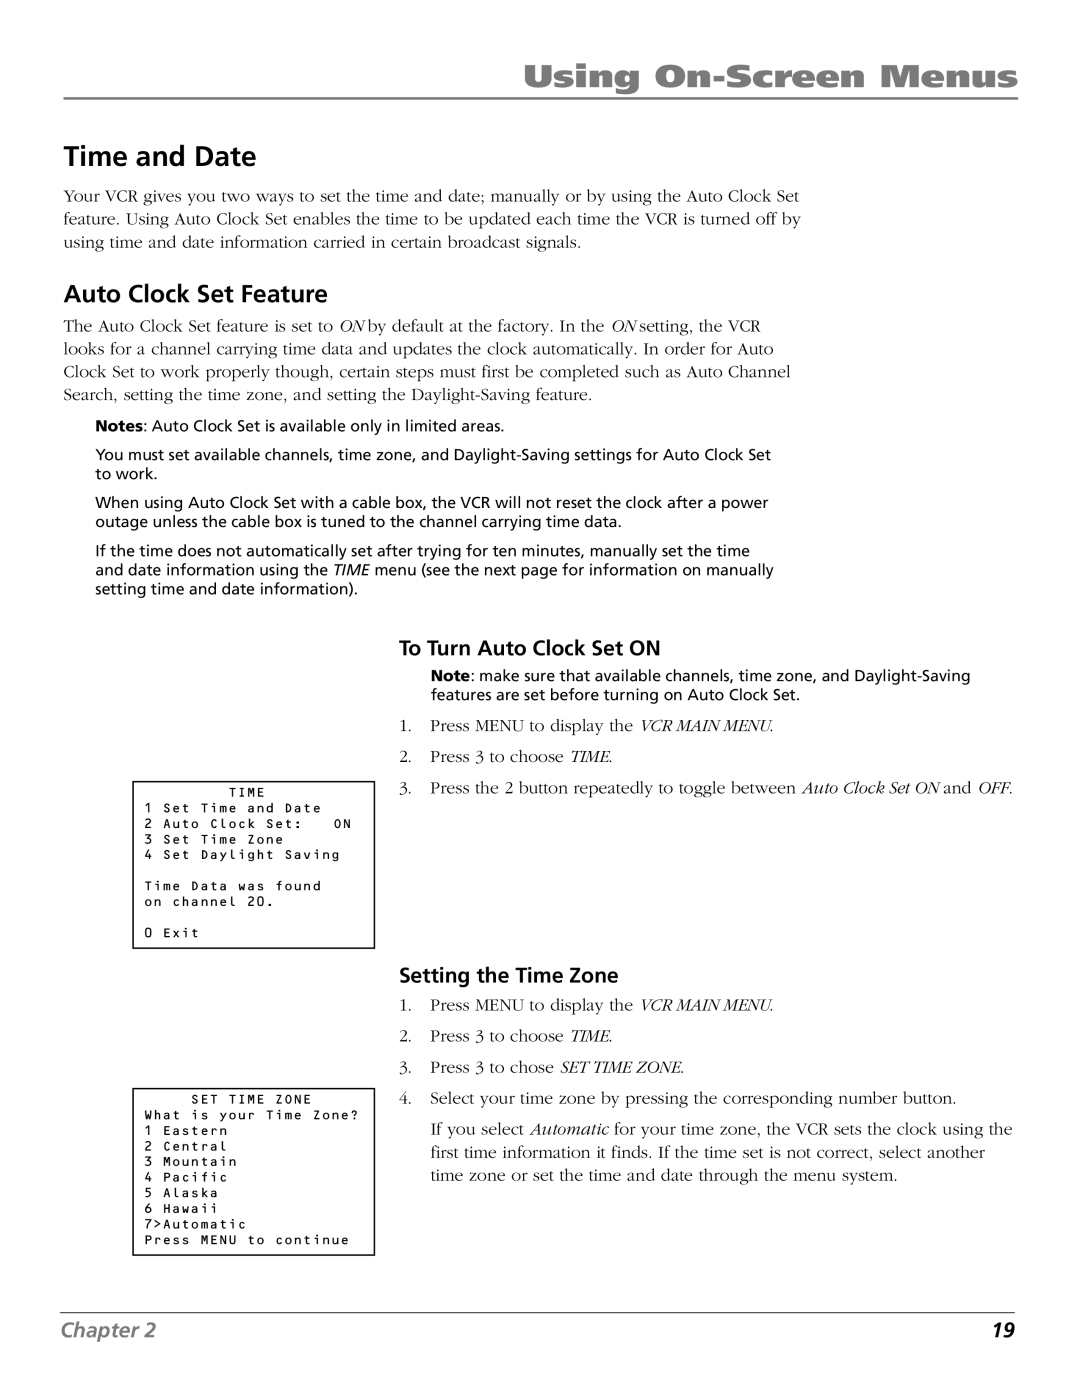
3.Press the 2 button repeatedly to toggle between Auto Clock Set ON and OFF.
Setting the Time Zone
1.Press MENU to display the VCR MAIN MENU.
2.Press 3 to choose TIME.
3.Press 3 to chose SET TIME ZONE.
4.Select your time zone by pressing the corresponding number button.
If you select Automatic for your time zone, the VCR sets the clock using the first time information it finds. If the time set is not correct, select another time zone or set the time and date through the menu system.
Chapter 2 | 19 |
