Gate Instructions
Assembly and Installation Instructions
Please read these instructions carefully.
Please follow these instructions carefully to ensure that your gate extension is properly installed. Improper installation could result in the gate becoming dislodged from the doorway, or unstable. Always make sure the extension is securely attached to the gate before using. The safety of your child is your responsibility.
Note:If using this gate at the top of stairs,the 4 Wall Cups MUST be used . If not use,the gate could be dislodged from the opening.
Important: Keep these instructions for future reference
It is preferable to install the extension on the hinge side of the gate. If you have an application that requires additional extensions, please contact the retailer which you purchased your gate from. We offer, the following sizes of extensions for your gate: 4 inch, 6 inch, 12 inch and 24 inch. They are available at most retailers that carry our Regalo Products line of metal gates.
Contact Regalo for questions and replacement parts. If in doubt concerning the use of your gate, call our customer care line at
Regalo International LLC., 14305 Southcross Drive.
Suite 100, Burnsville, MN 55306.
Made in China.
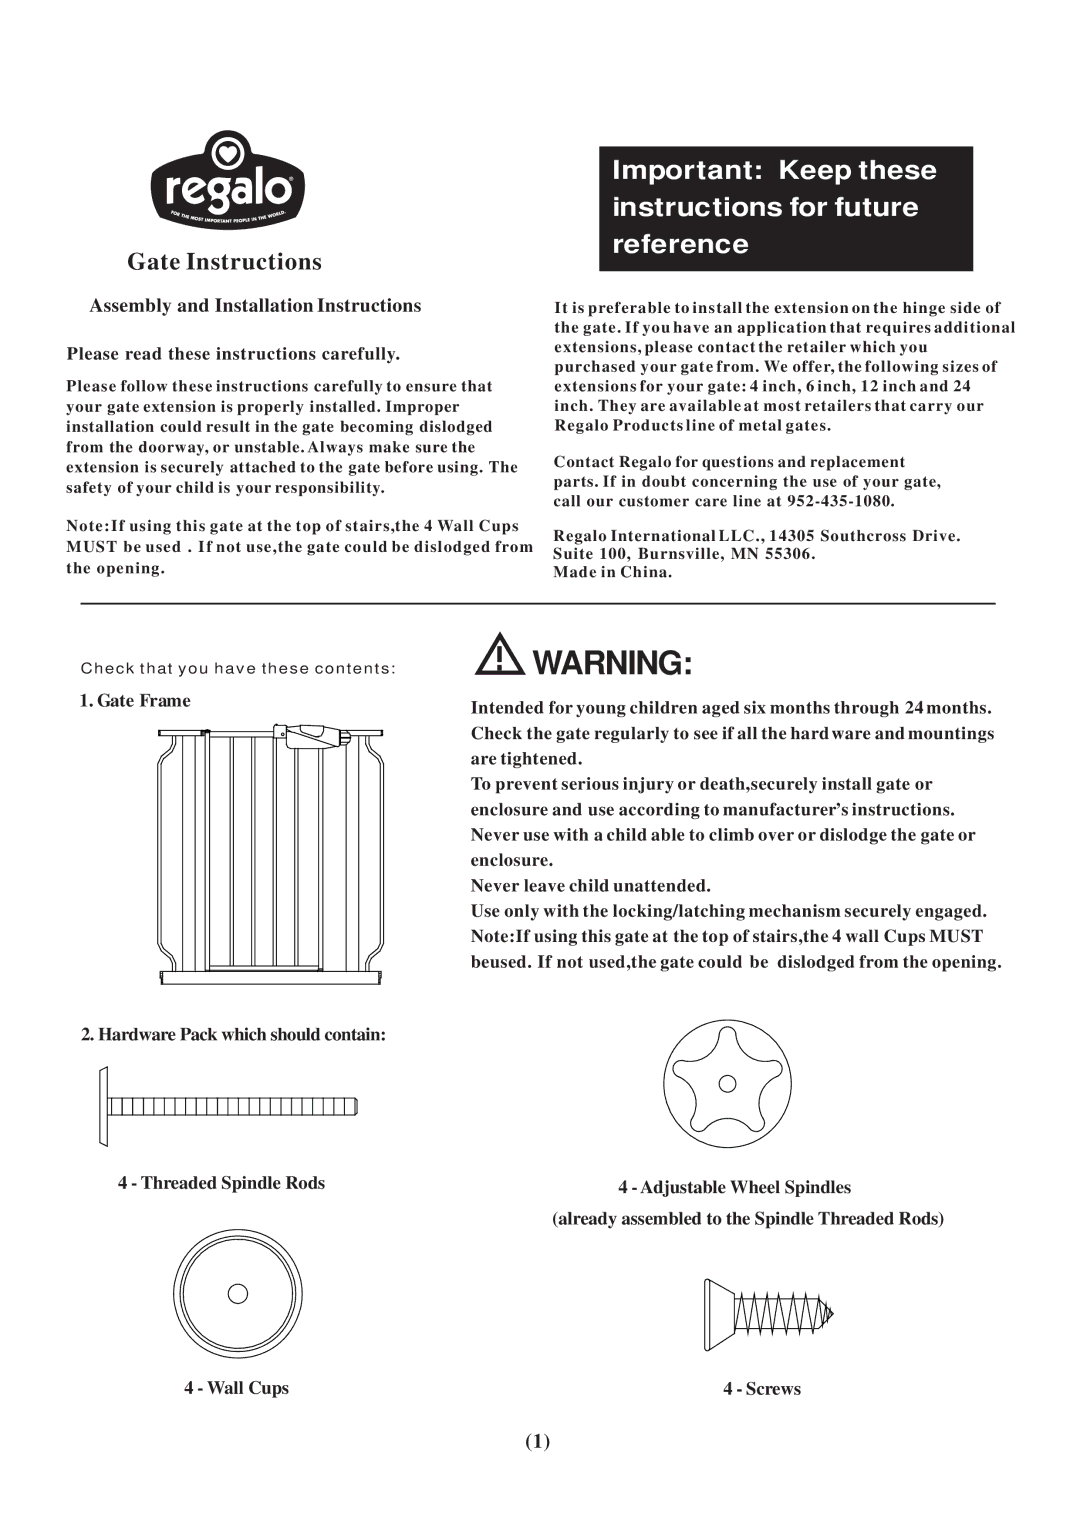
Check that you hav e these contents:
1. Gate Frame
![]() WARNING:
WARNING:
Intended for young children aged six months through 24 months. Check the gate regularly to see if all the hard ware and mountings are tightened.
To prevent serious injury or death,securely install gate or enclosure and use according to manufacturer’s instructions. Never use with a child able to climb over or dislodge the gate or enclosure.
Never leave child unattended.
Use only with the locking/latching mechanism securely engaged. Note:If using this gate at the top of stairs,the 4 wall Cups MUST beused. If not used,the gate could be dislodged from the opening.
2. Hardware Pack which should contain:
4 - Threaded Spindle Rods | 4 - Adjustable Wheel Spindles | |||||||
| (already assembled to the Spindle Threaded Rods) | |||||||
|
|
|
|
|
|
|
|
|
|
|
|
|
|
|
|
|
|
|
|
|
|
|
|
|
|
|
|
|
|
|
|
|
|
|
|
4 - Wall Cups | 4 - Screws |
(1)
