122XL Copper Cutting and Prep Machine
6.If the workpiece extends beyond the 122XL,
7.Plug the machine into the electrical outlet, making sure to position the power cord along the clear path selected earlier. Use an extension cord in good con- dition.
![]() WARNING Make sure the electrical cord is clear of the reamer and wire brushes.
WARNING Make sure the electrical cord is clear of the reamer and wire brushes.
![]() WARNING To avoid electrical shock and electrical fires, never use an extension cord that is damaged or does not meet the following requirements:
WARNING To avoid electrical shock and electrical fires, never use an extension cord that is damaged or does not meet the following requirements:
•The cord has a
•The cord is rated as “W” or
•The cord has sufficient wire thickness (16 AWG below 50′). If the wire thickness is too small, the cord may overheat, melting the cord’s insulation or causing nearby objects to ignite.
![]() WARNING To reduce risk of electrical shock, keep all electrical connections dry and off the ground. Do not touch plug with wet hands.
WARNING To reduce risk of electrical shock, keep all electrical connections dry and off the ground. Do not touch plug with wet hands.
NOTE! For ease of use, the ON/OFF operation of this machine can be controlled by using the No. 301A Foot Switch. (No. 301A Foot Switch is an optional accessory.)
Operating Instructions
![]() WARNING
WARNING
Cutting Tube
1.Mark the tubing at the desired length. For operator convenience, a scale is provided on the machine. Check that the tubing is not visibly bent.
CAUTION Cutting tubing that is bent will result in exces- sive vibration. Use hand cutter.
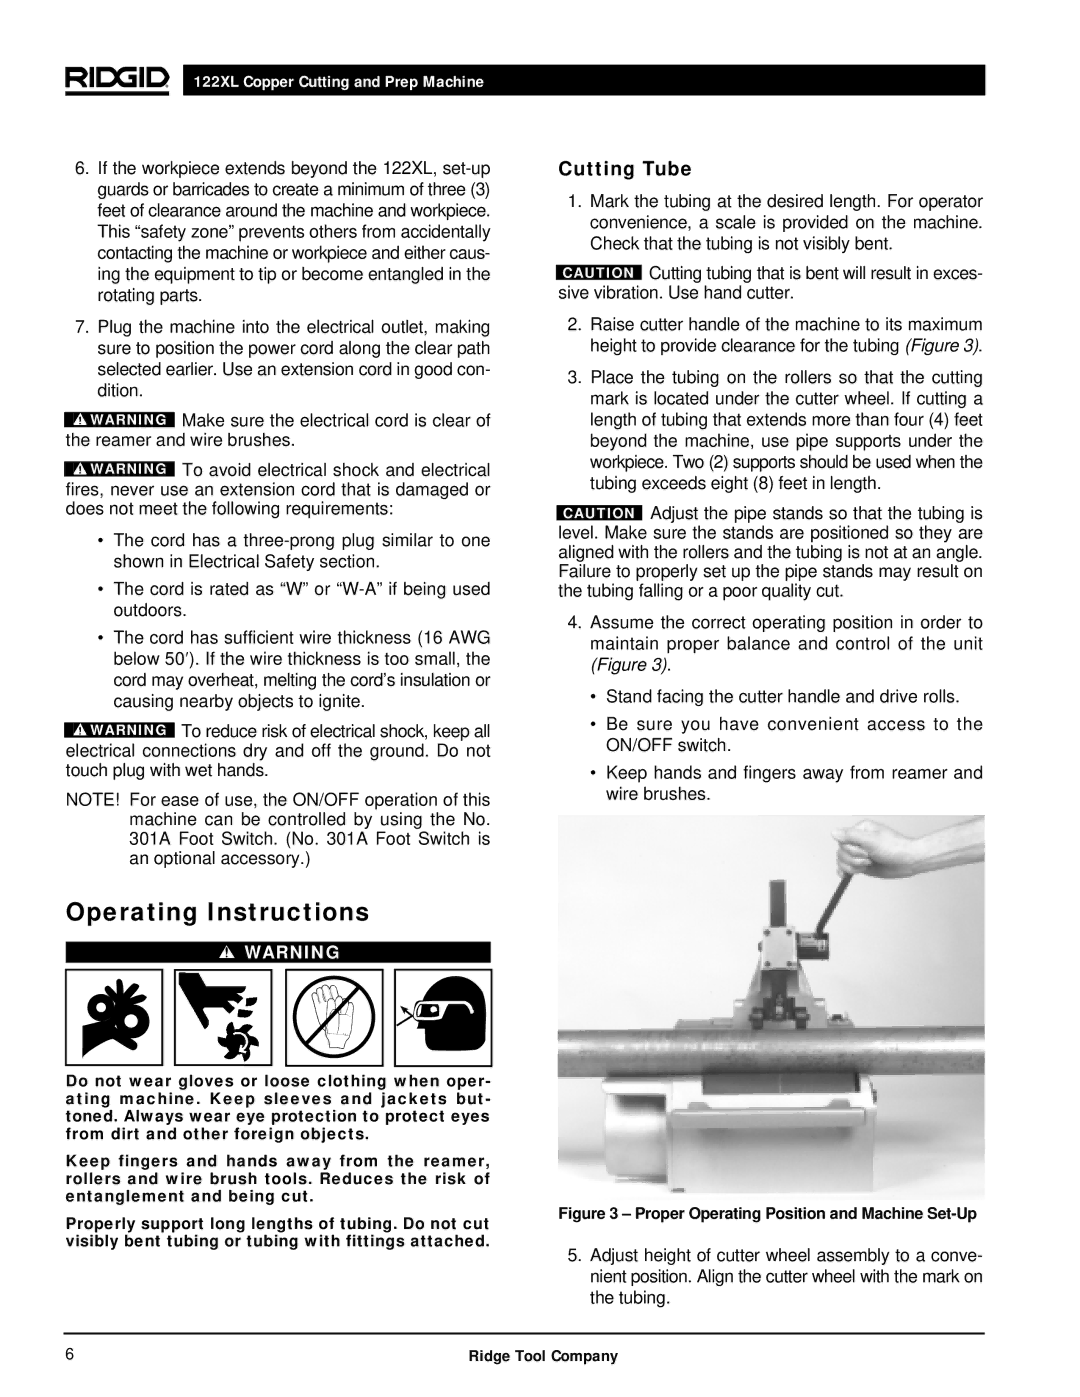
2.Raise cutter handle of the machine to its maximum height to provide clearance for the tubing (Figure 3).
3.Place the tubing on the rollers so that the cutting mark is located under the cutter wheel. If cutting a length of tubing that extends more than four (4) feet beyond the machine, use pipe supports under the workpiece. Two (2) supports should be used when the tubing exceeds eight (8) feet in length.
CAUTION Adjust the pipe stands so that the tubing is level. Make sure the stands are positioned so they are aligned with the rollers and the tubing is not at an angle. Failure to properly set up the pipe stands may result on the tubing falling or a poor quality cut.
4.Assume the correct operating position in order to maintain proper balance and control of the unit (Figure 3).
•Stand facing the cutter handle and drive rolls.
•Be sure you have convenient access to the ON/OFF switch.
•Keep hands and fingers away from reamer and wire brushes.
Do not wear gloves or loose clothing when oper- ating machine. Keep sleeves and jackets but- toned. Always wear eye protection to protect eyes from dirt and other foreign objects.
Keep fingers and hands away from the reamer, rollers and wire brush tools. Reduces the risk of entanglement and being cut.
Properly support long lengths of tubing. Do not cut visibly bent tubing or tubing with fittings attached.
Figure 3 – Proper Operating Position and Machine Set-Up
5.Adjust height of cutter wheel assembly to a conve- nient position. Align the cutter wheel with the mark on the tubing.
6 | Ridge Tool Company |
