122XL Copper Cutting and Prep Machine
Maintenance Instructions
![]() WARNING
WARNING
Make sure machine is unplugged from power source before performing maintenance or mak- ing any adjustment.
Lubrication
Keep a light coat of oil on the rack and pinion, the cutter wheel shaft, and the roller shafts.
Rollers
Keep rollers clean and free from dirt and debris.
Cutter Wheel Replacement
Cutter wheel is considered worn when cutting edge be- comes ragged or flat.
1.Loosen shoulder bolt and remove hold down wheel carriage (Figure 10A). Insure that the shoulder bolt remains inserted in arbor to keep tension spring in place.
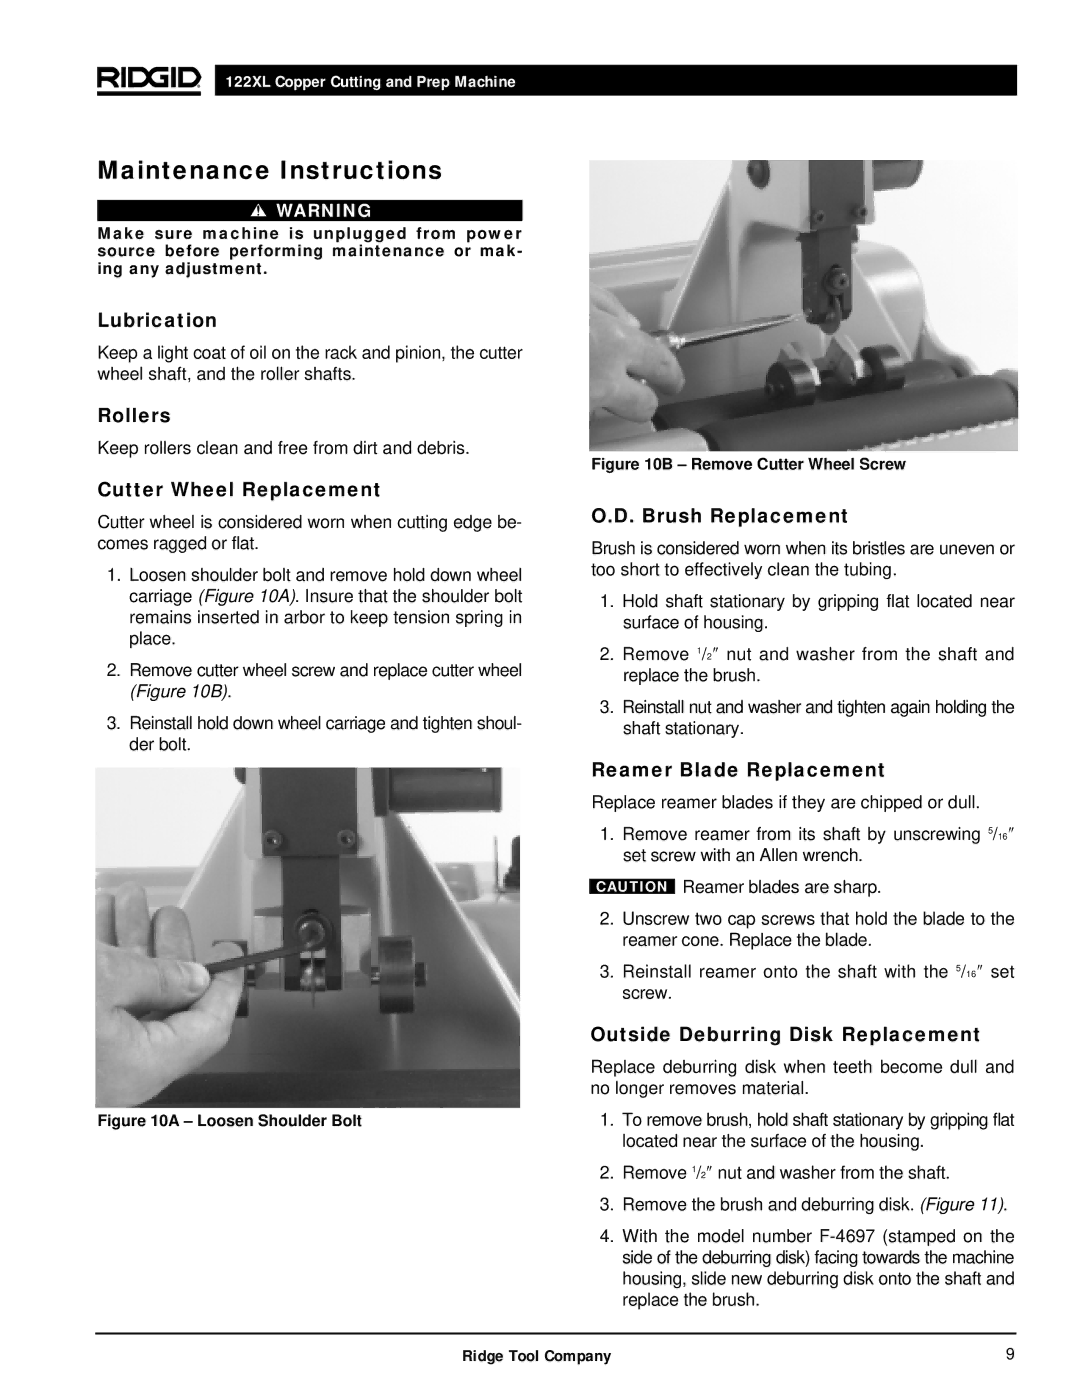
2.Remove cutter wheel screw and replace cutter wheel (Figure 10B).
3.Reinstall hold down wheel carriage and tighten shoul- der bolt.
Figure 10A – Loosen Shoulder Bolt
Figure 10B – Remove Cutter Wheel Screw
O.D. Brush Replacement
Brush is considered worn when its bristles are uneven or too short to effectively clean the tubing.
1.Hold shaft stationary by gripping flat located near surface of housing.
2.Remove 1/2″ nut and washer from the shaft and replace the brush.
3.Reinstall nut and washer and tighten again holding the shaft stationary.
Reamer Blade Replacement
Replace reamer blades if they are chipped or dull.
1.Remove reamer from its shaft by unscrewing 5/16″ set screw with an Allen wrench.
CAUTION Reamer blades are sharp.
2.Unscrew two cap screws that hold the blade to the reamer cone. Replace the blade.
3.Reinstall reamer onto the shaft with the 5/16″ set screw.
Outside Deburring Disk Replacement
Replace deburring disk when teeth become dull and no longer removes material.
1.To remove brush, hold shaft stationary by gripping flat located near the surface of the housing.
2.Remove 1/2″ nut and washer from the shaft.
3.Remove the brush and deburring disk. (Figure 11).
4.With the model number
Ridge Tool Company | 9 |