Removing Cable from Pipeline
1.Make sure motor FOR/OFF/REV SWITCH is in FOR position. Hold cable against edge of guide pipe and cable will screw itself out.
2.As each section comes through rear end of guide hose, uncouple it and set it aside for cleaning and storage.
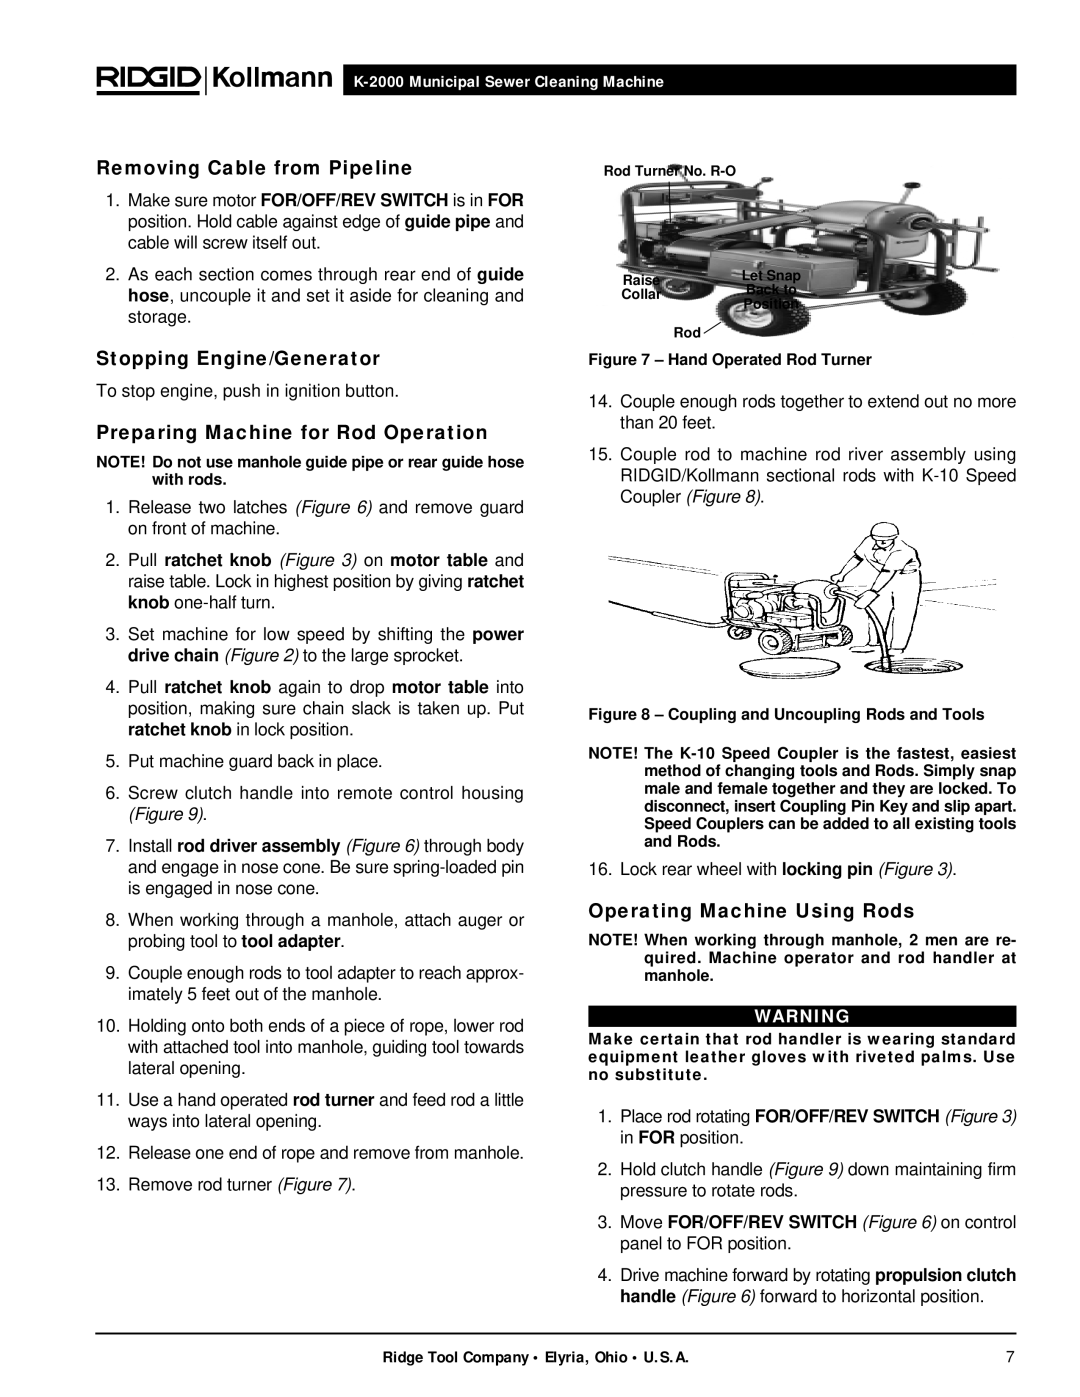
Rod Turner No.
Raise | Let Snap | |
Back to | ||
Collar | ||
Position | ||
| ||
| Rod |
Stopping Engine/Generator
To stop engine, push in ignition button.
Preparing Machine for Rod Operation
NOTE! Do not use manhole guide pipe or rear guide hose with rods.
1.Release two latches (Figure 6) and remove guard on front of machine.
2.Pull ratchet knob (Figure 3) on motor table and raise table. Lock in highest position by giving ratchet knob
3.Set machine for low speed by shifting the power drive chain (Figure 2) to the large sprocket.
4.Pull ratchet knob again to drop motor table into position, making sure chain slack is taken up. Put ratchet knob in lock position.
5.Put machine guard back in place.
6.Screw clutch handle into remote control housing (Figure 9).
7.Install rod driver assembly (Figure 6) through body and engage in nose cone. Be sure
8.When working through a manhole, attach auger or probing tool to tool adapter.
9.Couple enough rods to tool adapter to reach approx- imately 5 feet out of the manhole.
10.Holding onto both ends of a piece of rope, lower rod with attached tool into manhole, guiding tool towards lateral opening.
11.Use a hand operated rod turner and feed rod a little ways into lateral opening.
12.Release one end of rope and remove from manhole.
13.Remove rod turner (Figure 7).
Figure 7 – Hand Operated Rod Turner
14.Couple enough rods together to extend out no more than 20 feet.
15.Couple rod to machine rod river assembly using RIDGID/Kollmann sectional rods with
Figure 8 – Coupling and Uncoupling Rods and Tools
NOTE! The
16. Lock rear wheel with locking pin (Figure 3).
Operating Machine Using Rods
NOTE! When working through manhole, 2 men are re- quired. Machine operator and rod handler at manhole.
WARNING
Make certain that rod handler is wearing standard equipment leather gloves with riveted palms. Use no substitute.
1.Place rod rotating FOR/OFF/REV SWITCH (Figure 3) in FOR position.
2.Hold clutch handle (Figure 9) down maintaining firm pressure to rotate rods.
3.Move FOR/OFF/REV SWITCH (Figure 6) on control panel to FOR position.
4.Drive machine forward by rotating propulsion clutch handle (Figure 6) forward to horizontal position.
Ridge Tool Company • Elyria, Ohio • U.S.A. | 7 |
