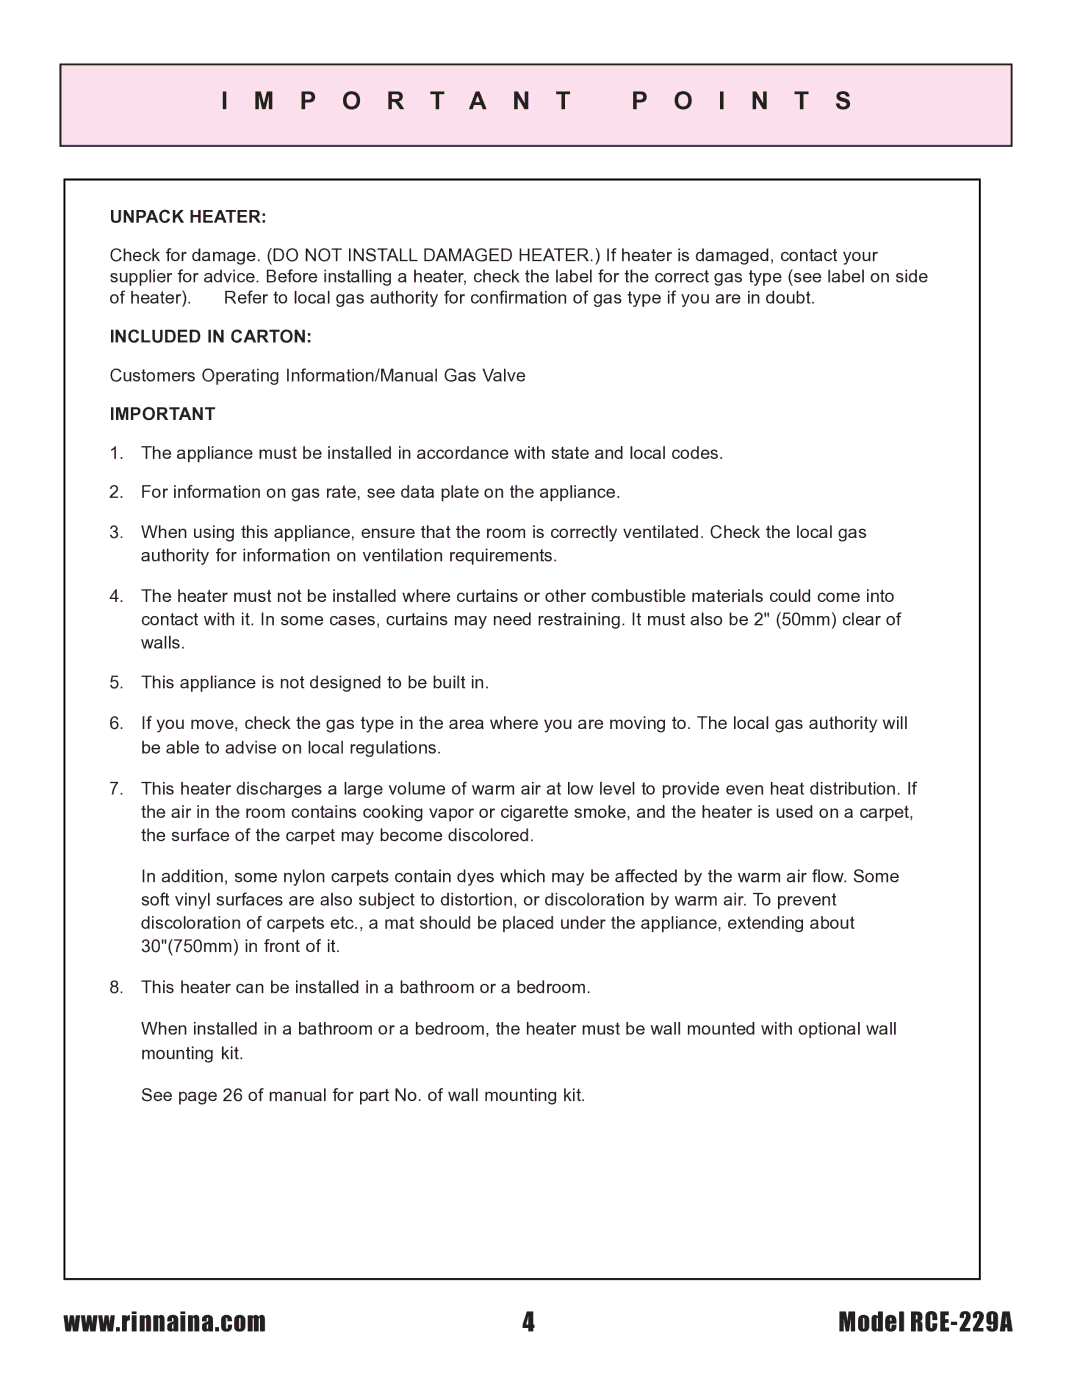
RCE-229A specifications
The Rinnai RCE-229A is a remarkable water heater that embodies advanced technology and efficient performance, meeting the needs of modern households. Designed with the consumer in mind, this appliance showcases exceptional features that not only enhance its functionality but also optimize energy usage.One of the main features of the RCE-229A is its compact design, making it suitable for installations in tight spaces commonly found in urban environments. The unit's sleek appearance allows it to blend seamlessly into various settings, while its build quality ensures durability and longevity. The RCE-229A is designed for both indoor and outdoor installations, providing flexibility for homeowners.
This water heater operates using advanced gas technology, ensuring rapid heating and consistent temperature control. Equipped with a highly efficient burner system, it delivers hot water on demand without the need for a storage tank. This tankless design significantly reduces energy consumption, as water is heated only when needed, thereby minimizing waste and lowering utility bills.
The RCE-229A features a user-friendly digital control panel that offers precise temperature settings and easy operation. Consumers can easily adjust the temperature to their desired level, giving them full control over their hot water needs. The digital display also provides real-time feedback, allowing users to monitor performance effortlessly.
Safety is a top priority for Rinnai, and the RCE-229A comes equipped with multiple safety features. It includes an automatic shutoff mechanism that activates in case of a malfunction, preventing overheating and potential hazards. The unit also has a built-in flame failure device that ensures the gas supply is cut off if the flame goes out unexpectedly.
Moreover, the RCE-229A boasts a high energy efficiency rating, achieving significant savings in energy costs compared to traditional water heaters. This efficient operation not only benefits homeowners financially but also aligns with environmental sustainability efforts by reducing carbon emissions.
In summary, the Rinnai RCE-229A is a sophisticated water heating solution that combines innovative technology with user-friendly features. Its compact design, energy efficiency, safety mechanisms, and digital controls set it apart in the competitive market of water heaters. This model stands as a testament to Rinnai's commitment to quality and customer satisfaction, making it an excellent choice for anyone seeking a reliable and efficient hot water solution for their home.

