| 8 | Remote | |
| Remote | ||
| Dimmer | ||
Stereo/Mono | Disable | ||
Mono Right | |||
Left | Remote |
| |
|
| ||
| Enable | 9 | |
|
| ||
| Stereo Amp | Stereo Amp | |
| Mono Amp(s) | Mono Amp(s) |
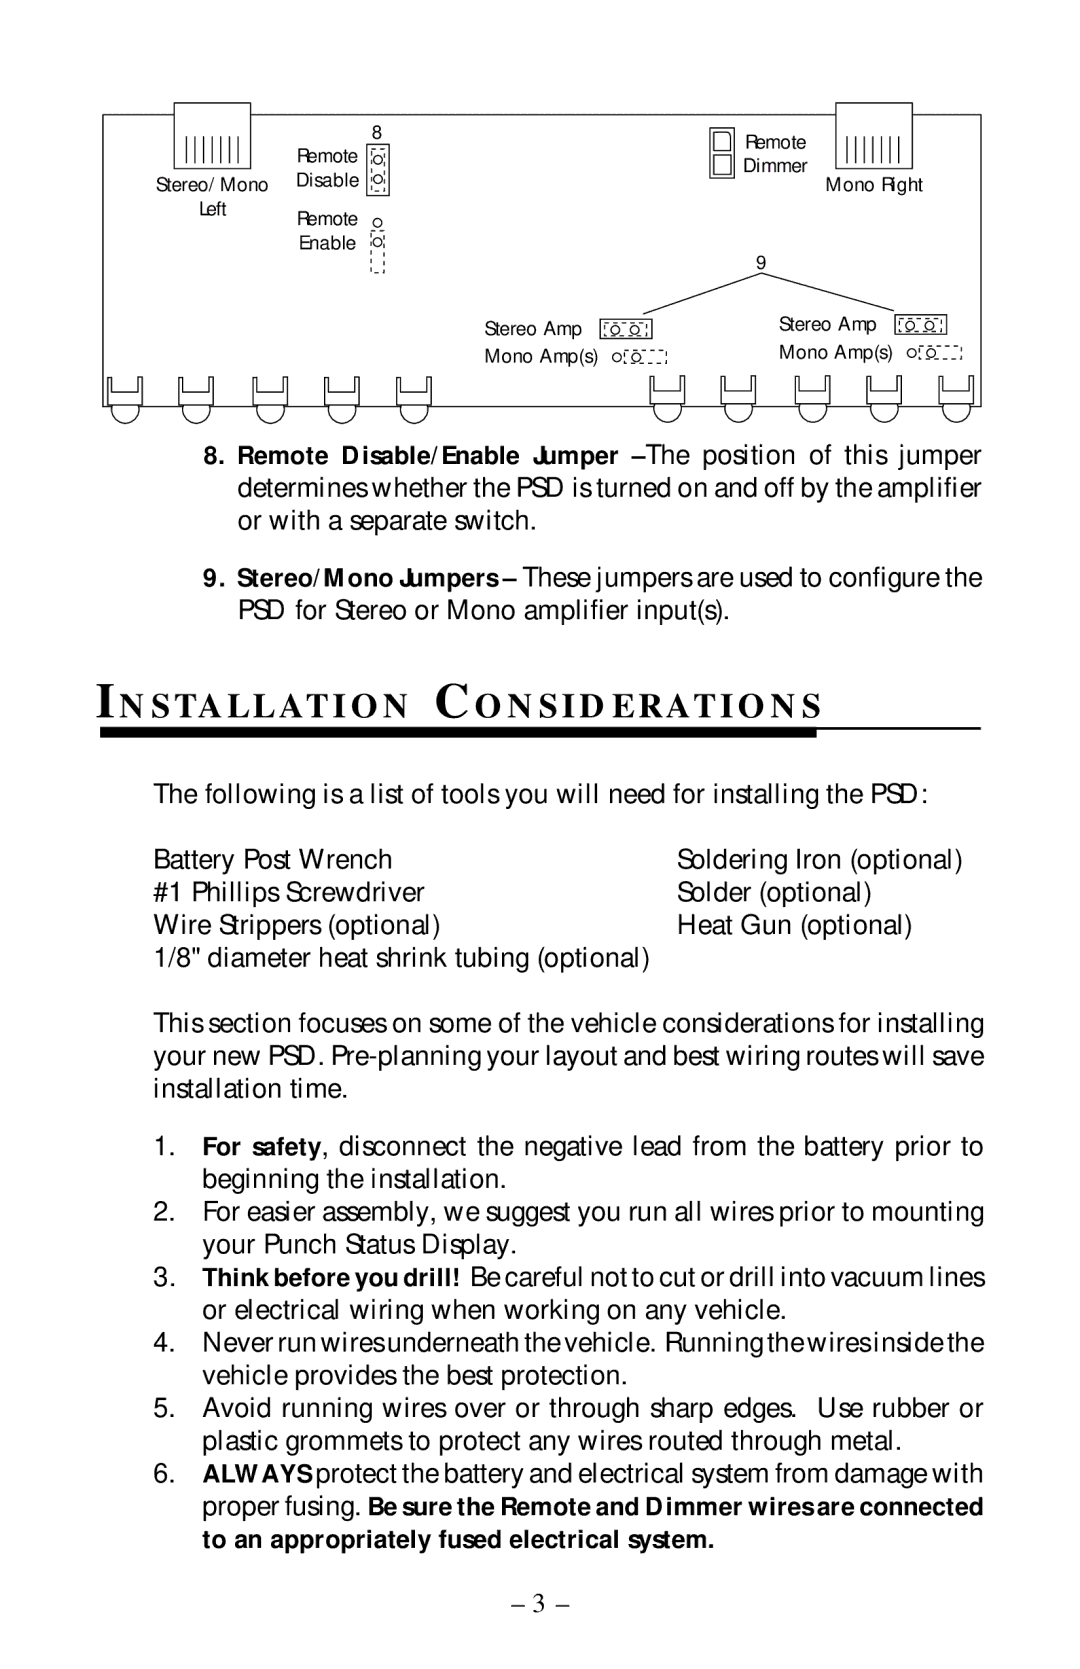
8.Remote Disable/Enable Jumper
9.Stereo/Mono Jumpers – These jumpers are used to configure the PSD for Stereo or Mono amplifier input(s).
IN S TA L L AT I O N CO N S I D E R AT I O N S
The following is a list of tools you will need for installing the PSD:
Battery Post Wrench | Soldering Iron (optional) |
#1 Phillips Screwdriver | Solder (optional) |
Wire Strippers (optional) | Heat Gun (optional) |
1/8" diameter heat shrink tubing (optional) |
|
This section focuses on some of the vehicle considerations for installing your new PSD.
1.For safety, disconnect the negative lead from the battery prior to beginning the installation.
2.For easier assembly, we suggest you run all wires prior to mounting your Punch Status Display.
3.Think before you drill! Be careful not to cut or drill into vacuum lines or electrical wiring when working on any vehicle.
4.Never run wires underneath the vehicle. Running the wires inside the vehicle provides the best protection.
5.Avoid running wires over or through sharp edges. Use rubber or plastic grommets to protect any wires routed through metal.
6.ALWAYS protect the battery and electrical system from damage with proper fusing. Be sure the Remote and Dimmer wires are connected to an appropriately fused electrical system.
–3 –
