FGS397X specifications
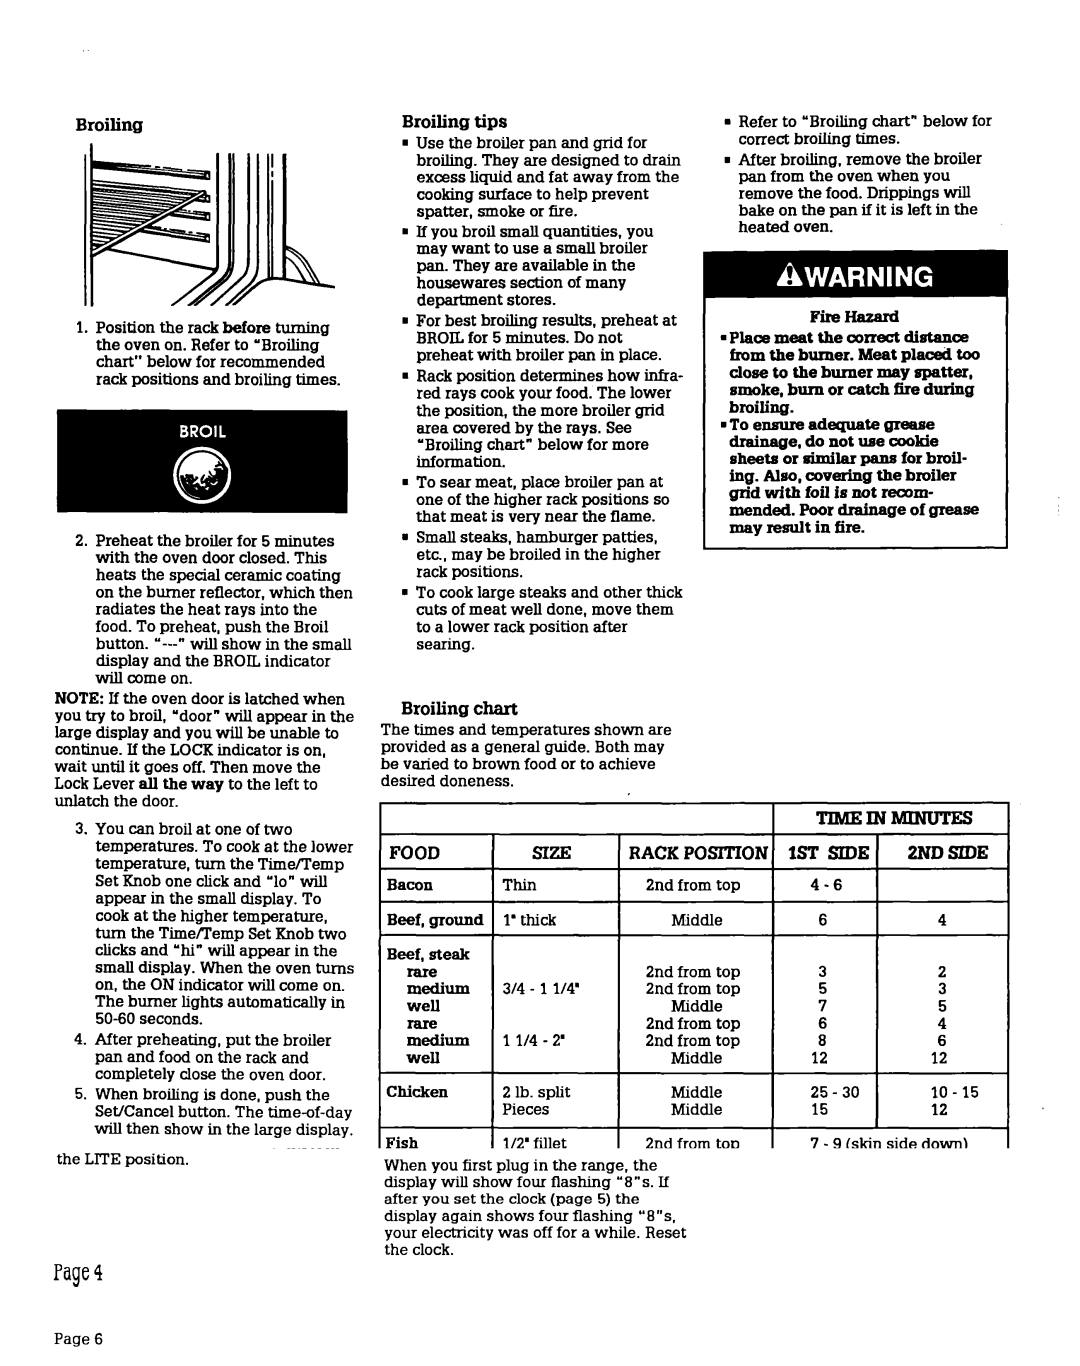
The Roper FGS397X is an advanced residential electric range that blends modern technology with user-friendly features, designed to enhance the cooking experience for home chefs. Known for its reliability and efficiency, this model stands out with a variety of characteristics that cater to both everyday cooking and gourmet meal preparation.One of the standout features of the Roper FGS397X is its spacious oven capacity. With ample space for multiple dishes, the oven allows for simultaneous baking, roasting, or broiling, making it ideal for families or those who love to entertain. The baking elements are designed for even heat distribution, ensuring consistent cooking results.
The range is equipped with four burners that provide a mix of high and low heat options, enabling users to tackle a variety of cooking tasks. The burners include a powerful high-output burner ideal for boiling and searing, as well as simmer burners that are perfect for delicate sauces and reductions. This versatility meets the needs of both novice cooks and experienced chefs.
A notable technology integrated into the Roper FGS397X is its intuitive control panel. The ergonomic knobs are easy to grasp, even when hands are wet or greasy. Additionally, the range features a digital display that provides accurate temperature settings and cooking timers, making it easier to manage multiple dishes at once.
Cleaning is hassle-free with the Roper FGS397X, as the oven is equipped with a self-cleaning feature. This saves time and effort, allowing users to focus on cooking rather than cleaning. The smooth surface of the cooktop also facilitates easy cleaning, as spills can be wiped away without hassle.
Safety is a key consideration in kitchen appliances, and the Roper FGS397X incorporates features such as a flame failure device and a child lock, ensuring peace of mind while cooking. With a sleek design and durable construction, this range fits seamlessly into any kitchen aesthetic, combining functionality with a modern look.
In summary, the Roper FGS397X stands out as a dependable electric range equipped with essential features and innovative technologies. Its spacious oven, versatile burners, easy-to-use control panel, self-cleaning capability, and safety features make it a popular choice for anyone looking to elevate their home cooking experience. Whether baking cookies or preparing a holiday feast, the Roper FGS397X is a reliable partner in the kitchen.

