6 Installer setup menu
To enter the installer setup menu you must have the system on & opened. Using the remote or CPM, hit these buttons in this sequence Eject-Domelight-Enter-Domelight.If this is done correctly the picture below should pop up on the OSD (On Screen Display).
AUDIO SETUP
Internal FMT: To use the Internal FMT once the install is complete. Press the Speaker button on the remote or the FMM button on the unit’s control panel. The OSD should read “Speaker Sound on FM _ _._ “ at this time the station adjust- ments should be made by either using the left & right arrows keys on the remote or by using the left or right arrow keys on the units control panel.
External FMM (Optional): To enable the EXTFMM (External FM Modulator) use the arrow keys on the remote to scroll down to the option EXTFMM. Once there using the left & right arrow keys toggle on the EXTFMM.
Note: By enabling the EXTFMM this will automatically disable the Internal FMT.
Controlling Output B: Once in the installer set up menu scroll down to the Dual Zone option. Then toggle the option on or off with the left or right arrow keys on the remote or the unit’s control panel. Once this is done the unit will automatically enable the Ch. B Audio to Output B, hit the enter button to exit the installer setup menu. Then press the Output B but- ton on the remote to turn the Output B function on. Once this is done you are able to change the sources for Output B by pressing the Source button.
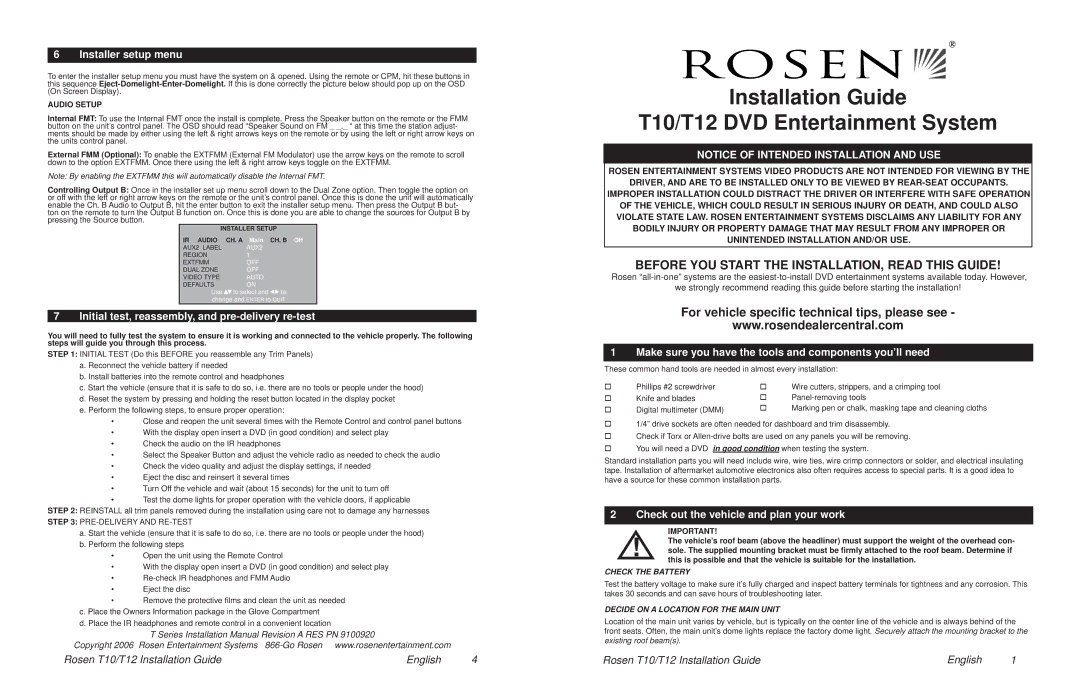
INSTALLER SETUP
IR AUDIO | CH. A Main | CH. B Off |
AUX2 LABEL | AUX2 | |
REGION | 1 | |
EXTFMM | OFF | |
DUAL ZONE | OFF | |
VIDEO TYPE | AUTO | |
DEFAULTS | ON | |
Use | to select and | to |
change and ENTER to QUIT
7 Initial test, reassembly, and pre-delivery re-test
You will need to fully test the system to ensure it is working and connected to the vehicle properly. The following steps will guide you through this process.
STEP 1: INITIAL TEST (Do this BEFORE you reassemble any Trim Panels) a. Reconnect the vehicle battery if needed
b. Install batteries into the remote control and headphones
c. Start the vehicle (ensure that it is safe to do so, i.e. there are no tools or people under the hood) d. Reset the system by pressing and holding the reset button located in the display pocket
e. Perform the following steps, to ensure proper operation:
•Close and reopen the unit several times with the Remote Control and control panel buttons
•With the display open insert a DVD (in good condition) and select play
•Check the audio on the IR headphones
•Select the Speaker Button and adjust the vehicle radio as needed to check the audio
•Check the video quality and adjust the display settings, if needed
•Eject the disc and reinsert it several times
•Turn Off the vehicle and wait (about 15 seconds) for the unit to turn off
•Test the dome lights for proper operation with the vehicle doors, if applicable
STEP 2: REINSTALL all trim panels removed during the installation using care not to damage any harnesses
STEP 3: PRE-DELIVERY AND RE-TEST
a. Start the vehicle (ensure that it is safe to do so, i.e. there are no tools or people under the hood) b. Perform the following steps
•Open the unit using the Remote Control
•With the display open insert a DVD (in good condition) and select play
•Re-check IR headphones and FMM Audio
•Eject the disc
•Remove the protective films and clean the unit as needed
c.Place the Owners Information package in the Glove Compartment
d.Place the IR headphones and remote control in a convenient location
T Series Installation Manual Revision A RES PN 9100920 | |
Copyright 2006 Rosen Entertainment Systems 866-Go Rosen | www.rosenentertainment.com | |
Rosen T10/T12 Installation Guide | English | 4 |
Installation Guide
T10/T12 DVD Entertainment System
NOTICE OF INTENDED INSTALLATION AND USE
ROSEN ENTERTAINMENT SYSTEMS VIDEO PRODUCTS ARE NOT INTENDED FOR VIEWING BY THE
DRIVER, AND ARE TO BE INSTALLED ONLY TO BE VIEWED BY REAR-SEAT OCCUPANTS.
IMPROPER INSTALLATION COULD DISTRACT THE DRIVER OR INTERFERE WITH SAFE OPERATION
OF THE VEHICLE, WHICH COULD RESULT IN SERIOUS INJURY OR DEATH, AND COULD ALSO VIOLATE STATE LAW. ROSEN ENTERTAINMENT SYSTEMS DISCLAIMS ANY LIABILITY FOR ANY BODILY INJURY OR PROPERTY DAMAGE THAT MAY RESULT FROM ANY IMPROPER OR UNINTENDED INSTALLATION AND/OR USE.
BEFORE YOU START THE INSTALLATION, READ THIS GUIDE!
Rosen “all-in-one” systems are the easiest-to-install DVD entertainment systems available today. However,
we strongly recommend reading this guide before starting the installation!
For vehicle specific technical tips, please see -
www.rosendealercentral.com
1 Make sure you have the tools and components you’ll need
These common hand tools are needed in almost every installation:
Phillips #2 screwdriver | Wire cutters, strippers, and a crimping tool |
Knife and blades | Panel-removing tools |
Digital multimeter (DMM) | Marking pen or chalk, masking tape and cleaning cloths |
1/4” drive sockets are often needed for dashboard and trim disassembly. Check if Torx or Allen-drive bolts are used on any panels you will be removing. You will need a DVD in good condition when testing the system.
Standard installation parts you will need include wire, wire ties, wire crimp connectors or solder, and electrical insulating tape. Installation of aftermarket automotive electronics also often requires access to special parts. It is a good idea to have a source for these common installation parts.
2 Check out the vehicle and plan your work
IMPORTANT!
! The vehicle’s roof beam (above the headliner) must support the weight of the overhead con- sole. The supplied mounting bracket must be firmly attached to the roof beam. Determine if this is possible and that the vehicle is suitable for the installation.
CHECK THE BATTERY
Test the battery voltage to make sure it’s fully charged and inspect battery terminals for tightness and any corrosion. This takes 30 seconds and can save hours of troubleshooting later.
DECIDE ON A LOCATION FOR THE MAIN UNIT
Location of the main unit varies by vehicle, but is typically on the center line of the vehicle and is always behind of the front seats. Often, the main unit’s dome lights replace the factory dome light. Securely attach the mounting bracket to the existing roof beam(s).
Rosen T10/T12 Installation Guide | English | 1 |