Disc Care and Handling
Proper handling and storage of discs is very important. If a disc gets dirty, dusty, scratched or warped, playback, sound and picture will be adversely affected.
Handling
•To avoid damage do not touch the surface of the disc.
•Do not apply labels or use any adhesive on
either the label side or playback side.
Storing discs
•Keep discs in their cases. If discs are piled on top of one another without their protective cases, they can be damaged.
•Do not put discs where they may be exposed to direct sunlight, or high temperatures or humidity. Avoid leaving discs in a car!
Cleaning discs
•Wipe with a soft dry cloth, moving from the center outwards. If a disc is difficult to clean, wipe with a cloth moistened with water.
•Never use record cleaners, petrol, alcohol or any
DVD Video Disc Region Codes
All DVD players and DVD discs have a Region Code number. This unit only can play back DVD discs whose Region Code numbers include the unit’s Region Code, which is indicated on the region code symbol on the rear panel.
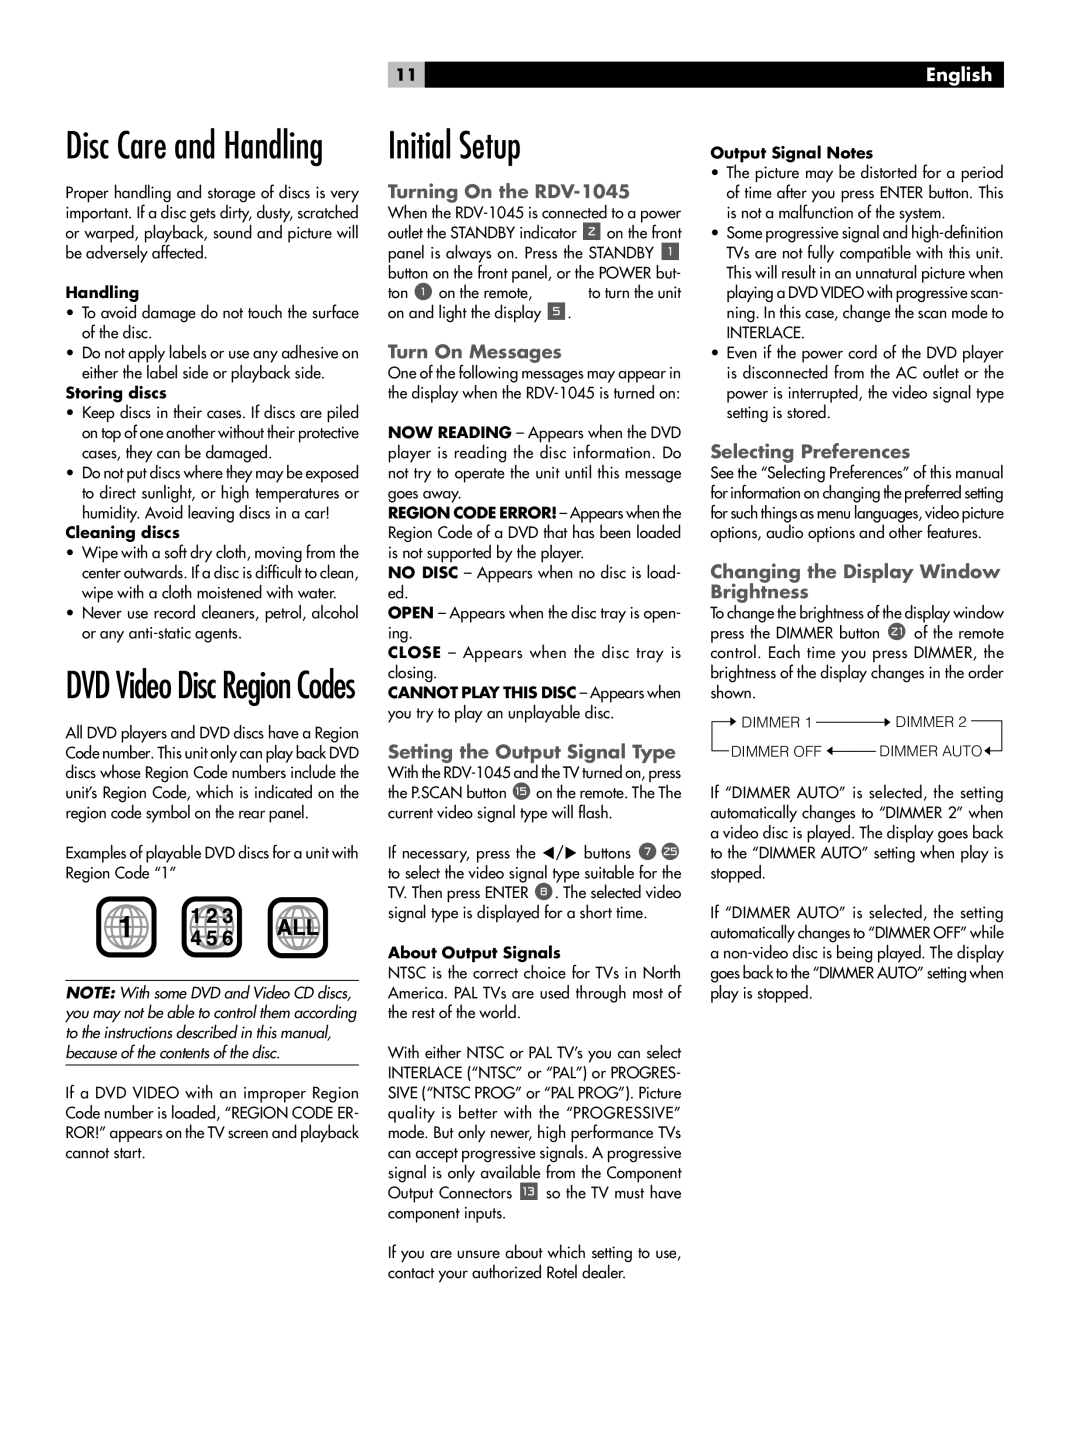
Examples of playable DVD discs for a unit with Region Code “1”
NOTE: With some DVD and Video CD discs, you may not be able to control them according to the instructions described in this manual, because of the contents of the disc.
If a DVD VIDEO with an improper Region Code number is loaded, “REGION CODE ER- ROR!” appears on the TV screen and playback cannot start.
11
Initial Setup
Turning On the RDV-1045
When the
ton 1 on the remote, to turn the unit on and light the display 5.
Turn On Messages
One of the following messages may appear in the display when the
NOW READING – Appears when the DVD player is reading the disc information. Do not try to operate the unit until this message goes away.
REGION CODE ERROR! – Appears when the Region Code of a DVD that has been loaded is not supported by the player.
NO DISC – Appears when no disc is load- ed.
OPEN – Appears when the disc tray is open- ing.
CLOSE – Appears when the disc tray is closing.
CANNOT PLAY THIS DISC – Appears when you try to play an unplayable disc.
Setting the Output Signal Type
With the
If necessary, press the t/u buttons 7\ to select the video signal type suitable for the TV. Then press ENTER 8. The selected video signal type is displayed for a short time.
About Output Signals
NTSC is the correct choice for TVs in North America. PAL TVs are used through most of the rest of the world.
With either NTSC or PAL TV’s you can select INTERLACE (“NTSC” or “PAL”) or PROGRES- SIVE (“NTSC PROG” or “PAL PROG”). Picture quality is better with the “PROGRESSIVE” mode. But only newer, high performance TVs can accept progressive signals. A progressive signal is only available from the Component Output Connectors q so the TV must have component inputs.
If you are unsure about which setting to use, contact your authorized Rotel dealer.
English
Output Signal Notes
•The picture may be distorted for a period of time after you press ENTER button. This is not a malfunction of the system.
•Some progressive signal and
INTERLACE.
•Even if the power cord of the DVD player is disconnected from the AC outlet or the power is interrupted, the video signal type setting is stored.
Selecting Preferences
See the “Selecting Preferences” of this manual for information on changing the preferred setting for such things as menu languages, video picture options, audio options and other features.
Changing the Display Window Brightness
To change the brightness of the display window press the DIMMER button o of the remote control. Each time you press DIMMER, the brightness of the display changes in the order shown.
![]() ��������
�������� ![]() ��������
��������
���������� ![]() �����������
�����������![]()
If “DIMMER AUTO” is selected, the setting automatically changes to “DIMMER 2” when a video disc is played. The display goes back to the “DIMMER AUTO” setting when play is stopped.
If “DIMMER AUTO” is selected, the setting automatically changes to “DIMMER OFF” while a