Preference Setup
The initial settings of the DVD player can be changed with the Preference screen.
NOTE: The top and bottom of the preference screen may not be displayed on a wide TV. If necessary adjust the picture size on the TV.
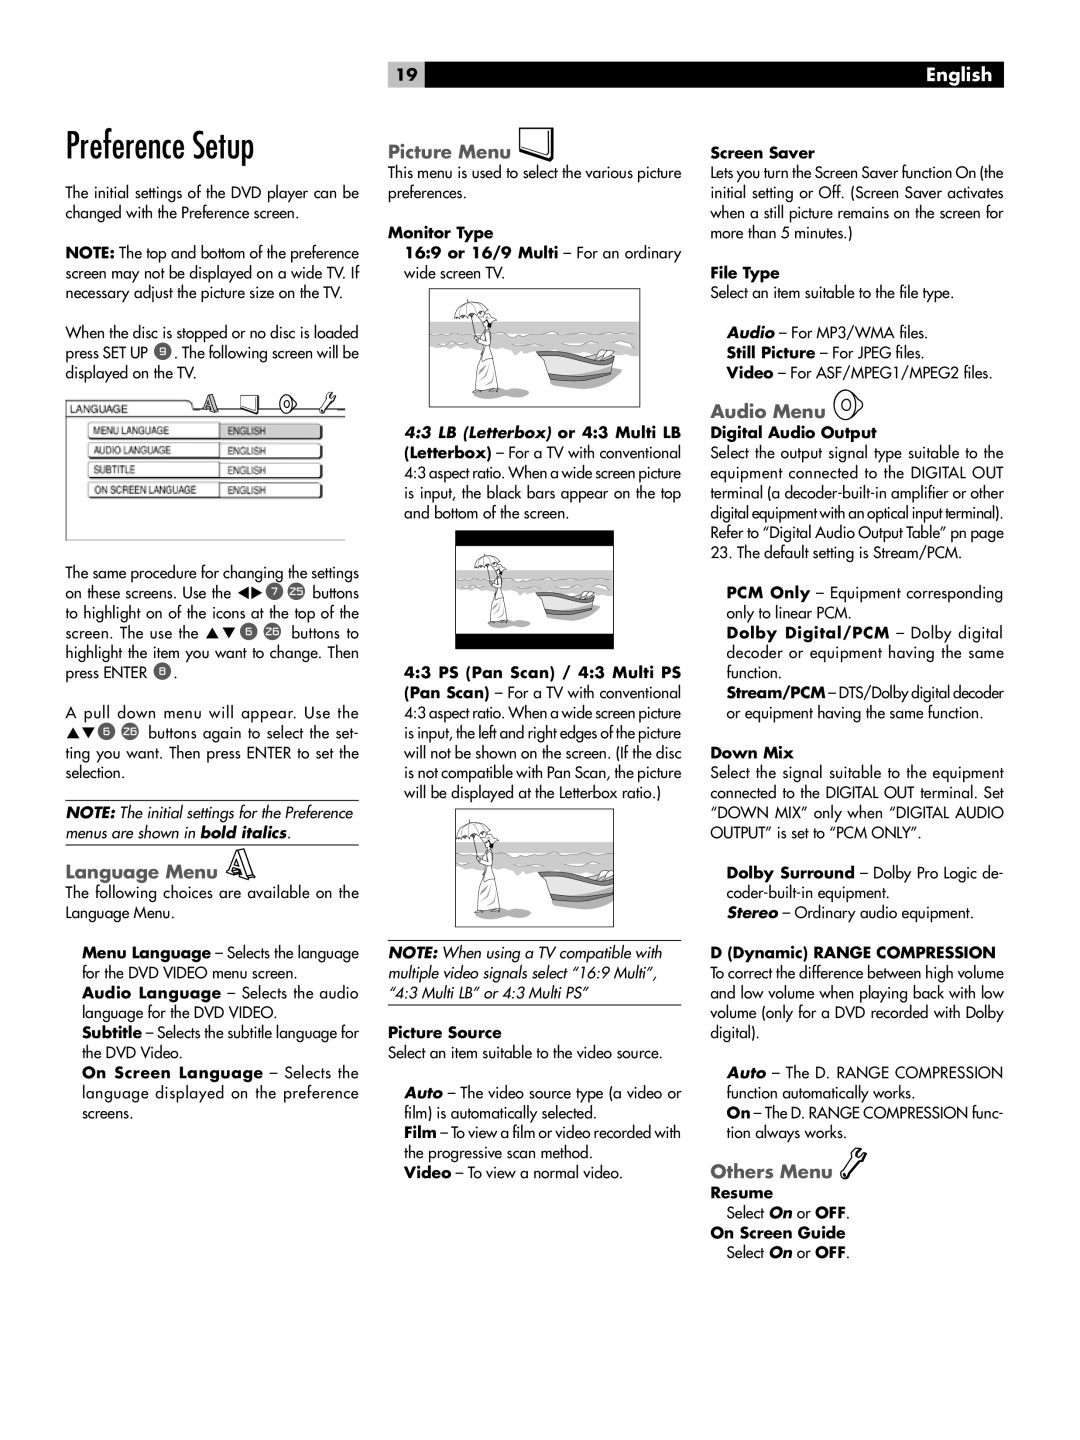
When the disc is stopped or no disc is loaded press SET UP 9. The following screen will be displayed on the TV.
The same procedure for changing the settings on these screens. Use the tu7\ buttons to highlight on of the icons at the top of the screen. The use the pq6a buttons to highlight the item you want to change. Then press ENTER 8.
A pull down menu will appear. Use the pq6a buttons again to select the set- ting you want. Then press ENTER to set the selection.
NOTE: The initial settings for the Preference menus are shown in bold italics.
Language Menu 
The following choices are available on the Language Menu.
Menu Language – Selects the language for the DVD VIDEO menu screen.
Audio Language – Selects the audio language for the DVD VIDEO.
Subtitle – Selects the subtitle language for the DVD Video.
On Screen Language – Selects the language displayed on the preference screens.
19
Picture Menu 
This menu is used to select the various picture preferences.
Monitor Type
16:9 or 16/9 Multi – For an ordinary wide screen TV.
4:3 LB (Letterbox) or 4:3 Multi LB (Letterbox) – For a TV with conventional 4:3 aspect ratio. When a wide screen picture is input, the black bars appear on the top and bottom of the screen.
4:3 PS (Pan Scan) / 4:3 Multi PS (Pan Scan) – For a TV with conventional 4:3 aspect ratio. When a wide screen picture is input, the left and right edges of the picture will not be shown on the screen. (If the disc is not compatible with Pan Scan, the picture will be displayed at the Letterbox ratio.)
NOTE: When using a TV compatible with multiple video signals select “16:9 Multi”, “4:3 Multi LB” or 4:3 Multi PS”
Picture Source
Select an item suitable to the video source.
Auto – The video source type (a video or film) is automatically selected.
Film – To view a film or video recorded with the progressive scan method.
Video – To view a normal video.
English
Screen Saver
Lets you turn the Screen Saver function On (the initial setting or Off. (Screen Saver activates when a still picture remains on the screen for more than 5 minutes.)
File Type
Select an item suitable to the file type.
Audio – For MP3/WMA files. Still Picture – For JPEG files.
Video – For ASF/MPEG1/MPEG2 files.
Audio Menu 
Digital Audio Output
Select the output signal type suitable to the equipment connected to the DIGITAL OUT terminal (a
PCM Only – Equipment corresponding only to linear PCM.
Dolby Digital/PCM – Dolby digital decoder or equipment having the same function.
Stream/PCM – DTS/Dolby digital decoder or equipment having the same function.
Down Mix
Select the signal suitable to the equipment connected to the DIGITAL OUT terminal. Set “DOWN MIX” only when “DIGITAL AUDIO OUTPUT” is set to “PCM ONLY”.
Dolby Surround – Dolby Pro Logic de-
Stereo – Ordinary audio equipment.
D (Dynamic) RANGE COMPRESSION To correct the difference between high volume and low volume when playing back with low volume (only for a DVD recorded with Dolby digital).
Auto – The D. RANGE COMPRESSION function automatically works.
On – The D. RANGE COMPRESSION func- tion always works.
Others Menu 
Resume
Select On or OFF.
On Screen Guide
Select On or OFF.