Miscellaneous Settings
Other Options
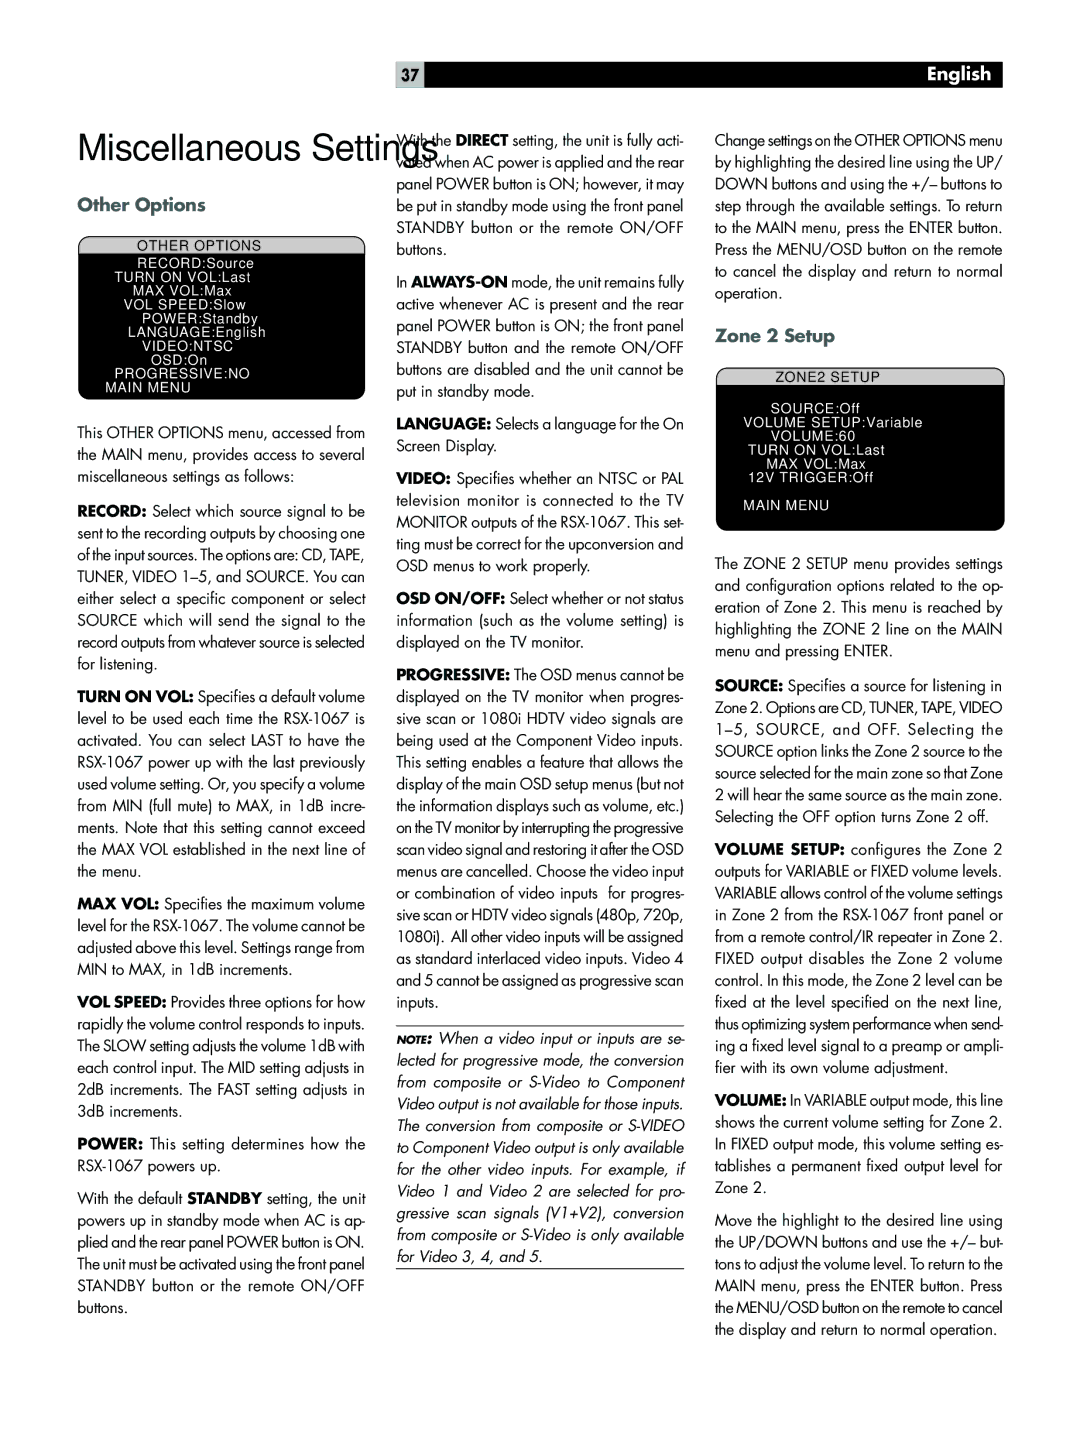
OTHER OPTIONS
RECORD:Source
TURN ON VOL:Last
MAX VOL:Max
VOL SPEED:Slow
POWER:Standby
LANGUAGE:English
VIDEO:NTSC
OSD:On
PROGRESSIVE:NO
MAIN MENU
This OTHER OPTIONS menu, accessed from the MAIN menu, provides access to several miscellaneous settings as follows:
RECORD: Select which source signal to be sent to the recording outputs by choosing one of the input sources. The options are: CD, TAPE, TUNER, VIDEO
TURN ON VOL: Specifies a default volume level to be used each time the
MAX VOL: Specifies the maximum volume level for the
VOL SPEED: Provides three options for how rapidly the volume control responds to inputs. The SLOW setting adjusts the volume 1dB with each control input. The MID setting adjusts in 2dB increments. The FAST setting adjusts in 3dB increments.
POWER: This setting determines how the
With the default STANDBY setting, the unit powers up in standby mode when AC is ap- plied and the rear panel POWER button is ON. The unit must be activated using the front panel STANDBY button or the remote ON/OFF buttons.
37
With the DIRECT setting, the unit is fully acti- vated when AC power is applied and the rear panel POWER button is ON; however, it may be put in standby mode using the front panel STANDBY button or the remote ON/OFF buttons.
In
LANGUAGE: Selects a language for the On Screen Display.
VIDEO: Specifies whether an NTSC or PAL television monitor is connected to the TV MONITOR outputs of the
OSD ON/OFF: Select whether or not status information (such as the volume setting) is displayed on the TV monitor.
PROGRESSIVE: The OSD menus cannot be displayed on the TV monitor when progres- sive scan or 1080i HDTV video signals are being used at the Component Video inputs. This setting enables a feature that allows the display of the main OSD setup menus (but not the information displays such as volume, etc.) on the TV monitor by interrupting the progressive scan video signal and restoring it after the OSD menus are cancelled. Choose the video input or combination of video inputs for progres- sive scan or HDTV video signals (480p, 720p, 1080i). All other video inputs will be assigned as standard interlaced video inputs. Video 4 and 5 cannot be assigned as progressive scan inputs.
NOTE: When a video input or inputs are se- lected for progressive mode, the conversion from composite or
English
Change settings on the OTHER OPTIONS menu by highlighting the desired line using the UP/ DOWN buttons and using the +/– buttons to step through the available settings. To return to the MAIN menu, press the ENTER button. Press the MENU/OSD button on the remote to cancel the display and return to normal operation.
Zone 2 Setup
ZONE2 SETUP
SOURCE:Off
VOLUME SETUP:Variable
VOLUME:60
TURN ON VOL:Last
MAX VOL:Max
12V TRIGGER:Off
MAIN MENU
The ZONE 2 SETUP menu provides settings and configuration options related to the op- eration of Zone 2. This menu is reached by highlighting the ZONE 2 line on the MAIN menu and pressing ENTER.
SOURCE: Specifies a source for listening in Zone 2. Options are CD, TUNER, TAPE, VIDEO
VOLUME SETUP: configures the Zone 2 outputs for VARIABLE or FIXED volume levels. VARIABLE allows control of the volume settings in Zone 2 from the
VOLUME: In VARIABLE output mode, this line shows the current volume setting for Zone 2. In FIXED output mode, this volume setting es- tablishes a permanent fixed output level for Zone 2.
Move the highlight to the desired line using the UP/DOWN buttons and use the +/– but- tons to adjust the volume level. To return to the MAIN menu, press the ENTER button. Press the MENU/OSD button on the remote to cancel the display and return to normal operation.