| 38 |
TURN ON VOL: Specifies a default volume level to be used each time Zone 2 is activated. You can select LAST to have Zone 2 activate with the last previously used volume setting. Or, you specify a volume from MIN (full mute) to MAX, in 1dB increments. Note that this setting cannot exceed the MAX VOL established in the next line of the menu.
MAX VOL: Specifies the maximum volume level for Zone 2. The volume cannot be ad- justed above this level. Settings range from MIN to MAX, in 1dB increments.
12V TRIGGER: The
Default Setup
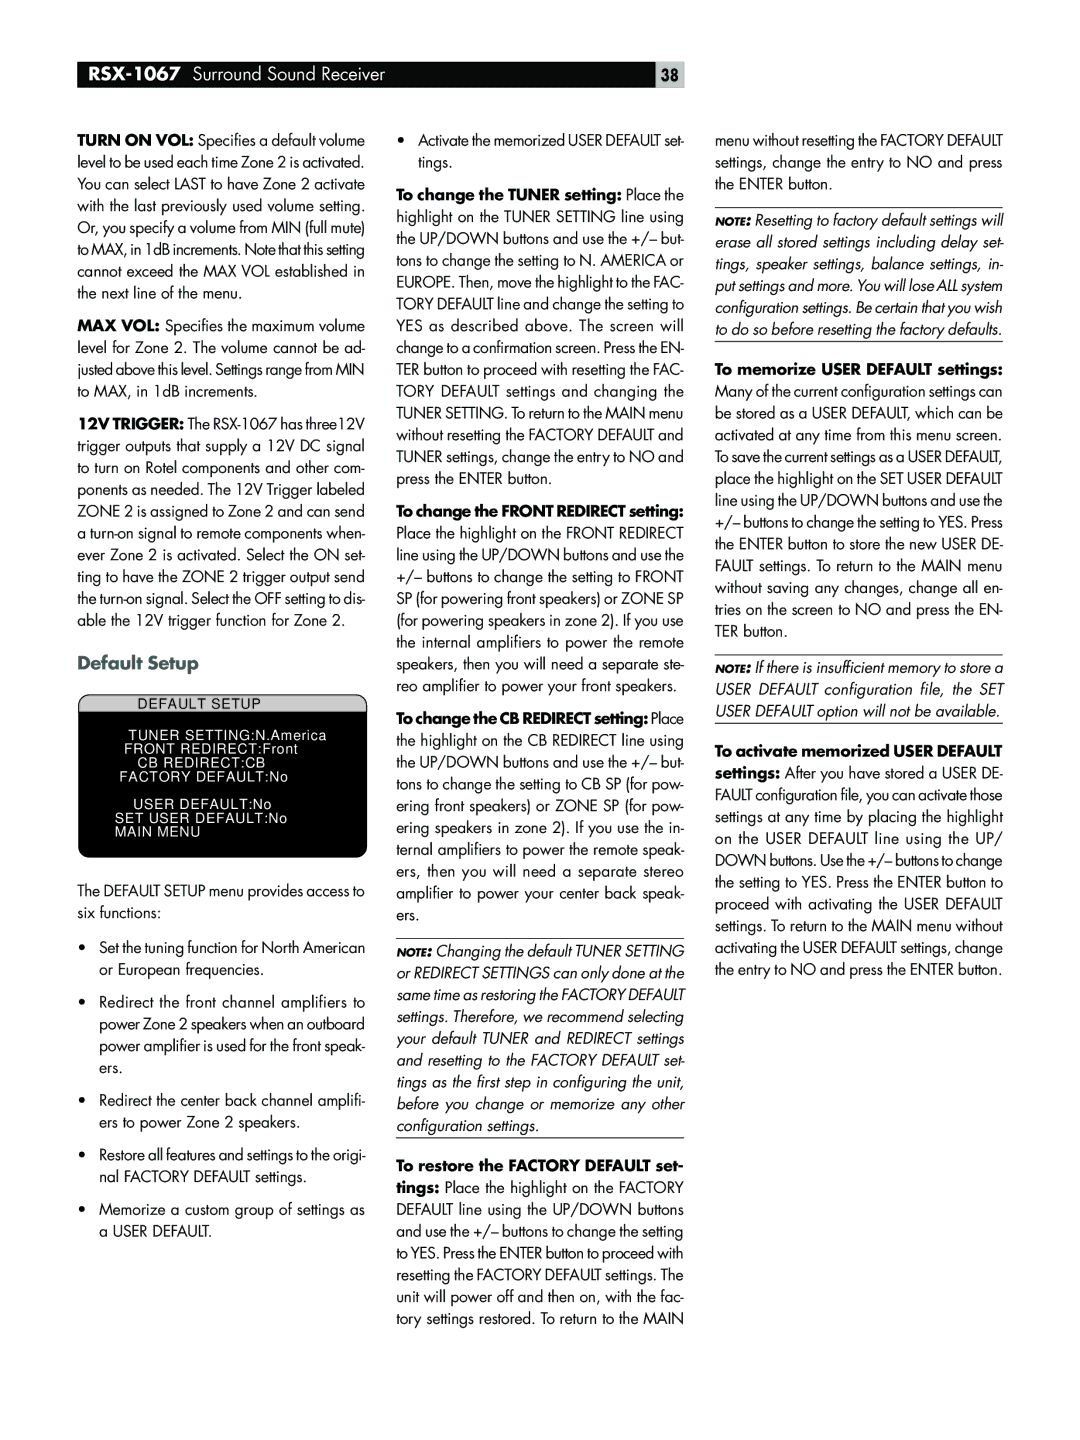
DEFAULT SETUP
TUNER SETTING:N.America
FRONT REDIRECT:Front
CB REDIRECT:CB
FACTORY DEFAULT:No
USER DEFAULT:No
SET USER DEFAULT:No
MAIN MENU
The DEFAULT SETUP menu provides access to six functions:
•Set the tuning function for North American or European frequencies.
•Redirect the front channel amplifiers to power Zone 2 speakers when an outboard power amplifier is used for the front speak- ers.
•Redirect the center back channel amplifi- ers to power Zone 2 speakers.
•Restore all features and settings to the origi- nal FACTORY DEFAULT settings.
•Memorize a custom group of settings as a USER DEFAULT.
•Activate the memorized USER DEFAULT set- tings.
To change the TUNER setting: Place the highlight on the TUNER SETTING line using the UP/DOWN buttons and use the +/– but- tons to change the setting to N. AMERICA or EUROPE. Then, move the highlight to the FAC- TORY DEFAULT line and change the setting to YES as described above. The screen will change to a confirmation screen. Press the EN- TER button to proceed with resetting the FAC- TORY DEFAULT settings and changing the TUNER SETTING. To return to the MAIN menu without resetting the FACTORY DEFAULT and TUNER settings, change the entry to NO and press the ENTER button.
To change the FRONT REDIRECT setting:
Place the highlight on the FRONT REDIRECT line using the UP/DOWN buttons and use the +/– buttons to change the setting to FRONT SP (for powering front speakers) or ZONE SP (for powering speakers in zone 2). If you use the internal amplifiers to power the remote speakers, then you will need a separate ste- reo amplifier to power your front speakers.
To change the CB REDIRECT setting: Place the highlight on the CB REDIRECT line using the UP/DOWN buttons and use the +/– but- tons to change the setting to CB SP (for pow- ering front speakers) or ZONE SP (for pow- ering speakers in zone 2). If you use the in- ternal amplifiers to power the remote speak- ers, then you will need a separate stereo amplifier to power your center back speak- ers.
NOTE: Changing the default TUNER SETTING or REDIRECT SETTINGS can only done at the same time as restoring the FACTORY DEFAULT settings. Therefore, we recommend selecting your default TUNER and REDIRECT settings and resetting to the FACTORY DEFAULT set- tings as the first step in configuring the unit, before you change or memorize any other configuration settings.
To restore the FACTORY DEFAULT set-
tings: Place the highlight on the FACTORY DEFAULT line using the UP/DOWN buttons and use the +/– buttons to change the setting to YES. Press the ENTER button to proceed with resetting the FACTORY DEFAULT settings. The unit will power off and then on, with the fac- tory settings restored. To return to the MAIN
menu without resetting the FACTORY DEFAULT settings, change the entry to NO and press the ENTER button.
NOTE: Resetting to factory default settings will erase all stored settings including delay set- tings, speaker settings, balance settings, in- put settings and more. You will lose ALL system configuration settings. Be certain that you wish to do so before resetting the factory defaults.
To memorize USER DEFAULT settings:
Many of the current configuration settings can be stored as a USER DEFAULT, which can be activated at any time from this menu screen. To save the current settings as a USER DEFAULT, place the highlight on the SET USER DEFAULT line using the UP/DOWN buttons and use the +/– buttons to change the setting to YES. Press the ENTER button to store the new USER DE- FAULT settings. To return to the MAIN menu without saving any changes, change all en- tries on the screen to NO and press the EN- TER button.
NOTE: If there is insufficient memory to store a USER DEFAULT configuration file, the SET USER DEFAULT option will not be available.
To activate memorized USER DEFAULT
settings: After you have stored a USER DE- FAULT configuration file, you can activate those settings at any time by placing the highlight on the USER DEFAULT line using the UP/ DOWN buttons. Use the +/– buttons to change the setting to YES. Press the ENTER button to proceed with activating the USER DEFAULT settings. To return to the MAIN menu without activating the USER DEFAULT settings, change the entry to NO and press the ENTER button.