
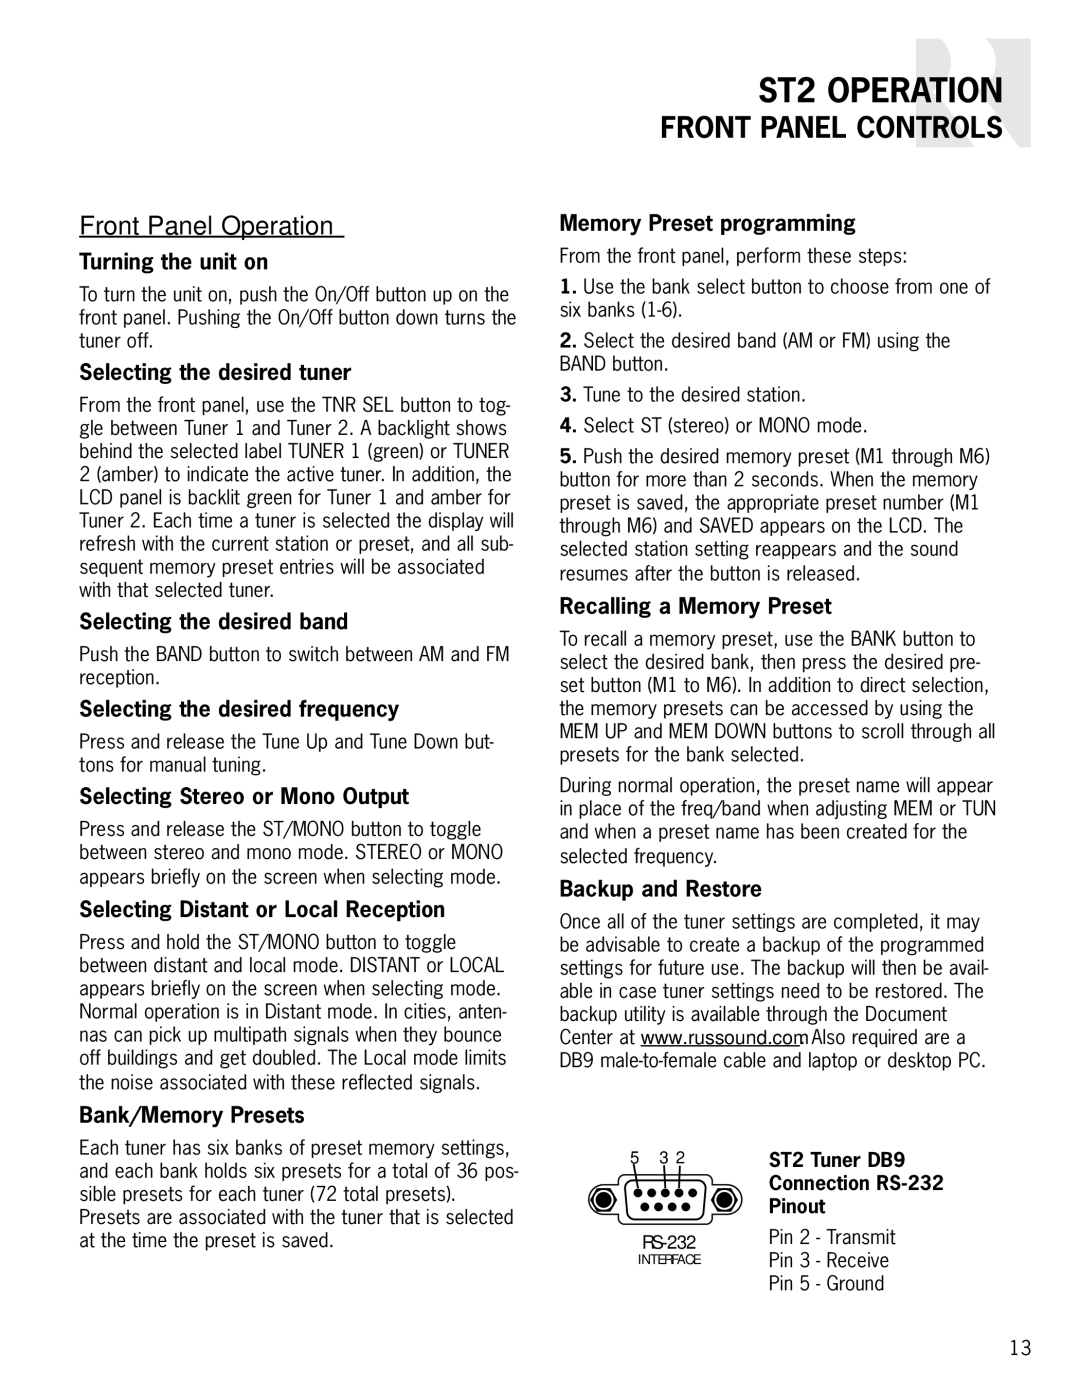
ST2 specifications
The Russound ST2 is a high-performance streaming audio player designed for music enthusiasts seeking versatility, quality, and seamless integration with multi-room audio systems. This compact device focuses on delivering exceptional sound while offering a range of modern features that cater to various streaming needs.One of the standout characteristics of the Russound ST2 is its extensive support for streaming services. With compatibility for popular platforms like Spotify, Tidal, and Pandora, users can enjoy their favorite music without the need for additional devices. The ST2 also supports direct integration with Apple AirPlay, making it easy to stream music from iPhones, iPads, and other Apple devices. This capability allows users to enjoy their music libraries wirelessly, enhancing the overall listening experience.
One of the ST2’s most notable technologies is its built-in Wi-Fi capability. This feature ensures stable and reliable connectivity, allowing for uninterrupted streaming even in larger homes. Additionally, the ST2 supports Bluetooth technology, providing users with even more flexibility to connect their devices for instant playback.
The ST2 is designed to fit effortlessly into existing home audio systems. It features an intuitive user interface, allowing for easy navigation through playlists and streaming services. The device can be controlled remotely via the Russound app, which enables users to manage music playback from their smartphones or tablets. The app’s user-friendly design makes it easy to create custom playlists and explore new music.
Another crucial aspect of the Russound ST2 is its compatibility with multi-zone audio systems. Users can easily integrate the ST2 into existing Russound setups, allowing them to enjoy different audio streams in various rooms simultaneously. This feature makes it an ideal choice for larger homes or commercial spaces where diverse audio content is required.
In terms of audio quality, the Russound ST2 does not disappoint. It boasts high-resolution audio playback capabilities, ensuring that even the most discerning listeners can appreciate the fine details in their favorite tracks. With its exceptional sound clarity and depth, the ST2 provides an immersive audio experience that rivals many high-end music players.
Overall, the Russound ST2 is an impressive streaming audio player that combines modern technology with high-quality sound. Its versatility, combined with seamless integration into multi-room systems, makes it an excellent choice for music lovers who demand both performance and ease of use.